 The Good Sign Company
Counter sign insert comparison
Cardstock vs laminated paper inserts: which fits your counter sign holder?
Choose unlaminated cardstock when messages change often, the printer supports the stock, and the holder already protects the face. Choose laminated paper when a stable message justifies an added finishing step and the completed insert fits the holder. The deciding measurements are the holder's opening, visible area, slot thickness, loading clearance, and your real replacement routine.
This guide keeps the rigid counter holder constant and compares only the replaceable insert. It does not claim liquid protection, fade resistance, archival life, food-contact suitability, or universal printer, pouch, or holder compatibility.
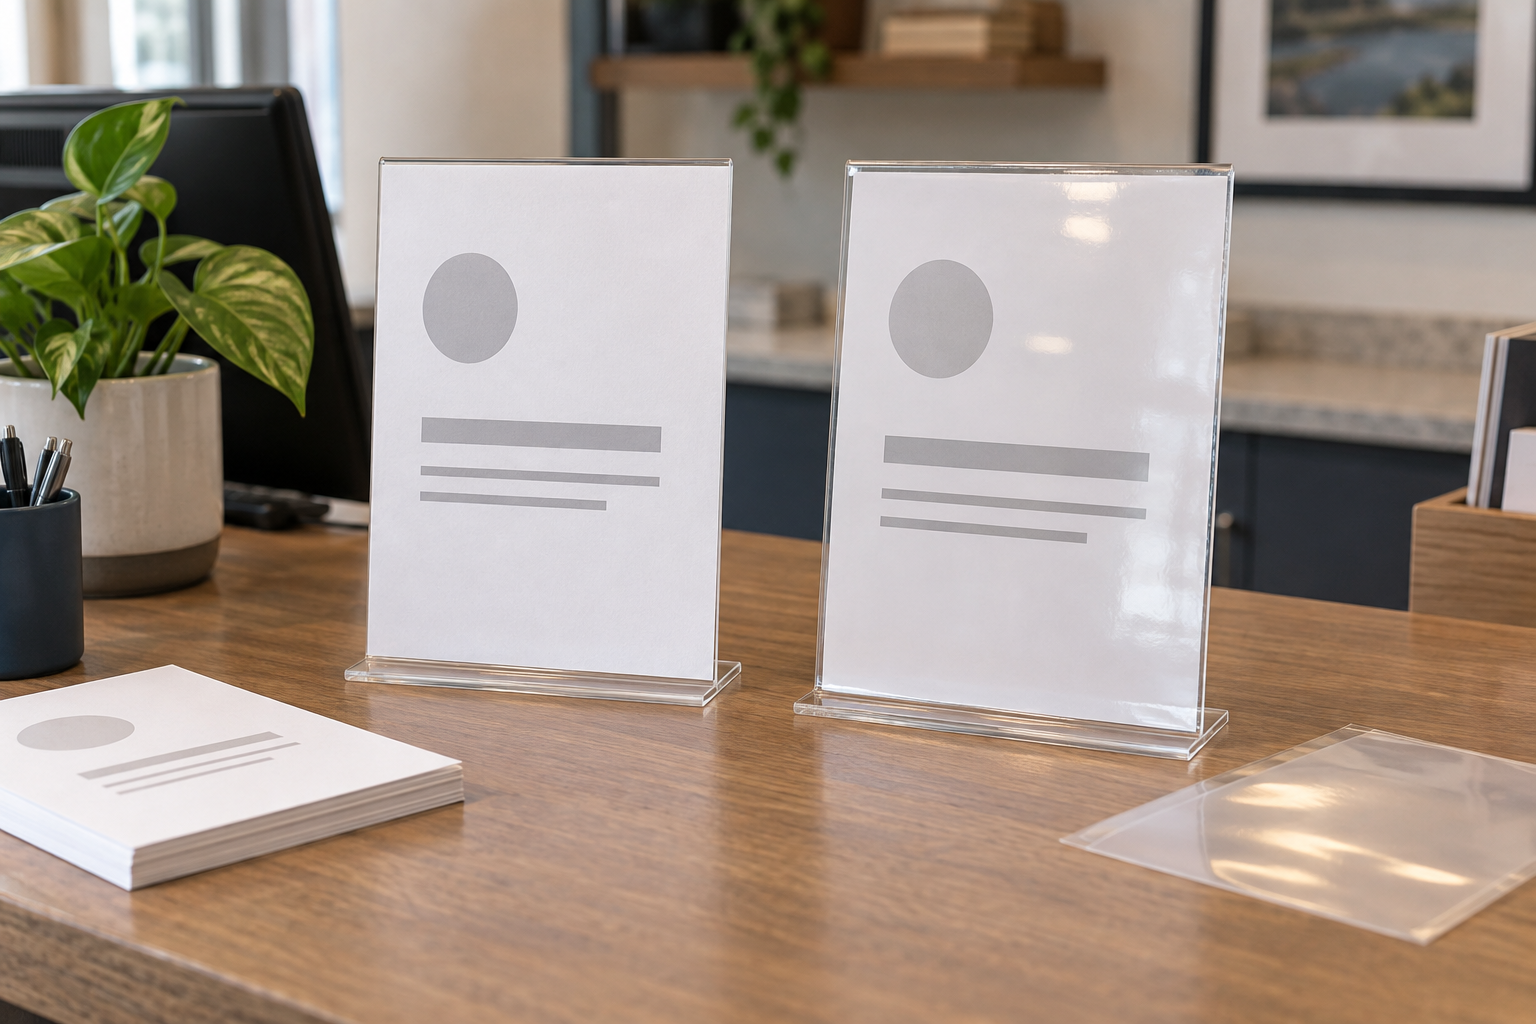
Compare supplies only after measuring the holder
Record the maximum insert dimensions, visible window, loading edge, slot allowance, and printer guidance first. A nominal sheet size does not confirm that the finished insert will feed through the printer or slide into the holder.
Quick comparison
| Decision | Unlaminated cardstock | Laminated paper |
|---|---|---|
| Finished thickness | Set by the selected stock | Paper plus the complete laminated construction |
| Reflections | A matte stock can reduce prominent surface reflections | Clear film can add reflections under windows and fixtures |
| Update work | Print, trim if needed, and replace | Print, laminate, preserve the required edge, trim only as instructed, then replace |
| Handling | Depends on stock, print, holder coverage, and staff routine | Depends on the finished edge, film, holder, and maker instructions |
| Skip when | The printer or holder does not support the chosen stock | The finished insert binds, reflects badly, or adds unjustified work |
Start with the holder, not the paper package
Remove the current insert and measure it rather than relying only on the holder's advertised paper size. Record width, height, orientation, visible area, and any portion hidden by a base or border. Then inspect how the insert loads. A top-loading holder needs overhead room; a side-loading holder needs lateral clearance; a narrow slot may reject added laminate even when the face dimensions look correct.
Make one plain-paper test at final size before buying a larger supply. If the holder itself is still undecided, compare top-loading and side-loading acrylic holders by clearance and update access.
When cardstock is the cleaner workflow
Unlaminated cardstock is useful when a small shop, studio, reception desk, or event vendor changes a counter message often enough that a short production path matters. It can move from an approved file through a compatible printer and into the holder without a separate sealing step. That advantage disappears if the stock does not feed reliably, needs repeated hand trimming, or bows in the holder.
Check the printer maker's supported media types and weights, and load the stock as directed. Do not assume every desktop printer accepts every cardstock marketed for crafts or signs. Choose the final stock only after its printed sample fits the holder and remains readable under the counter's normal lighting.
When laminated paper earns the extra step
Laminated paper makes more sense when the wording is stable, repeated handling is part of the actual routine, and the finished piece fits without forcing the holder. Count the complete workflow: compatible paper, machine or self-sealing method, alignment, edge margin, cooling or setting time where instructed, final inspection, and storage of supplies.
Lamination can introduce glare and added thickness. Test the finished sample from the customer's approach and the employee's working position. Follow the laminator, pouch, and holder instructions; do not infer protection against liquids, heat, sunlight, chemicals, or abrasion from the word “laminated.” Use the counter-sign lamination worth-it test before buying equipment for occasional work.
Run a two-sample fit test
- Lock the message and dimensions. Use the same final artwork, type size, margins, and orientation for both samples.
- Confirm printer support. Check the printer instructions for the cardstock or paper route before feeding it.
- Finish one of each. Keep the cardstock unlaminated; laminate the paper using the product instructions and required sealed margin.
- Measure again. Compare both finished pieces with the holder's opening, hidden edges, slot, and loading path.
- Load without force. Reject a route that catches, curls, separates, or requires bending beyond the product guidance.
- Check the real sightline. View both samples under representative daylight and fixtures, then move the holder if reflections obscure the message.
- Time a normal update. Include file approval, printing, trimming, finishing, cleanup, and restocking—not just the final insertion.
Trimming and repeatability matter
If either route starts with a larger sheet, define the finished cut size and who maintains it. A ruler and craft knife may suit one carefully supervised prototype; a recurring staff workflow needs a repeatable method supported by the tool and material. Lamination may require a preserved sealed border, so never trim a finished pouch closer than its maker permits.
For repeat updates, use the paper-trimmer guide to compare supported sheet dimensions, guides, capacity, workspace, and storage. Keep a dated master file and discard obsolete inserts so an old message cannot be returned to the counter.
Who should skip both routes
- The message changes several times a day; compare a compatible dry-erase or changeable message system instead.
- The counter needs one finished self-standing object rather than a holder-and-insert system; compare a self-standing acrylic block with an insert holder.
- The available holder cannot accept the measured finished piece without force.
- Reflections obscure the message and repositioning does not fix the tested sightline.
- The setting involves heat, moisture, outdoor exposure, food contact, or another condition the exact materials do not document.
- No one owns the source file, approval, replacement, and obsolete-copy removal process.
Bottom line
Cardstock wins when fast replacement and a short in-house workflow matter most. Laminated paper earns its extra steps only when the stable message, actual handling, and tested holder fit justify them. Build one finished sample of each, measure the complete insert, and choose the route your staff can reproduce without guessing.
Continue with the small-business sign planning pillar, or compare a printed insert with a dry-erase counter sign when update speed is the bigger decision.