 The Good Sign Company
Acrylic holder comparison
Top-loading vs side-loading acrylic sign holder
Choose a top-loading acrylic sign holder when the sides sit close to equipment or merchandise and there is enough open space above to remove the full insert. Choose a side-loading holder when a shelf, monitor, or cabinet limits vertical access but one side remains clear. The better holder is the one staff can reload at the real counter without moving other objects or interrupting payment, pickup, or service work.
Loading direction is only one specification. Confirm the current listing's insert size, orientation, outside dimensions, base footprint, visible area, and care directions before buying. If the whole counter layout is still undecided, start with the small-business sign planning guide.
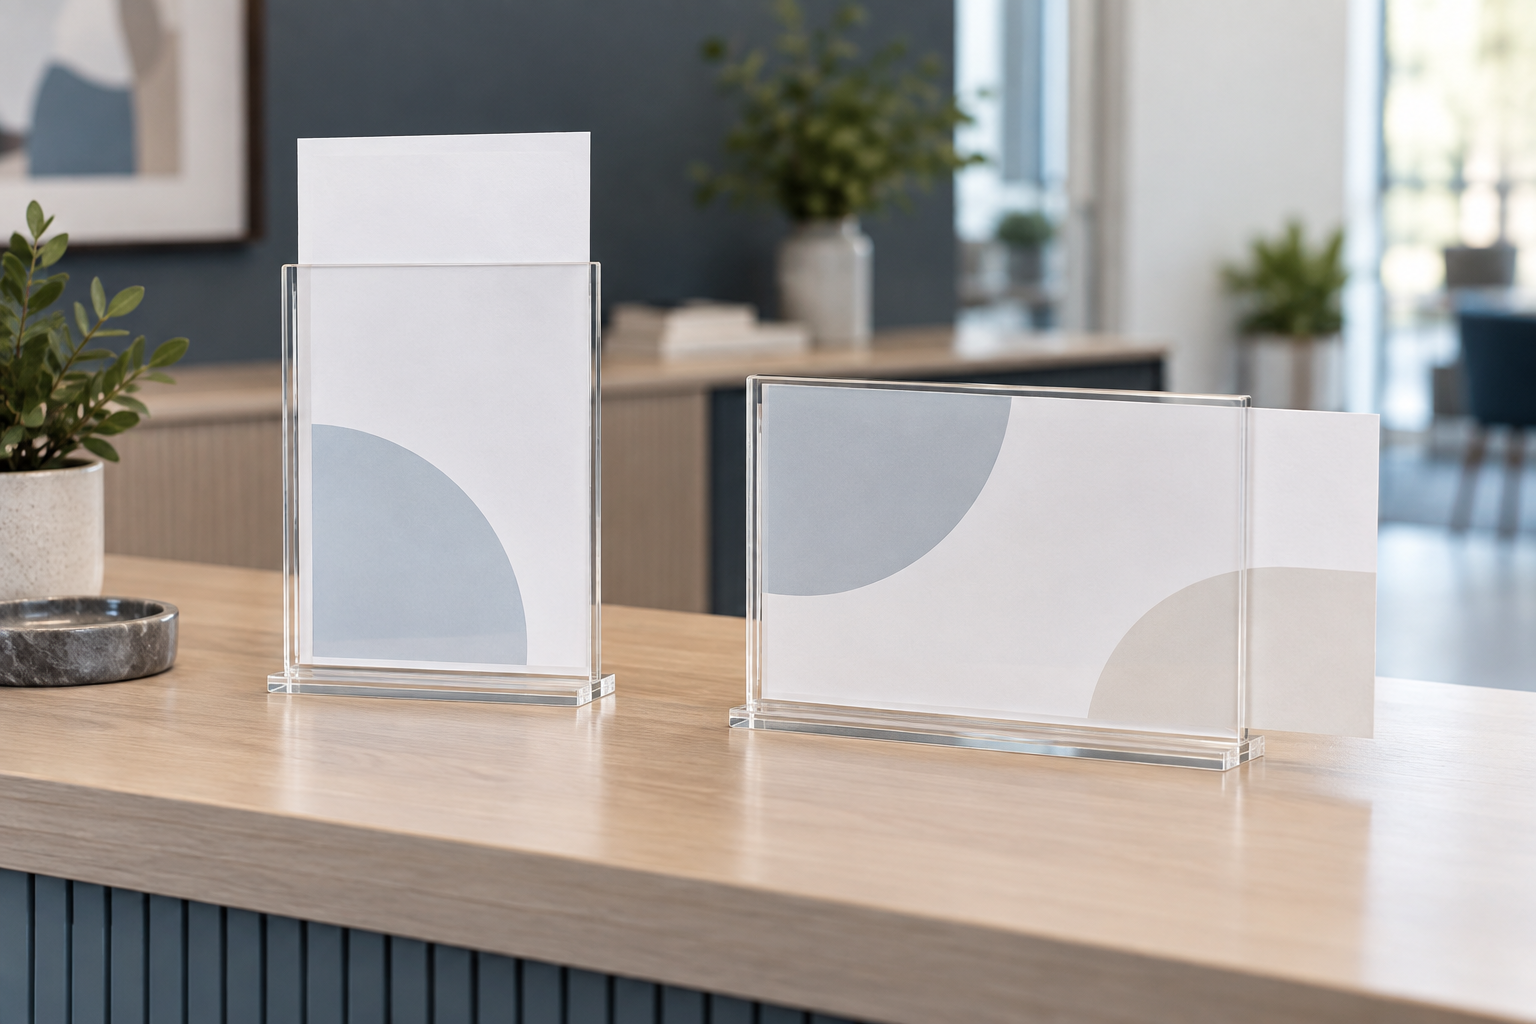
Compare acrylic holders after measuring the loading path
Use current listing diagrams rather than the product title alone. Match the exact insert dimensions and orientation, then check the complete holder size, base depth, opening edge, visible area, and package quantity.
Quick comparison
| Decision | Top loading | Side loading |
|---|---|---|
| Clear path needed | Above the holder | Beside the opening edge |
| Often useful when | Both sides are occupied but overhead space is open | Overhead space is blocked but one side is accessible |
| Main workflow check | Can the full insert lift free? | Can the full insert slide free? |
| Common mistake | Measuring holder height without removal clearance | Placing the opening against a wall or device |
| Does not determine | Paper fit, viewing direction, visible area, base depth, stability, glare, or care | |
Measure the full insert path
The holder dimensions describe only the space occupied while it is sitting still. An insert change needs additional working room. For top loading, measure from the counter to the highest obstruction, then confirm that the entire sheet can rise far enough to clear the pocket. For side loading, measure from the loading edge to the nearest wall, register, display, product stack, or partition.
Make a paper-and-cardboard mockup at the current listing dimensions. Put a full-size insert into the mock pocket and remove it in the same direction as the product. Do the test from the staff side of the counter, because clearance that looks open to a customer may be awkward to reach from behind the desk.
Top loading: where it wins and where it fails
A top opening can work well in a narrow strip between equipment when neither side offers enough room to slide out a sheet. It can also make the loading edge easy to identify during a routine update. But the advantage disappears beneath shelving, low monitor arms, pass-through openings, hanging merchandise, or any setup where staff must lift the holder just to remove the insert.
Do not assume a top-loaded sheet needs only a small finger gap. Depending on the pocket design, much of the sheet may need to travel above the holder before it comes free. Use the product's actual diagram and test the complete movement. The separate top-loading holder worth-it guide gives a detailed crowded-counter test.
Side loading: where it wins and where it fails
Side loading can suit counters beneath cabinets, shelves, transaction windows, or fixed equipment because the sheet does not need a tall vertical removal path. The accessible side must stay open, however. A side-loaded holder loses its convenience when its opening faces a wall, another holder, a payment terminal, or merchandise that has to be moved for every update.
Check which side actually opens. A product image may show a landscape holder without making the loading edge obvious. Also confirm whether the design holds the insert as expected when customers or staff brush past it; do not infer retention or stability from loading direction alone.
Do not confuse loading direction with orientation
Portrait and landscape describe the message shape. Top and side loading describe how the sheet enters the holder. A portrait holder can load from a side, and a landscape holder can load from the top. Screen products in this order:
- Choose portrait or landscape from the message hierarchy and available counter width.
- Confirm the exact stated insert dimensions and visible area.
- Choose the loading edge that faces real working clearance.
- Check the complete base footprint and intended viewing direction.
If orientation is the unresolved decision, use the portrait vs landscape sign-holder comparison before shopping by loading edge.
Protect the counter workflow
Mark the complete base with removable paper tape and observe normal work around it. Preserve the customer's path to the payment terminal, the handoff space for products or forms, and the staff reach needed for daily tasks. A holder that technically fits can still create repeated detours.
Assign an update owner and a storage location for approved print files. If several locations use the same message, record the intended paper size, orientation, opening edge, and holder outside dimensions in the sign brief. That makes replacement purchasing and insert preparation more repeatable without assuming every acrylic holder is interchangeable.
Check readability and reflections
Loading convenience cannot rescue a message that is too small or badly positioned. Print the final insert at full size and read it from the first approach, the decision point, and the closest expected viewing position. Shorten the message if the type must shrink to fit.
Clear surfaces can reflect windows, ceiling fixtures, screens, and bright displays. Test a clear sheet over the mock insert under normal operating light. Move or angle the proposed position if reflections cross the essential words. Follow the current maker's care instructions rather than assuming one cleaning method is appropriate for every clear holder.
When another format is better
- Choose an L-shaped or T-shaped profile by viewing direction when the customer approach matters more than loading clearance; compare L-shaped and T-shaped acrylic holders.
- Choose a table tent when a light, fold-flat printed format suits the message and replacement schedule; see table tents vs acrylic holders.
- Choose a clipboard-style holder when writing access or very frequent paper changes matter more than a clear enclosed presentation.
- Choose a wall, fixture, or shelf-edge position when the counter cannot spare the full base and loading path. Verify the actual surface, permissions, and compatible attachment system first.
- Choose a fixed sign when the message rarely changes. A loading feature adds little value if nobody needs to replace the insert.
A practical buying checklist
- Final paper dimensions and portrait or landscape orientation
- Complete holder height, width, and base depth
- Top or side opening confirmed from current specifications
- Enough space to remove the entire insert in that direction
- Readable sightline from the intended approach
- No conflict with payment, handoff, doors, drawers, or staff reach
- Reflections checked under normal lighting
- Current care instructions and package quantity reviewed
- Update owner and approved print file identified
Bottom line
Top loading is the stronger choice when lateral access is blocked and the vertical removal path stays clear. Side loading is stronger when height is constrained and one side remains reachable. Neither label guarantees paper fit, visibility, stability, or a small footprint, so decide with a full-size mockup and the current product dimensions.
For the broader message, placement, and stakeholder decision, continue to the small-business sign planning pillar. For other update systems, compare a printed insert with a dry-erase counter sign.