 The Good Sign Company
Counter-sign production guide
How to Choose paper trimmers for frequently updated counter signs
A sliding-blade or rotary trimmer is the practical starting point for a small team cutting one or a few paper inserts at a time; a guillotine-style cutter can suit larger repeated batches when its documented sheet capacity, guards, latch, and work surface fit the job. Choose only after measuring the holder opening, visible window, source sheet, and final insert.
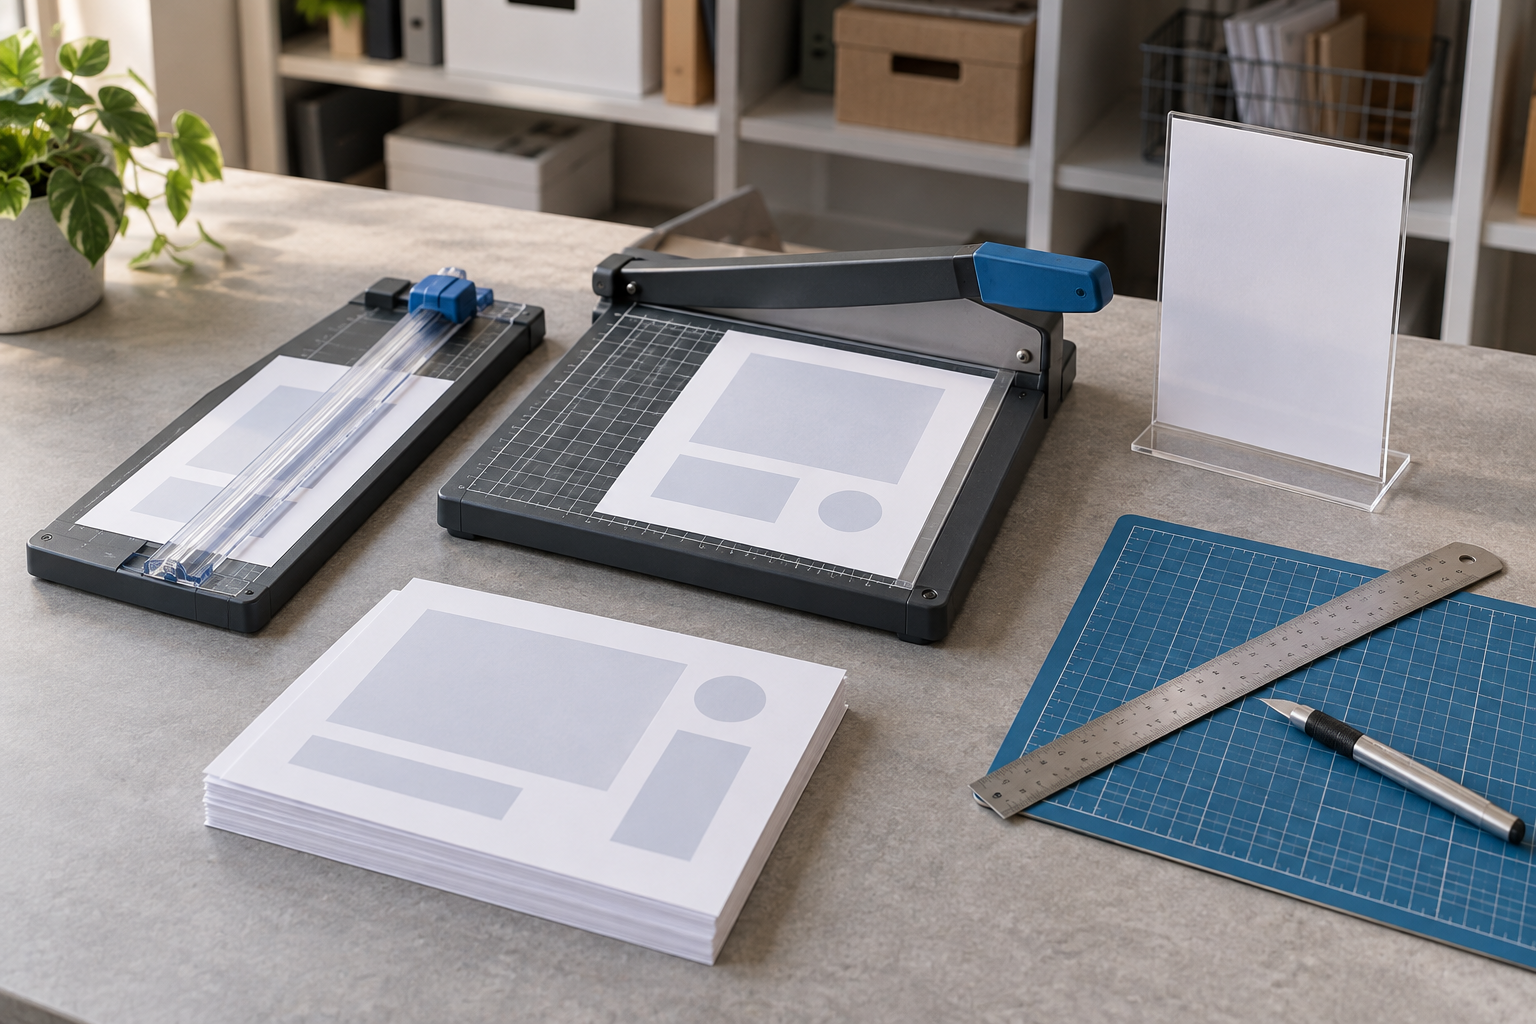
Compare trimmers after making one full-size paper template
Check the exact product's supported sheet dimensions, documented cut capacity, scale and guide layout, replacement-part instructions, guards, latch or blade storage, base footprint, and current operating guidance. Product photos alone do not establish fit or repeatability.
Quick choice by update workflow
| Format | Best starting fit | Verify before buying |
|---|---|---|
| Sliding-blade trimmer | Low-volume inserts where controlled alignment and a compact base matter. | Supported sheet size, guide visibility, blade path, replacement cartridge, and stored footprint. |
| Rotary trimmer | Teams that value a guided rolling cutter and the exact model supports their paper or laminate. | Material and thickness guidance, usable cut length, clamp or rail, blade access, and replacement parts. |
| Guillotine-style cutter | Repeated batches on a dedicated, stable work surface with a documented operating routine. | Sheet capacity, guards, latch, handle clearance, complete footprint, and maker instructions. |
| Ruler and cutting mat | Occasional prototypes or unusual dimensions when a purpose-made trimmer does not fit. | A suitable cutting tool, nonslip setup, protected surface, straightedge guidance, and user skill. |
1. Measure the finished insert, not just the paper
Remove an existing insert if one is available and measure it in both directions. Also measure the holder's loading opening, visible window, internal stops, slot or clip capacity, and the clearance needed to load the paper. A nominal letter-size sheet says little about the final piece when the holder accepts a smaller insert.
Print a full-size template with trim marks outside the visible message area. Cut one sample by hand, load it, and mark the actual target dimensions in the source file. That sample becomes the basis for judging a trimmer's supported sheet size, scale position, and cutting length.
2. Match the cutting method to the batch
A sliding-blade model can make the cutting path easy to see and keeps the cutting element on a guided rail. A rotary model also uses a guided path, but compatible materials, replaceable blades, and operating details vary by product. A guillotine-style cutter can move through a repetitive batch quickly, but its exposed motion, handle sweep, guards, latch, and stable work-surface needs deserve deliberate review.
Do not choose by a claimed sheet count alone. Paper weight, coating, lamination, alignment, and the maker's definition of capacity can change the result. Follow the current instructions and reduce the batch when cuts shift, edges drag, or the stack moves.
3. Inspect guides, stops, and the usable scale
Look for a scale that includes the dimensions your template actually uses and remains readable beneath the sheet. A grid, adjustable stop, clamp, or clear guide can help only when it aligns with the intended cut and holds the insert without hiding the mark. Confirm whether measurements begin at the real cutting line; do not assume every printed grid does.
For repeat jobs, make the template and process repeatable rather than relying on memory. Record the source-sheet orientation and trim sequence, and keep a correctly sized master insert beside the tool for comparison. If an adjustable stop can move during storage, verify it before each batch.
4. Account for the whole work surface
Measure the base plus the handle sweep, rail travel, paper overhang, and space needed to rotate the sheet. A tool that fits a shelf may still crowd a checkout back counter while in use. Choose a stable work location away from the customer-facing counter, food preparation, liquids, cords, and unrelated supplies.
If the trimmer must be stored after every update, check the latch or blade-storage method, carry points, and whether loose accessories have a dedicated place. Follow the maker's storage instructions. Do not leave the tool where customers or unauthorized users can reach it.
5. Plan for blades and repeatability
Before standardizing on a trimmer, confirm that the maker documents the replacement blade or cartridge and the procedure for installing it. A low purchase price is less useful when the cutting part cannot be identified later. Keep the exact model, replacement reference, template dimensions, and operating instructions with the sign-production record.
Test a short batch and compare every finished insert against the holder. Watch for taper, shifted stacks, ragged edges, crushed laminate, or inconsistent dimensions. Stop and correct the process instead of forcing a dull or incompatible cutter through the material.
6. Check the complete sign after trimming
Load the finished insert and view it from the customer approach. Confirm that the holder does not cover essential copy, the margins look intentional, glare does not hide the message, and the paper remains flat. For QR codes, test the actual printed code from the expected distance and angle, and keep an accessible non-phone route for essential information.
If the insert will be laminated, determine the trimming sequence from the pouch and laminator instructions. A sealed margin and added thickness can change the final fit. The laminating-pouch guide explains how machine compatibility, finish, and sealed dimensions affect the holder.
A practical buying checklist
- Measure the display: record loading opening, visible area, internal fit, and target insert dimensions.
- Define the batch: note source-sheet size, paper or laminate, sheets per update, and update frequency.
- Shortlist the format: compare sliding-blade, rotary, and guillotine-style tools against that real workflow.
- Verify documentation: check supported material, cut length, capacity, guards, storage, and replacement parts for the exact model.
- Measure the workspace: include handle travel, sheet rotation, stable support, and stored footprint.
- Trial one batch: cut, load, inspect, and record the repeatable trim sequence before buying for more locations.
Who should skip a dedicated paper trimmer
If tool ownership itself is unsettled, first use the paper-trimmer worth-it framework to count real jobs, confirm stable finished sizes, and compare full-sheet or outsourced alternatives.
- Updates are rare: a local print provider that delivers inserts at the final size may avoid another stored tool.
- The holder accepts standard paper without trimming: use the correct template and leave the sheet intact.
- The sign provider supplies finished inserts: preserve that established specification and ordering path.
- The material is outside the documented scope: do not use a paper trimmer for rigid plastic, acrylic, metal, or another unsupported sign material.
- No controlled workspace exists: move production to an appropriate staff-only setup rather than improvising at the customer counter.
- Every sign is a different size: a print-and-finish service may be more consistent than maintaining many manual setups.
Bottom line
Choose a paper trimmer in this order: finished insert dimensions, supported source sheet and material, cutting method, useful guides, documented capacity, complete working footprint, storage, and replacement parts. A compact guided trimmer is the sensible first comparison for low-volume counter inserts; consider a guillotine-style cutter only when the real batch and controlled workspace justify it.
Continue with the small-business sign planning pillar, choose cardstock for printable counter-sign inserts, compare printed inserts with dry-erase counter signs, or choose clear sleeves for frequently changed inserts.