 The Good Sign Company
Counter-sign supply guide
How to Choose laminating pouches for frequently handled counter signs
The best pouch is the one your exact laminator supports and that leaves the finished counter sign readable, flat, and correctly sized for its holder. Measure the printed sheet and display first, then use the laminator maker's current guidance to narrow pouch size and thickness before comparing gloss, matte, writable, or specialty finishes.
This is a category comparison for indoor counter inserts that are picked up, moved, or handled regularly. It does not rank named products, report hands-on tests, or imply that lamination makes paper waterproof, food-safe, sanitizable, archival, or suitable for every cleaner.
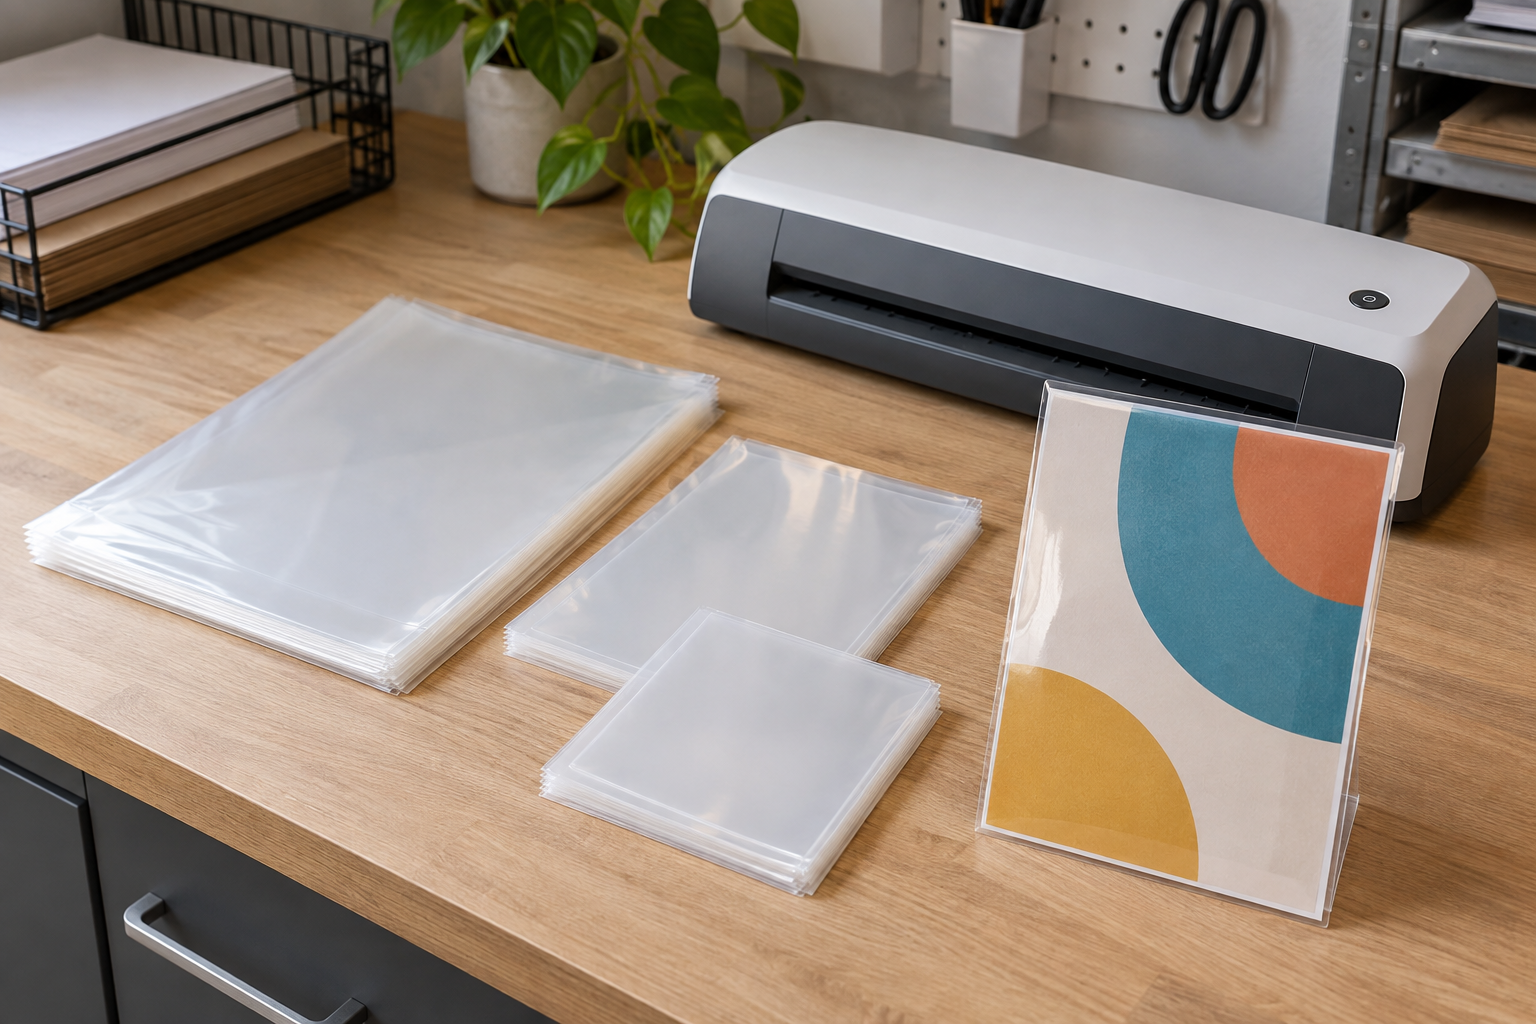
Category comparison
Compare pouches only after checking the machine and finished display.
Use current product information to verify sheet capacity, pouch dimensions, stated thickness, finish, compatible laminator requirements, carrier instructions, and any trimming or marker guidance. A search result is a shortlist, not proof of compatibility.
How to Choose pouch categories by counter-sign job
| Pouch category | Useful starting point | Verify before buying |
|---|---|---|
| Clear gloss | High-contrast printed signs where color and easy visual checking matter. | Reflections under the actual counter lights and the maker's cleaning guidance. |
| Matte or reduced-glare | Messages that become hard to read because fixed lights reflect in the face. | Whether the finish softens fine type, pale graphics, or a QR code. |
| Smaller-format pouch | Price cards, check-in prompts, and compact inserts that do not need a full sheet. | Exact inner and outer dimensions plus the sealed border around the design. |
| Writable-finish pouch | A stable printed template needs a small temporary field added by hand. | The exact marker type and erasing method explicitly supported by the pouch maker. |
| One verified multi-pack | Several counters share the same machine, template, holder, and update process. | Run one finished sample through the complete workflow before standardizing. |
1. Begin with laminator compatibility
Find the laminator's current manual or manufacturer instructions. Record the accepted pouch type, width, and thickness notation exactly as documented. Thickness may be described in mils, microns, or another format; do not treat similar-looking numbers as interchangeable without checking the maker's definitions.
Some machines have settings, warm-up steps, feed directions, or carrier requirements tied to the pouch. Follow the instructions for the exact machine rather than relying on generic advice. Remove a pouch from consideration if the listing and machine documentation do not provide a clear compatibility path.
2. Size the pouch around the finished sheet
Measure the trimmed paper in both directions. Then compare those numbers with the pouch's stated capacity and outer dimensions. The final piece includes a sealed margin, so a pouch that accepts the paper may still be too wide, tall, or thick for the intended acrylic holder, wood slot stand, clip, or storage envelope.
Keep important copy away from the planned trim line and preserve the sealed border required by the pouch maker. Do not assume a laminated sheet can be cut flush to the paper. If trimming is allowed, follow current instructions and round or finish edges only with a method supported for that material and workflow.
3. Choose thickness by the whole display
A thicker pouch can make an insert more rigid, but added thickness is not automatically better. A self-standing holder may reject it; a clip may not open far enough; a slot stand may bow the piece; and a thick insert can make storage bulkier. Compare the finished sample with the display's documented capacity.
If the laminated insert will stand without a holder, test the full-size sample at the actual counter. Do not infer stability from thickness alone. Footprint, sheet size, orientation, counter contact, nearby airflow, and customer handling all affect whether a freestanding piece stays useful.
4. Test gloss and matte finishes in place
Print the real message and place a finished sample at the intended angle. Read it from the customer approach while windows and overhead lights are active. Gloss can preserve crisp color but reflect bright sources. Matte or reduced-glare surfaces can reduce some reflections but may soften small detail.
For QR codes or fine print, test with the actual phones, distance, angle, and lighting that matter. Keep a visible non-phone route for essential information. A finish label cannot replace an in-place readability test.
5. Treat writable surfaces as product-specific
If staff need to add a date, name, price, or status, confirm that the exact pouch surface supports the intended marker and removal method. “Writable” does not always mean reusable with every dry-erase, wet-erase, permanent, or paint marker. Test the maker-supported combination on one finished piece and check for ghosting, smearing, and accidental removal during handling.
When most of the message changes often, lamination may create unnecessary work. A dry-erase counter sign or replaceable printed insert can provide a cleaner update path. Use lamination when the base message is stable enough to justify sealing it.
6. Plan handling, cleaning, and replacement
Assign an owner to inspect edges, haze, curling, trapped debris, surface scratches, and outdated copy. Follow the pouch maker's cleaning instructions; clear plastic appearance is not evidence that a solvent, disinfectant, abrasive pad, or high heat is appropriate.
Keep the source file, print settings, pouch specification, machine reference, holder measurements, and replacement date together. A repeatable record matters more than assuming the next package with a similar label will produce an identical insert.
A practical comparison framework
- Define the message: record finished paper dimensions, orientation, important safe area, expected message life, and whether anyone writes on it.
- Check the laminator: use current instructions to identify accepted pouch type, width, thickness, feed direction, settings, and carrier guidance.
- Measure the display: record holder opening, slot or clip capacity, visible area, counter footprint, and storage dimensions.
- Shortlist categories: compare compatible pouches by outer size, finish, documented writable properties, sealed-margin guidance, and pack quantity.
- Make one complete sample: print, laminate, trim only as directed, place it in the real display, and check glare and handling.
- Standardize after the trial: save the exact specification and workflow before buying for more counters or locations.
Who should skip laminating pouches
- The message changes frequently: use a replaceable sleeve, rigid insert holder, clipboard, or suitable writable board instead of sealing each revision.
- No machine compatibility can be verified: do not guess from pouch width or appearance.
- The holder accepts paper only: use an unlaminated insert or choose a holder whose documented capacity fits the finished laminate.
- Reflections already obscure the sign: first adjust placement, angle, type size, or lighting; then test a finish if the problem remains.
- You need a certified protective property: choose a product whose current documentation explicitly covers that requirement rather than inferring it from lamination.
- The sign is outdoors or near heat, water, or food preparation: this indoor counter-sign guide does not establish suitability for those conditions.
Bottom line
Choose in this order: machine compatibility, exact paper and pouch dimensions, finished display fit, readable finish, then writable features and pack quantity. Test one real counter insert before buying a multi-pack. If a small batch needs a no-machine route, compare self-sealing laminating sheets by alignment method, edge margin, glare, and finished holder fit. For a reversible route, compare clear menu sleeves for frequently changed inserts, then use the laminated counter sign vs clear menu sleeve guide to choose between a stable sealed message and a replaceable-insert workflow. For the larger viewer, message, placement, and update workflow, return to the small-business sign planning guide.