 The Good Sign Company
Counter-Sign Format Comparison
Laminated counter sign vs clear menu sleeve
Choose a laminated sign when the printed message will stay stable long enough to justify sealing and finishing it. Choose a clear menu sleeve when staff need to remove and replace a paper insert without remaking the protective layer. The useful difference is the update workflow—not an assumption that either format is universally tougher or easier to clean.
This guide covers small indoor counter messages. Start with the small-business sign planning pillar if the viewing position, message, support, or update owner is still undecided.
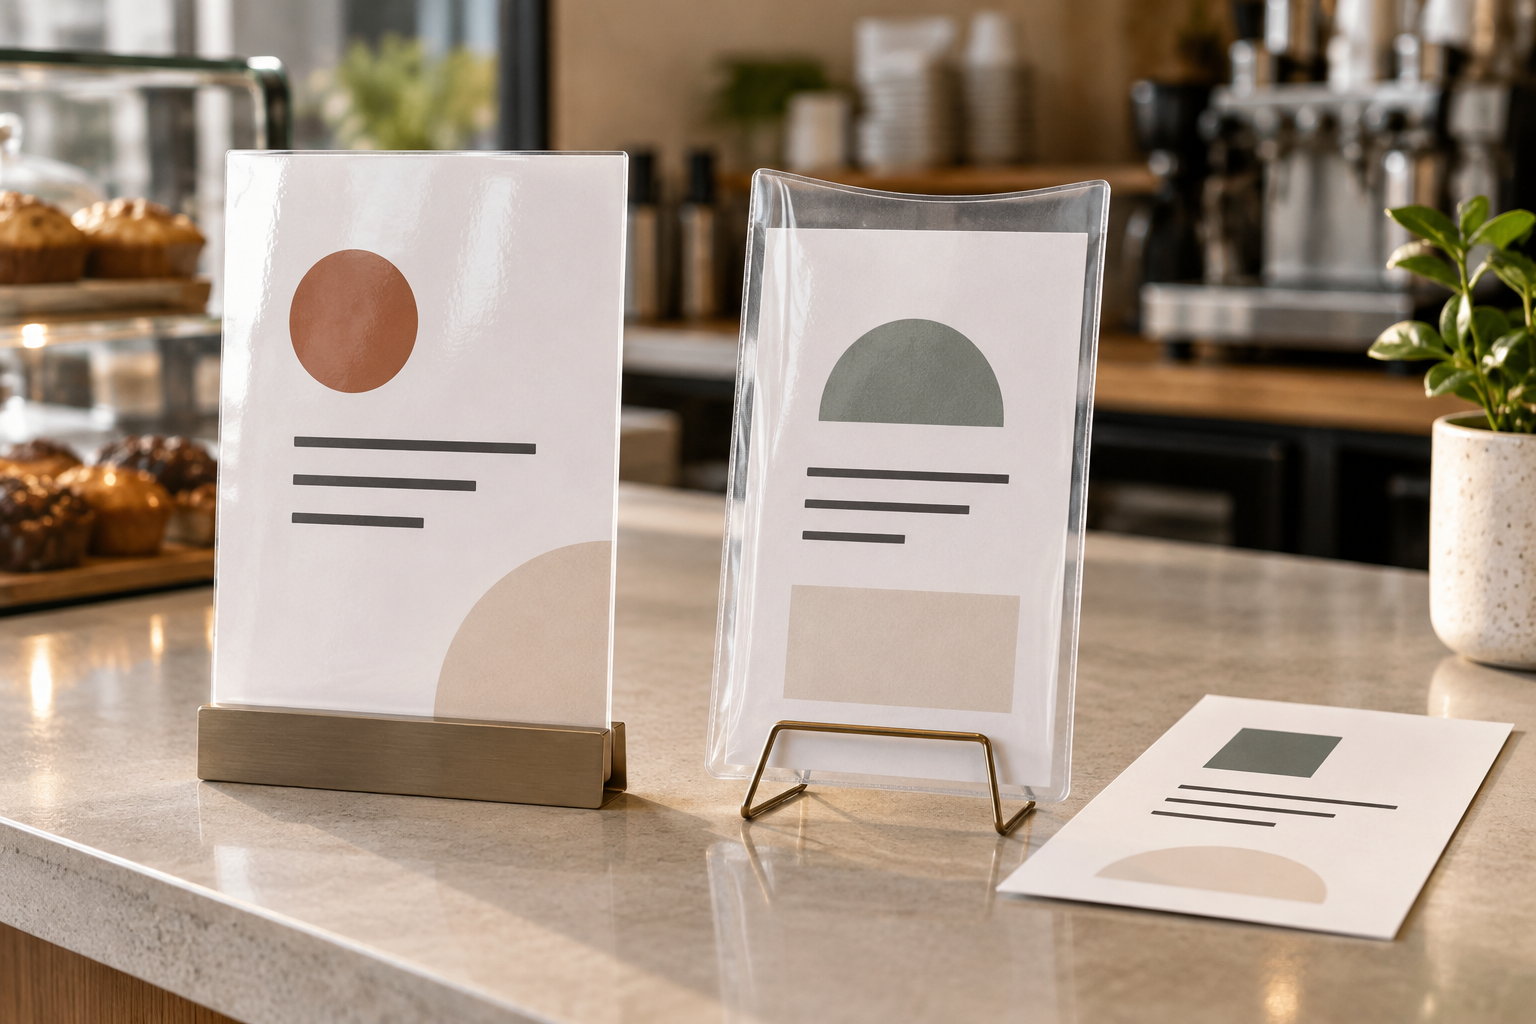
Compare exact dimensions before choosing either route
Measure the printed sheet, visible area, support opening, and stored footprint. For lamination, verify pouch and machine compatibility plus the permitted sealed margin. For a sleeve, verify loading edge, paper capacity, closure, and support compatibility.
Quick comparison
| Decision | Laminated counter sign | Clear menu sleeve |
|---|---|---|
| Best fit | A stable printed message handled as one finished piece | A paper message that staff replace on a recurring schedule |
| Update | Print and finish a new piece | Open the sleeve and exchange the compatible insert |
| Display support | Must accept the finished laminate's width, height, and thickness | Must support the loaded sleeve without hiding or distorting the message |
| Setup | Requires a compatible finishing route and a complete sample | Requires the correct loading path, paper fit, and support |
| Skip when | The message changes before finishing work pays off | The sleeve bows, slips, obscures copy, or does not fit the support |
Who each option fits
Lamination fits a stable message
A laminated piece is the stronger candidate when the wording and layout remain useful across many handling cycles, the finishing method supports the paper, and the completed sheet fits its slot, clip, stand, or storage envelope. Use the lamination worth-it guide to check whether message life and real volume justify the added workflow.
A clear sleeve fits frequent insert changes
A sleeve fits teams that already print replacement sheets, can standardize one insert size, and need an obvious loading routine. It is most useful when the clear layer stays in service while only the paper changes. The clear menu sleeve guide explains loading, glare, closure, support, and storage checks.
Tradeoffs to check at the real counter
- Message life: count actual revisions. A stable sign and a weekly-changing insert are different production jobs.
- Visible area: sleeve seams, sealed margins, clips, and stand ledges can all reduce usable space.
- Glare: both clear finishes can reflect light. Test the full-size sample from the customer approach during operating hours.
- Finished fit: record outer dimensions and thickness after lamination or after loading the sleeve—not only the paper size.
- Handling: decide whether customers pick up the sign, staff move it, or it stays in one support.
- Storage: keep finished pieces flat or supported as directed and protect replacement inserts from bends and mix-ups.
Setup and maintenance
Laminated-sign setup
Confirm the current pouch or sheet instructions, compatible equipment where required, feed or alignment method, sealed margin, and any permitted trimming. Make one complete sample, let it finish as directed, then check its edges, glare, dimensions, and support fit before producing a batch.
Follow the exact product's cleaning guidance. Do not assume lamination makes paper waterproof, food-safe, sanitizable, archival, or compatible with every cleaner.
Clear-sleeve setup
Measure the insert and sleeve interior, identify the loading edge and closure, and load one sample without forcing or folding the paper. Place the loaded sleeve in its intended stand or holder and check that the support does not pinch the sleeve, cover copy, or create a poor viewing angle.
Use the maker's care instructions for the sleeve. Replace a sleeve that no longer holds the insert as intended or whose surface prevents the message from doing its job.
When to skip both
- The message can stay as unprotected paper inside an existing compatible rigid holder.
- The counter needs a wipe-clean or other documented property neither shortlisted product claims.
- Reflections make both clear-surface formats hard to read in the actual placement.
- The sign is exposed to heat, moisture, food preparation, outdoor conditions, or another environment not covered by the exact product instructions.
- The holder accepts neither the finished laminate nor the loaded sleeve.
- A frequently changing handwritten message is better served by a suitable reusable writing surface.
A practical next step
- Record the message changes from the last six to eight weeks.
- Measure the paper, visible copy area, support opening, and storage space.
- Shortlist only formats with a documented path through printing, finishing or loading, display, cleaning, and replacement.
- Make one full-size sample and view it from the customer approach.
- Write the update steps so another staff member can repeat them.
If lamination wins, compare laminating pouches by exact machine and display fit. If the sleeve wins, standardize the insert with the clear-sleeve guide above. If the display itself remains undecided, compare a clear sleeve with a rigid acrylic holder.
Bottom line
Use lamination for a stable message that earns a finished, self-contained sheet. Use a clear menu sleeve when the protective layer should stay while staff swap measured paper inserts. Skip both when the holder, environment, glare, or update routine points to a simpler display.