 The Good Sign Company
Indoor Directional Sign Buying Guide
Best floor sign stands for indoor directional inserts
A useful indoor directional stand does more than lift an arrow off the floor. Its insert window must fit the printed message, its complete base must fit the chosen location, and the sign face must meet the approach sightline without turning into an obstacle. Start with those measured constraints, then compare products.
Disclosure: As an Amazon Associate, we may earn from qualifying purchases and approved partner referrals.
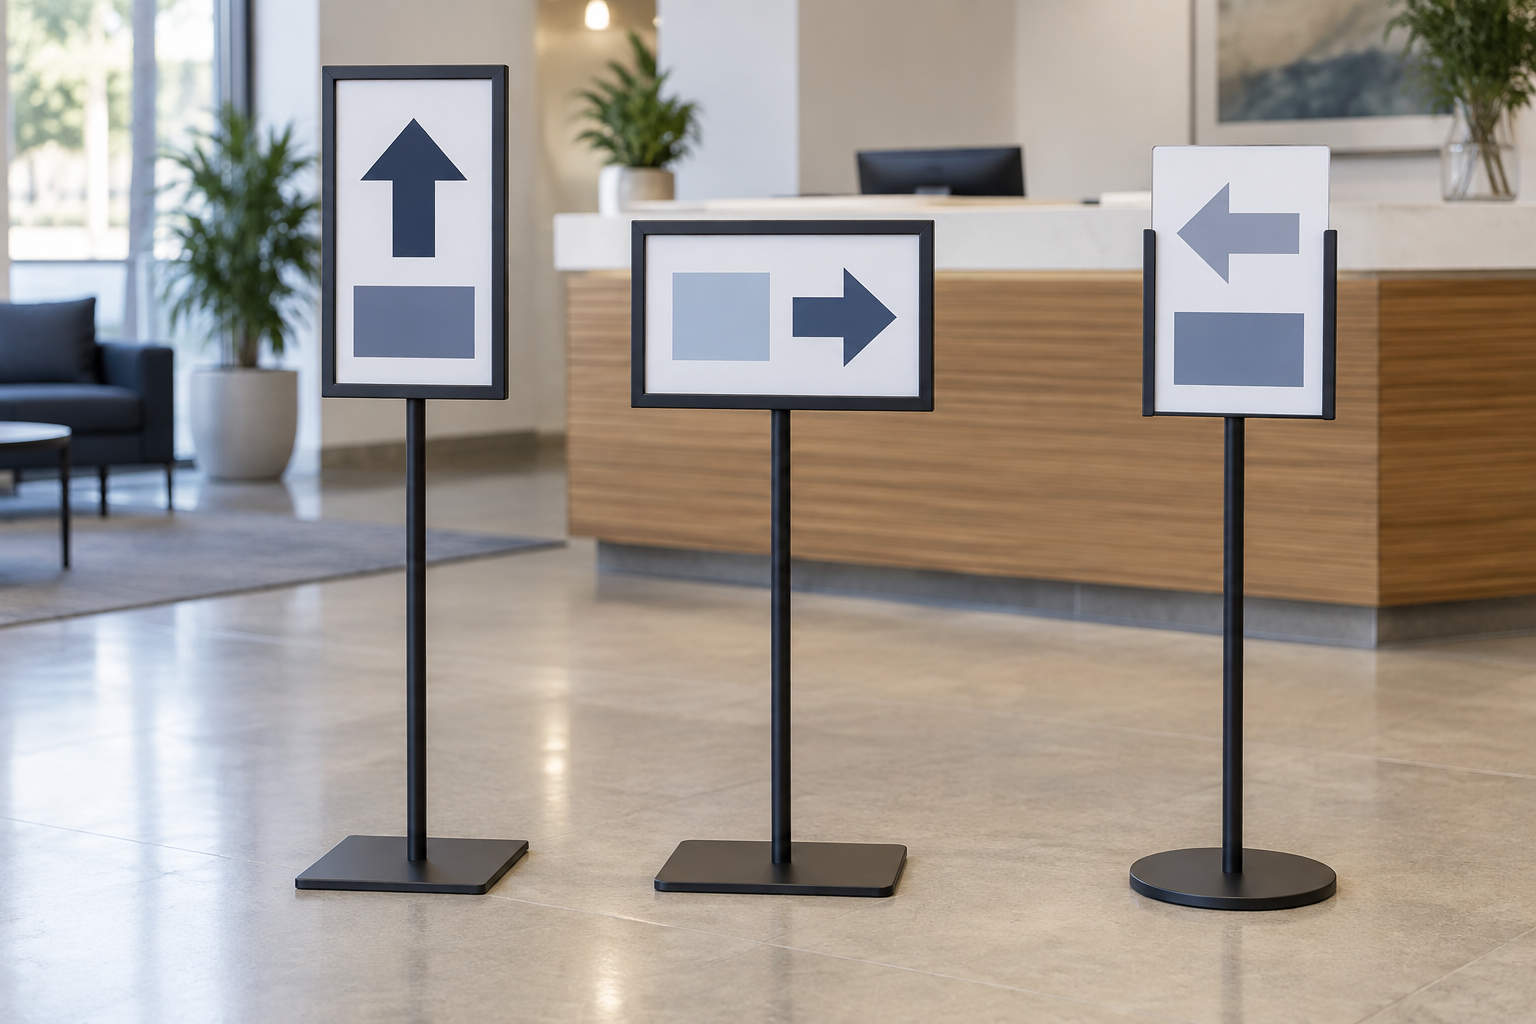
Category shopping route
Compare floor stands only after measuring the route.
Record the exact insert size, visible opening, orientation, complete stand height, full base outline, loading clearance, product weight, assembly, and current indoor-use instructions. Seller photos cannot establish those facts.
The short answer
- Choose a portrait insert stand when a short arrow, destination, or instruction reads clearly in a tall layout and the narrower face suits the available sightline.
- Choose a landscape insert stand when the route name or arrow needs horizontal space and the wider face will not conflict with nearby circulation.
- Choose a reversible or adjustable-orientation stand only when its current instructions cover both layouts and the added joints still suit the update and handling routine.
- Skip the floor stand when a staffed handoff, tabletop sign, wall notice, or existing wayfinding point communicates the direction without occupying walking space.
Four stand formats worth comparing
| Format | Best fit | Verify before buying | Main tradeoff |
|---|---|---|---|
| Fixed portrait insert frame | Short stacked message or simple vertical hierarchy | Insert size, visible area, overall height, base outline | Least flexible when artwork needs width |
| Fixed landscape insert frame | Wide arrow or longer destination line | Frame width, side clearance, viewing angle, base orientation | Wider face can consume more visual and physical space |
| Rotating-orientation frame | Teams that genuinely alternate portrait and landscape layouts | Allowed positions, locking method, loading access, assembled dimensions | More adjustment steps and parts to manage |
| Rigid-panel holder | A separately printed panel within the documented holder range | Panel width, height, thickness, weight, engagement, retention | Does not provide the enclosed paper-insert workflow of a frame |
These are buying formats, not named winners. Current listings and specifications change, so confirm every dimension and instruction on the product page before ordering.
Measure the message before the stand
Write the shortest useful direction first: one destination, one arrow, and only the supporting detail needed at that decision point. Print a full-size draft and test it from the actual approach. If the arrow, destination, or contrast fails in the paper mockup, a taller stand will not repair the layout.
Match the artwork file to the holder's stated insert dimensions, then check the visible opening separately. A frame can cover part of a nominal sheet. Keep essential letters and arrowheads inside the confirmed visible area, and verify whether the same insert can be read from one side or whether the stand accepts two separate faces.
Trace the complete footprint
Use painter's tape or a paper template to mark the full base where the stand would sit. Include the sign face above it: a landscape frame may project beyond the base, and a portrait frame can still conflict with a door swing, queue rail, chair, cleaning path, or counter edge.
Ask the property or venue stakeholder to review the proposed location. Keep required routes, doors, accessibility features, and emergency information unobstructed, and treat applicable rules as project-specific requirements to confirm with the responsible authority—not as something a generic shopping guide can approve.
Choose a loading method the team can maintain
Front-opening frames
A front-opening design can make a paper update approachable when there is working room in front of the sign. Verify how the cover opens, what retains it, and whether the frame must be supported during the change.
Slide-in or top-loading frames
These need clear travel in the loading direction. Measure overhead or side clearance with the stand in its intended position, not in an empty room. Check how the insert stays flat and how it is removed without creasing.
Rigid-panel clamps or channels
Match the finished panel to the documented thickness, engagement, and retention method. Do not assume a holder intended for paper, poster board, foam board, or acrylic will accept another material merely because the width looks similar.
Plan viewing height and placement together
Overall stand height is not the same as the height of the message center. Use the product drawing to locate the visible window, then mock up that centerline in the room. Test from each real approach, including the point where a visitor must choose a direction.
Do not add paragraphs just because a larger insert allows them. If one location needs identity, directions, check-in instructions, and policies, separate those jobs through the interior wayfinding hierarchy instead of asking one movable stand to carry the whole system.
Check update, move, and storage work
- Update: identify who owns the source file, printing, trimming, replacement, and final proof.
- Move: follow the maker's handling instructions; do not drag, lift by the sign frame, or improvise a carrying point.
- Set: give the setup team a placement reference based on the approved floor location and viewing direction.
- Inspect: before each use, check that the stand is assembled as directed and that parts, fasteners, covers, and base contact appear complete.
- Store: measure the assembled or disassembled package, protect the frame and inserts, and keep all required hardware together.
When another format is better
- Use a counter sign holder when the message belongs at a staffed desk and is readable at that height.
- Use a wall or door sign when the destination is permanent, the mounting location is approved, and a movable object would create unnecessary reset work.
- Use a rigid-board easel when the panel itself is part of the presentation; the easel-vs-poster-stand comparison explains that earlier format decision.
- Use a person or existing information point when the route changes too often for printed inserts to remain accurate.
- Pause the purchase when the insert, visible opening, footprint, placement approval, or manufacturer instructions cannot be confirmed.
Final buying checklist
- One clear directional job at one measured decision point
- Exact insert dimensions and confirmed visible opening
- Portrait, landscape, or documented adjustable orientation
- Message center tested from the actual approach
- Complete base and frame outline traced at the location
- Loading clearance and update owner confirmed
- Current product instructions reviewed for assembly, use, handling, and care
- Property or venue placement review complete
- A simpler tabletop, wall, or staffed alternative considered
The best stand is not the tallest or heaviest listing. It is the one whose documented insert system, viewing height, base footprint, loading method, and indoor-use instructions fit a specific directional job—and whose placement the responsible site team can approve and repeat.