 The Good Sign Company
Reception display buying guide
Best desk sign holders for reception counters
The best reception desk sign holder fits one clearly defined message, keeps it readable from the visitor's approach, and occupies less counter space than its front view suggests. Start with finished insert dimensions and viewing position. Then compare orientation, face angle, base footprint, loading method, glare, and how often staff will replace the paper.
This guide focuses on indoor holder hardware—not every kind of retail counter sign. Decide what the visitor needs to do before choosing a material or finish.
Disclosure: As an Amazon Associate, we may earn from qualifying purchases and approved partner referrals.
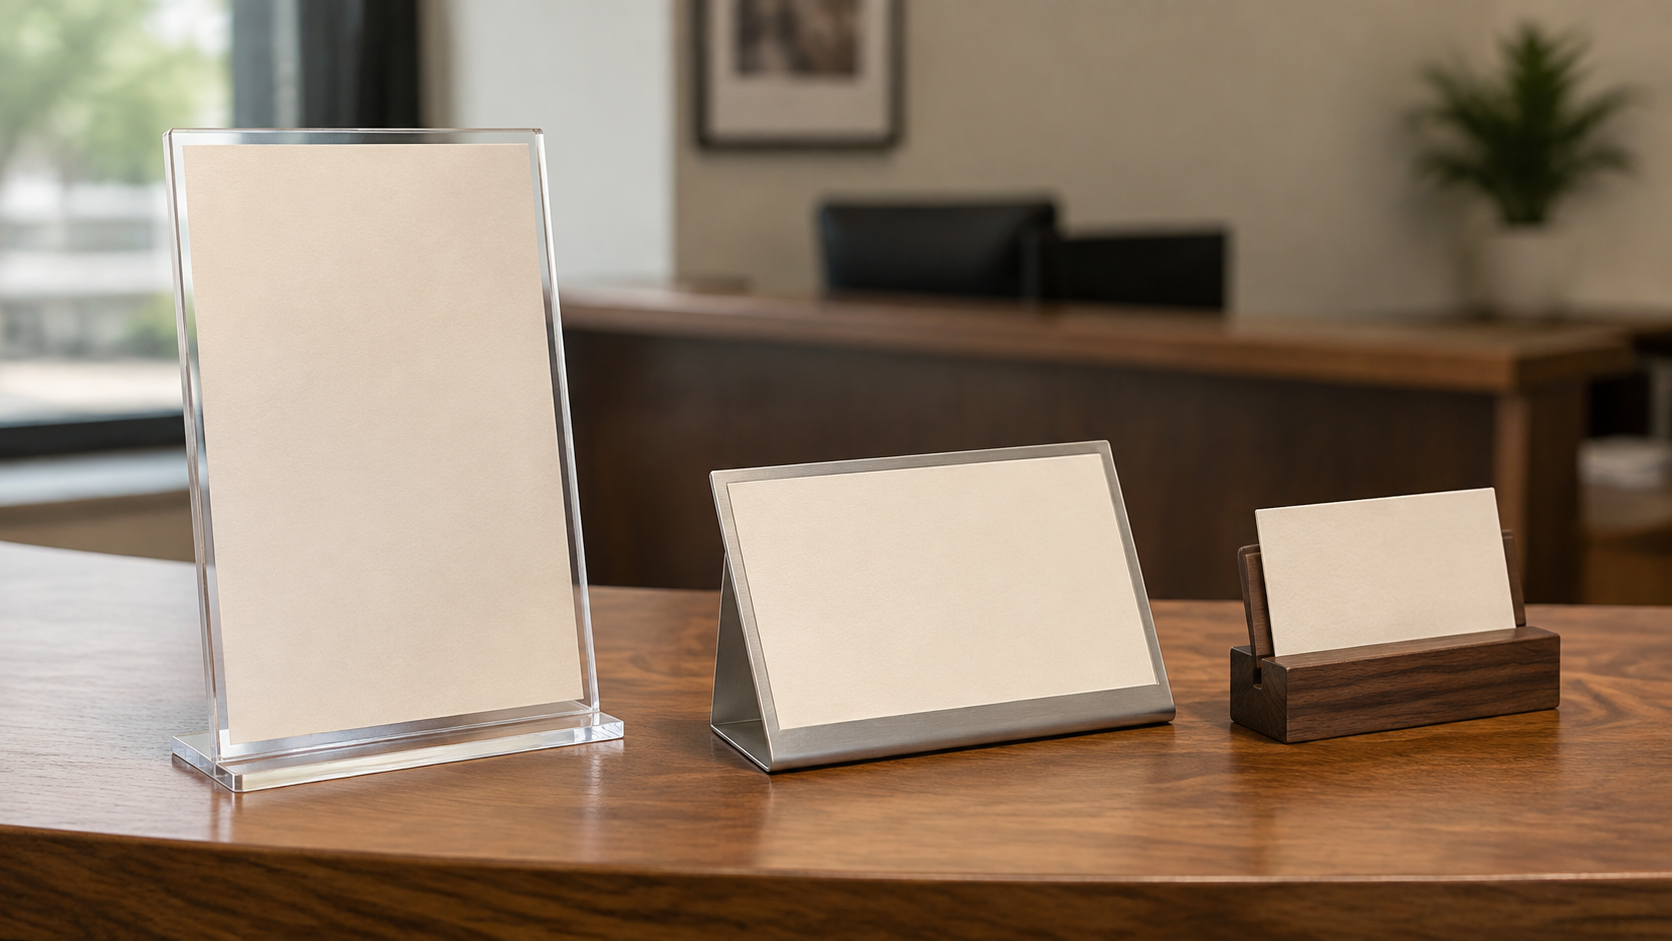
Compare holder formats against a full-size paper mockup
Check accepted insert size, orientation, outside dimensions, base depth, loading edge, visible faces, material, and cleaning instructions. Do not infer stability from a close product photo; compare the documented base and total dimensions with the real counter space.
Best holder format by reception task
These are fit-based categories, not named winners or hands-on rankings.
- Upright acrylic insert holder: best for visibility from farther away. It gives a printed sheet a clean border and quick replacement path. Check glare at the visitor's approach angle.
- Slanted metal or acrylic holder: best for a close reading position. The lower face can suit a check-in instruction beside a writing area, but may disappear behind equipment from across the room.
- Wood slot stand: best for a small card and warmer visual tone. Confirm slot width and depth against the finished card thickness; a staged image does not establish fit.
- Double-sided holder: best when people approach from two directions. Plan each face separately and compare the added footprint. Use the single- versus double-sided comparison if the second face is still in question.
- Clipboard holder: best when staff must write on or replace the exposed sheet often. The clip adds visual weight and leaves paper uncovered. Compare a clipboard with an acrylic sign holder when access, glare, and enclosure are the deciding factors.
Measure the usable counter patch, not the entire desk
Map the card reader, phone, monitor, bell, paperwork, cable paths, visitor writing area, drawers, and handoff space. The holder belongs only in the rectangle left after those working zones are protected. Record width and depth, then mark the proposed outside footprint.
Open nearby drawers and pass a folder or package across the counter during the mockup. A sign can fit while the desk is quiet yet interfere with the task it is meant to support.
Match insert size and orientation to the message
Choose the wording first, print it at full size, and view it from the arrival path. Portrait holders save width and create vertical presence. Landscape holders suit a short line or directional layout but consume more horizontal space. A small card can work for close check-in; it is a poor substitute for a message visitors must notice from the doorway.
Verify stated insert dimensions rather than relying on labels such as “standard.” Check whether paper loads from the side, top, front, or base and leave enough clearance for that movement.
Check angle, glare, and sightline together
Place the full-size mockup at the proposed angle, then inspect it from the doorway, queue, relevant accessible approach, and the point where a visitor must act. This is a practical visibility check, not an accessibility or code determination. Use the responsible professional or authority for regulated signage decisions.
Clear acrylic can reflect bright windows and overhead fixtures. Tilting the face, moving the holder, using a matte printed insert, or choosing a less reflective format may help. Test under the lighting used during operating hours.
Plan updates and cleaning
- Use a top- or side-loading insert holder when the message changes regularly, provided the loading edge stays accessible.
- Keep the master file and a spare printed insert where staff can find them.
- Follow the holder maker's cleaning instructions; incompatible cleaners or abrasive cloths can affect some surfaces.
- Remove the insert before wet cleaning if the design allows moisture to reach the paper.
- Check edges, feet, fasteners, and the base during routine counter cleaning.
When to skip a desk sign holder
- Skip it when the counter is crowded or it interrupts payment, writing, package handoff, or eye contact.
- Skip a tall lightweight format where bags, sleeves, carts, or counter movement are likely to bump it.
- Skip a reflective clear face when repositioning and a lighting test cannot make the message comfortable to read.
- Skip a fixed holder while wording, insert size, or the brand system is still changing.
- Skip adding another object when one existing sign can combine the messages clearly.
If the name and role will stay fixed, use the custom desk name sign worth-it guide before choosing a replaceable holder. If the display distributes printed takeaways, decide whether an integrated brochure-holder header clarifies the choice or merely adds height.
Bottom line
Start with one visitor task, the approach path, and a measured counter patch. An upright acrylic holder suits a replaceable message that needs presence; an angled holder suits close reading; a wood slot stand suits a small card; and a clipboard suits frequent writing or swaps. Choose only after insert, footprint, face angle, loading clearance, and cleaning routine work together.
Continue with the small-business sign planning pillar, compare low-glare reception sign formats, or review check-in sign message and placement decisions.