 The Good Sign Company
Writable-sign supply guide
How to Choose dry-erase markers for frequently updated signs
The best dry-erase marker is the one the sign maker identifies as compatible, with a line width readable at the actual viewing distance and a storage routine staff will follow. A fine tip suits compact schedules; a broader bullet or chisel tip makes short counter messages easier to see. Start with the sign surface, not a large color pack.
This guide is for offices, studios, cafes, reception desks, and small businesses that already use a compatible dry-erase schedule, notice, door sign, or counter board. It compares product categories and selection criteria rather than naming an unverified winner.
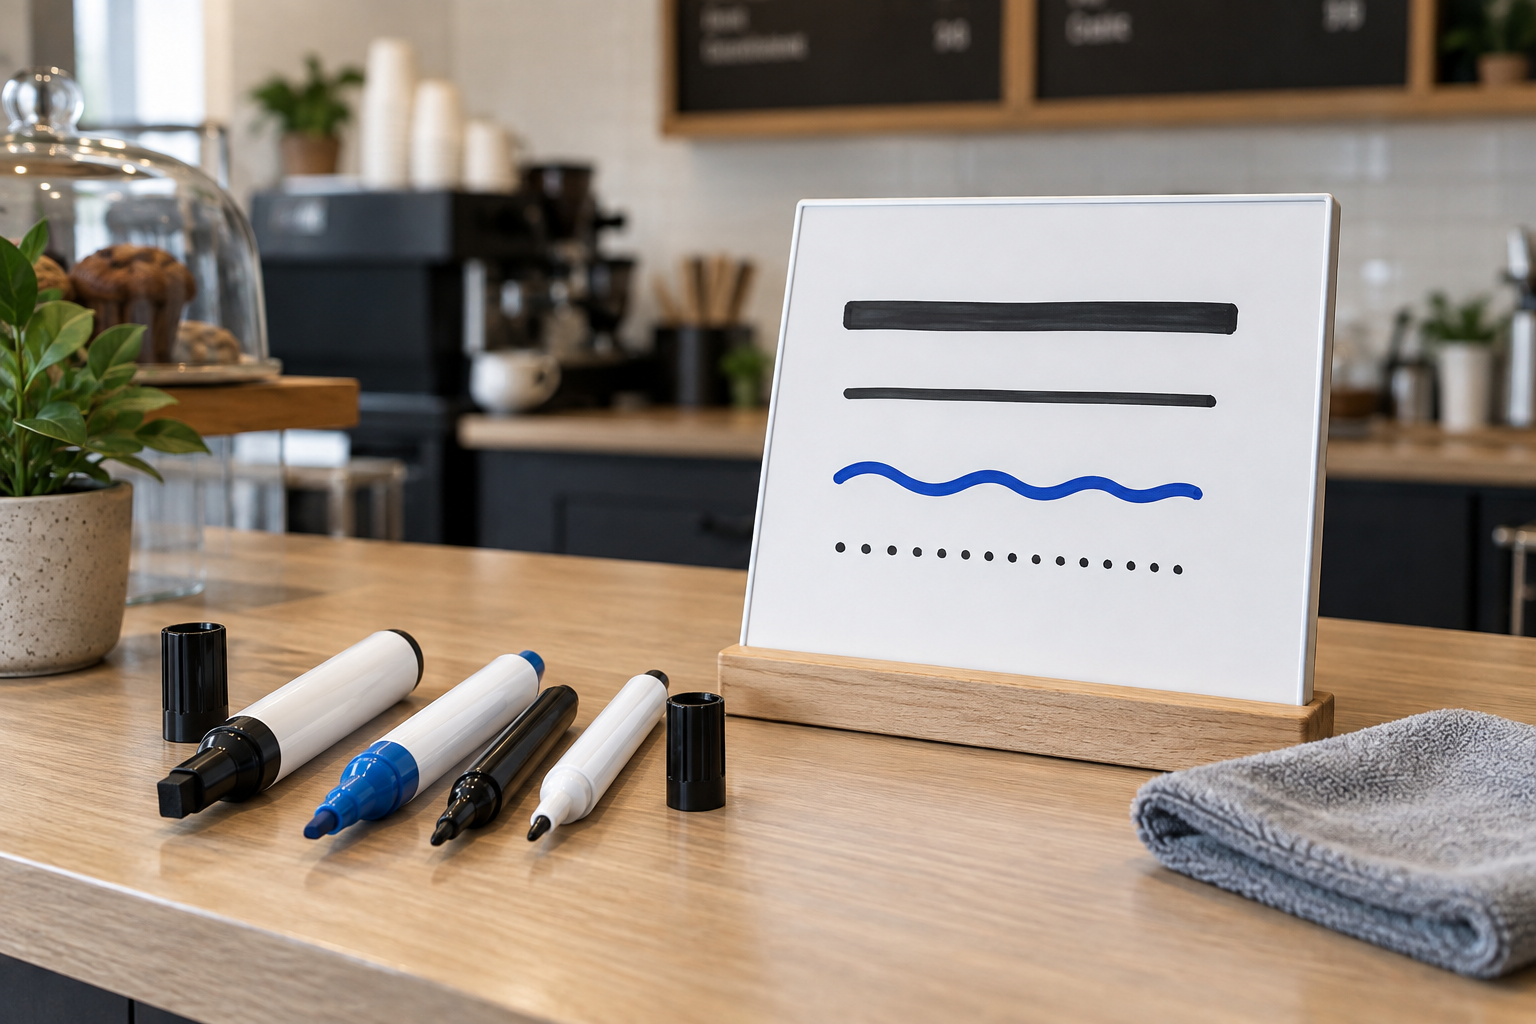
Compare marker formats by the sign you already have
Check each current listing for compatible surfaces, tip format, stated line width, colors, cap and storage directions, cleaning guidance, and replacement or refill options. Do not assume every marker labeled “dry erase” suits every coated sign.
Quick picks by message job
| Marker format | Best starting use | Check before buying |
|---|---|---|
| Fine tip | Compact grids, dates, names, and close-view schedules. | The line remains legible and the tip does not encourage cramped copy. |
| Bullet tip | General notices and short messages read from a few steps away. | The stated line width fits the board and the marker can form consistent lettering. |
| Chisel tip | Headings, larger letters, and mixed thick-and-thin strokes. | Staff are comfortable controlling the angle and the broad stroke fits the writing area. |
| Limited high-contrast set | Operational signs where one main color and one accent are enough. | Every chosen color remains clear against the board under real lighting. |
| Refillable system | Established, high-frequency use with an owner for refilling and parts. | Current refills, nibs, instructions, and storage are available for that exact system. |
1. Verify the exact writing surface
Read the sign or board maker's care instructions first. Traditional dry-erase boards, coated acrylic-style products, glass boards, laminated prints, and write-on films are not interchangeable simply because their faces look smooth. Use only marker types the surface maker supports, and test in an inconspicuous area when its instructions call for that.
If the surface identity is unknown, pause. A cheap replacement board with clear documentation can be a better purchase than experimenting on a sign whose coating or previous cleaning history is unclear. For a schedule system that has not yet been chosen, start with the dry-erase sign buying guide.
2. Match tip and line width to viewing distance
Write the longest real message at full size, then place the sign where it will be used. A fine tip may fit every appointment into a grid but disappear at the room entrance. A broad stroke may read well from the queue yet consume too much of a small counter board.
Use the maker's stated tip or line dimensions when available, but treat those numbers as a starting point. Letter height, spacing, contrast, handwriting, glare, and background clutter all affect the result. Test the complete message from the normal customer or staff approach—not from writing distance.
3. Choose contrast before color variety
Black or another dark, supported color is usually the simplest baseline on a light board. Add a second color only when it communicates a repeatable distinction such as headings, changed items, or staff-only update cues. A many-color pack creates little value when pale colors vanish under overhead lighting or no one remembers what each color means.
Make a sample with every planned color under daytime and evening conditions. Avoid relying on color alone for critical distinctions: pair it with position, a word, or a simple symbol so the sign still makes sense to readers who do not perceive the colors as expected.
4. Inspect the cap, barrel, and storage plan
A marker can have the right ink and still fail the workflow. Check how the cap fits, whether staff can identify the color quickly, and whether the barrel fits an existing tray or holder. Follow the manufacturer’s storage orientation and recapping directions; do not assume horizontal or tip-down storage is correct for every product.
Assign one storage point beside the update station without blocking the sign face. Count markers on a simple schedule and replace missing or poorly performing ones before the next public update. If markers travel between rooms, a small labeled case can be easier to maintain than loose pieces in several drawers.
5. Plan cleaning as part of the purchase
Follow the board maker's cleaning directions and the marker maker's erasing guidance. Test the normal erase interval using the actual message colors. Do not promise stain-free removal or reach for an improvised solvent: surface coatings and cleaner instructions vary.
If ordinary product-directed cleaning no longer restores a usable writing area, stop adding stronger products. The board may be worn, damaged, contaminated by an incompatible marker, or simply due for replacement. A marker purchase cannot repair a failing surface.
A practical three-marker starter set
For many small signs, a restrained set is easier to manage than a large assortment:
- One dark fine-tip marker for dates, names, grid entries, and close-view detail.
- One dark bullet- or chisel-tip marker for headings and short customer-facing messages.
- One contrasting supported color for a consistent secondary cue—not decoration on every line.
Before ordering multiples, buy the smallest sensible quantity, test it on the documented surface, and record the exact marker format that works. Standardizing a proven format can simplify reordering across rooms or locations.
When to skip a marker purchase
- The sign maker does not identify a compatible marker type.
- The board surface is scratched, cloudy, peeling, or no longer cleans according to its care instructions.
- The message must look identical across locations or writers; a printed insert may provide better consistency.
- The content changes rarely enough that printing a clean replacement sheet is simpler.
- The message needs more words than the board can carry at a readable size.
- The sign contains permanent identity information that should not be casually altered.
Alternatives for a mismatched workflow
- For weekly approved notices: consider a printed-insert sign system.
- For a counter message: compare a printed insert with a dry-erase sign.
- For a door status: decide whether a dry-erase door nameplate earns its cleaning and update routine.
- For a menu on a compatible chalkboard-style surface: use the separate chalk marker guide; chalk markers and dry-erase markers are not automatic substitutes.
Complete the board-care setup
Once the marker is settled, compare dry-erase erasers for frequently updated sign boards by pad area, grip, storage, and the board maker’s care instructions.
Bottom line
Choose dry-erase markers in this order: documented surface compatibility, readable line width, useful contrast, workable cap and storage design, then refill or replacement convenience. Test a real message before standardizing the supply. If the board itself is unresolved, return to the small-business sign planning pillar and settle the message, viewer, update owner, and display format first.