 The Good Sign Company
Portable Lighted Sign Setup Guide
How to Choose adhesive cable clips for portable lighted signs
A few correctly sized clips can keep a portable indoor sign cord on a deliberate route along a counter, desk, or shelf. The useful choice starts with the cord diameter, the actual surface, and the route—not the number of clips in the package.
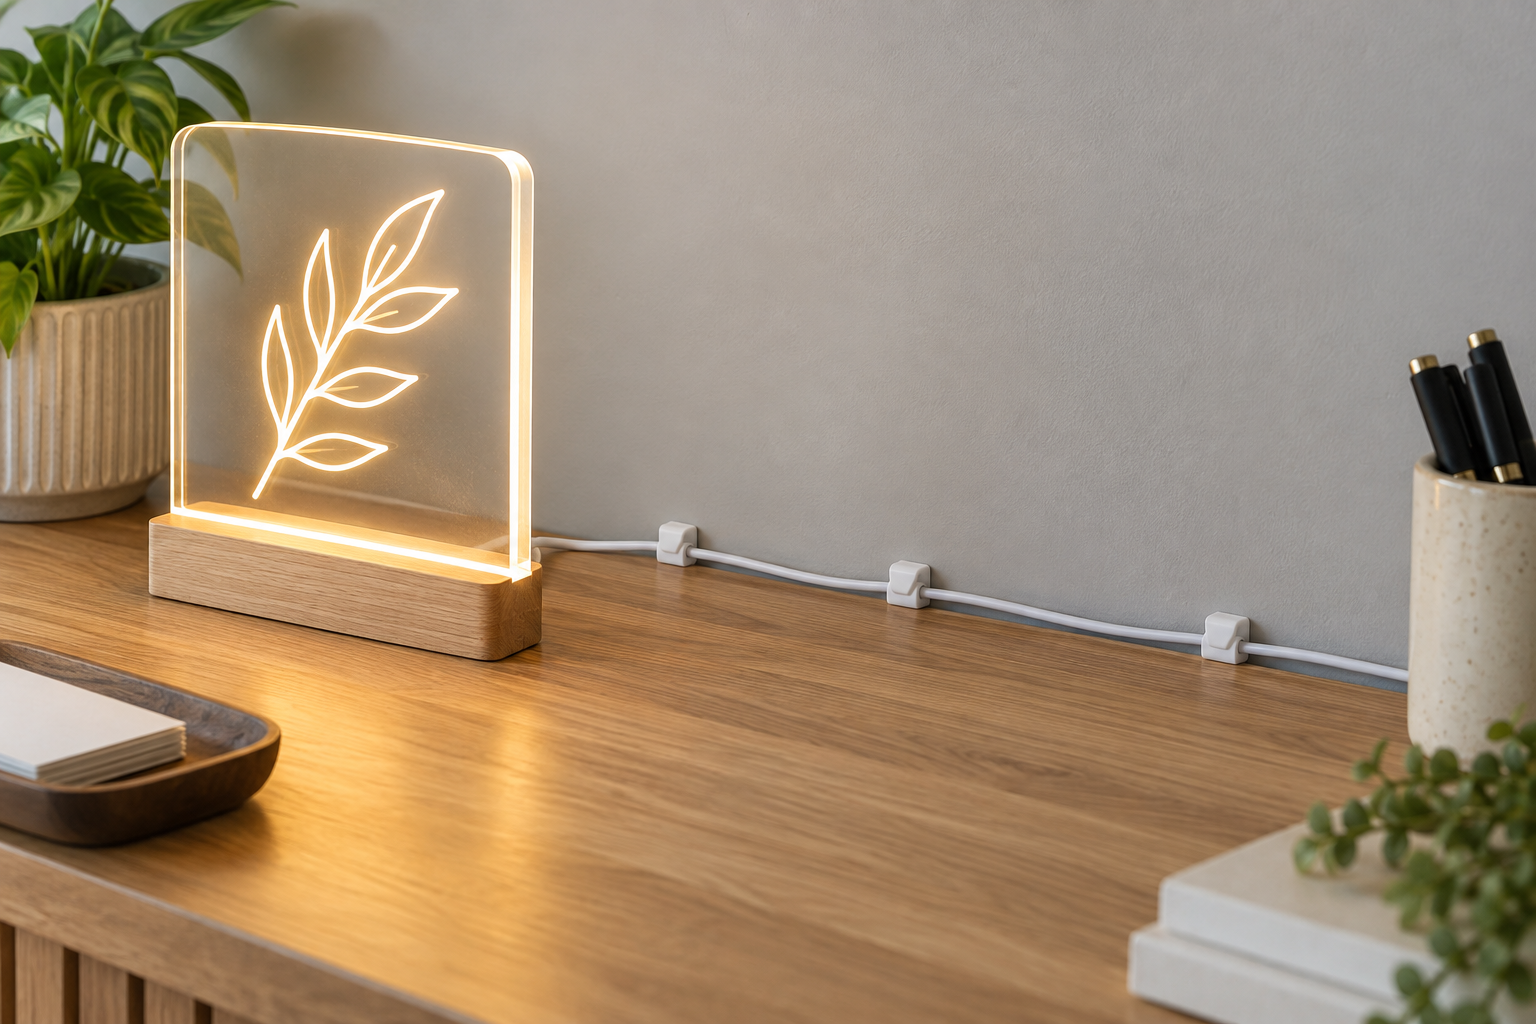
Format comparison
Match the clip to both the cord and the surface.
Measure the manufacturer-supplied cord, map a gentle route, and then check the clip maker's stated cord range, surface instructions, exclusions, application steps, and removal directions.
The short answer
- Choose a closed or locking clip when the cord should remain seated during normal cleaning or display changes and the opening still fits without compression.
- Choose an easy-open clip when the sign travels often and the cord needs to be removed from the route after each setup.
- Choose a low-profile clip when clearance behind the sign or along a counter edge is tight, after checking the full clip dimensions.
- Skip adhesive clips when the surface is excluded by the maker, the finish is delicate or uncertain, the cord is damaged, or the route crosses a walking path.
These are product categories and selection criteria, not named winners or hands-on test results. Listings and instructions can change, so verify the current product details before buying.
Compare the main clip formats
| Clip format | Useful starting fit | Verify before buying | Main tradeoff |
|---|---|---|---|
| Snap-closed clip | A route intended to stay assembled between sign uses | Cord range, latch clearance, opening method | Slower to release during frequent pack-downs |
| Open-slot clip | A cord removed regularly from a desk or counter route | Slot width, cord retention, route orientation | The cord may release more easily when moved |
| Hinged clip | A removable cord that still needs a positive closure | Hinge and latch access, external dimensions | Needs hand clearance to open |
| Multi-channel clip | Two separately identified compatible cords on one route | Individual channel size and equipment instructions | Wider footprint and more complicated changes |
| Reusable tie instead | Bundling spare cable for transport rather than fixing a route | Tie length, bundle diameter, storage guidance | Does not anchor the cable to a surface |
Seven checks that matter
- Measure the cord: use the cable maker's stated diameter when available, or measure without squeezing the jacket. A clip should not flatten, pinch, or sharply bend it.
- Read the surface list: confirm that the clip maker supports the exact finish. Painted walls, laminates, wood finishes, glass, metal, and textured surfaces are not interchangeable.
- Map the whole route: keep the sign stable, controls reachable, connectors unstressed, and the cable away from drawer travel, doors, chair movement, cleaning paths, and foot traffic.
- Check clip orientation: some clips retain a cord differently when mounted horizontally, vertically, or under an edge. Follow the product instructions rather than relying on package count or appearance.
- Leave useful access: decide whether the cord stays in place or comes out after every event. Match the opening style to that routine.
- Follow application steps: surface preparation, pressure, waiting time, temperature, and removal method are product-specific. Do not assume every adhesive installs or releases the same way.
- Plan for removal: use the stated release method and recognize that no general guide can promise damage-free removal from an unknown finish.
A route-planning workflow
- Unplug the sign and place it where its base is stable and the message is readable.
- Identify the manufacturer-supplied cord, connector, inline control, adapter, and intended power point.
- Lay the cord loosely along the proposed route without stretching it or forcing tight corners.
- Mark only the points needed to guide direction or keep the cable away from normal counter use; more clips are not automatically better.
- Measure the cord and clearance at those points, then compare them with the clip's complete dimensions and stated cable range.
- Confirm surface compatibility and follow the clip maker's preparation, placement, waiting, and removal instructions.
- Reconnect the sign only after the clip instructions permit it, then verify that no connector, control, or cable section is under strain.
This workflow organizes a compatible low-voltage cord; it does not modify wiring, establish electrical suitability, or make a route appropriate for a walkway or an unsuitable location.
Who should skip adhesive cable clips?
- Skip them when the clip maker does not name the mounting surface or excludes its finish, texture, temperature, or condition.
- Skip a clip whose supported cable range, inside opening, application instructions, or removal directions are missing.
- Skip adhesive routing on dusty, oily, damp, loose, peeling, freshly finished, or otherwise unsuitable surfaces.
- Skip any plan that pulls on the sign, adapter, connector, or inline control, or that requires the cable to be kinked or compressed.
- Do not use clips to hide a damaged cable, loose connector, overheating component, or improvised electrical connection. Stop using the setup and follow the equipment maker's support guidance.
- Use a different route when a cable would cross a doorway, aisle, walking path, rolling furniture path, or cleaning-equipment route.
- For leased, managed, or valuable surfaces, obtain the property stakeholder's approval before applying adhesive.
Final buying checklist
- Cord diameter or maker-stated cable range confirmed
- Clip opening and outside dimensions checked
- Exact counter, desk, shelf, or wall finish supported by the maker
- Application and removal instructions available
- Full route avoids movement, cleaning, doors, drawers, and foot traffic
- Connectors, adapter, switch, and inline controls remain accessible
- Portable pack-down routine matches the clip's opening style
- Alternative chosen when the surface or route is uncertain
Adhesive clips are best for a small, known cord on a compatible indoor surface with a stable route. For packing a disconnected cord between events, compare reusable hook-and-loop cable ties, or use the direct cable tie versus adhesive clip comparison when the job is not yet settled. For a fixed wall run, start with the cord-cover guide; for hardware, surface, and powered-sign setup choices, continue to sign mounting and setup supplies.