 The Good Sign Company
Portable Lighted Sign Cord Comparison
Hook-and-loop cable tie vs adhesive cable clip for a portable lighted sign
These products solve different parts of a portable sign routine. A reusable hook-and-loop tie gathers a disconnected cord for transport or storage. An adhesive cable clip guides a compatible cord along a supported indoor surface while the sign is set up. Choose by the job first; a portable kit may reasonably use both at different times.
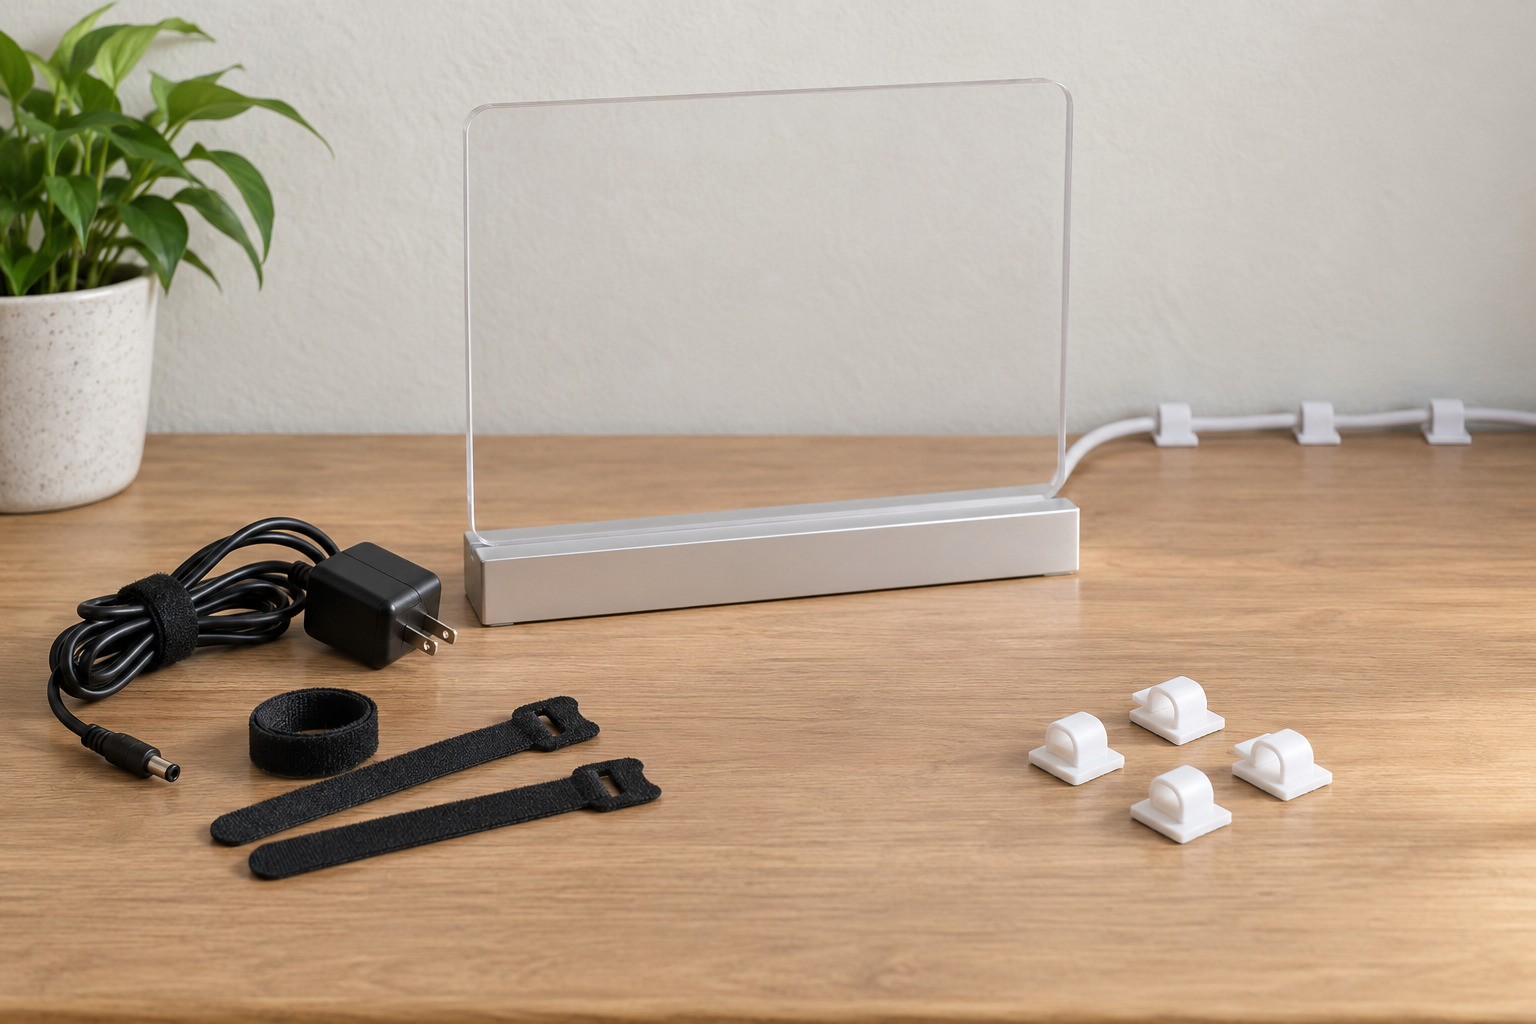
Two jobs, two product routes
Bundle for pack-down or guide the cord during use.
Measure the loose packed bundle before choosing a tie. For clips, measure the cord and verify the exact mounting surface, clip instructions, route, and removal method.
The short answer
- Choose a hook-and-loop tie when the sign is unplugged and the immediate job is keeping a loose, maker-approved cord bundle together in storage or transit.
- Choose an adhesive cable clip when the sign is in use and a known low-voltage cord needs a deliberate route along a compatible indoor desk, counter, or shelf surface.
- Use both for separate stages when the sign travels, then operates from the same measured surface layout at each setup.
- Skip both when the cord is damaged, the equipment instructions call for a different arrangement, or the proposed route crosses a doorway, aisle, walking path, or moving furniture.
Neither product repairs a cord, replaces strain relief, changes the sign's electrical requirements, or establishes that a route is suitable for an unknown site.
Side-by-side comparison
| Decision point | Hook-and-loop cable tie | Adhesive cable clip |
|---|---|---|
| Primary job | Contain a disconnected cord bundle | Guide a cord along a surface during setup |
| When it works | Transport or storage | In-use routing, after the product's required application time |
| Main measurement | Loose bundle circumference and usable tie length | Cord diameter, clip opening, outside dimensions, and route clearance |
| Host requirement | A cord that its maker permits to be bundled this way | An exact surface and finish supported by the clip maker |
| Best for repeated travel | Usually the simpler pack-down tool | Only when the clip can remain installed or the routine supports replacement |
| Key limitation | Does not anchor a live route to a surface | Does not gather the cord neatly inside a case |
Choose by workflow, not appearance
Choose a reusable tie for pack-down
Start with the sign and power-supply instructions. Disconnect only the components intended for routine removal, inspect the cable and connectors, and form the cord in the storage shape the maker recommends. Measure around that loose bundle. Compare the tie's usable length—not just its advertised overall length—along with width, edge finish, attachment style, and the space available in the case.
An attached-loop tie can stay assigned to one cord, while a removable strip is easier to share across kits. Keep either style clear of plugs, connectors, strain relief, controls, and ventilation. The tie should contain the existing bundle without forcing a smaller bend or compressing the jacket.
Choose adhesive clips for the in-use route
Place the unplugged sign in its intended position, identify the manufacturer-supplied cord and adapter, and lay the cable loosely along the proposed route. Measure the cord and every clearance point. Then check the clip maker's supported cable range, full dimensions, mounting orientation, surface list, application steps, waiting time, and removal directions.
Adhesive clips make the most sense when the route is stable and stays away from drawers, doors, chair movement, cleaning equipment, and foot traffic. No general product category can promise damage-free removal from an unknown paint, laminate, wood finish, glass coating, or other surface.
When using both makes sense
A recurring market booth, reception desk, or studio display may need two distinct routines:
- At setup, remove the reusable tie completely and place it in the sign case.
- Set the sign on a stable surface and uncoil the cord according to the equipment instructions.
- Seat the cord in already verified clips without pulling on the sign, connector, inline control, or adapter.
- After use, switch off, unplug, and allow any maker-required cooling time.
- Release the cord from the clips without tugging it, inspect the equipment, and form the approved loose bundle.
- Fasten the tie only firmly enough to keep the loops together, then pack the bundle where the case will not crush it.
This combined workflow is useful only when each component fits its own task. Buying both does not correct a poor surface, undersized clip, short route, cramped case, or damaged cable.
What to verify before buying
- Equipment guidance: shutdown, cooling, disconnection, cord routing, storage shape, and any minimum-bend instructions.
- Tie dimensions: usable length, width, working overlap, attached-loop opening, and release tab.
- Clip dimensions: supported cable range, inside opening, outside footprint, latch or slot access, and mounting orientation.
- Surface instructions: supported and excluded finishes, preparation, application pressure, waiting time, temperature limits, and removal method.
- Complete route: power point, adapter placement, control access, connector strain, furniture movement, cleaning, and pack-down.
- Replacement routine: what happens when a tie wears out, a clip releases, or the setup moves to a different surface.
Who should skip either option?
- Stop using the setup and follow the equipment maker's support guidance when a cord, plug, adapter, connector, control, or strain-relief area is cut, flattened, loose, discolored, or unusually warm.
- Skip a tie when it creates a tight coil, sharp bend, pressure point, obstructed control, or cramped case closure.
- Skip an adhesive clip when its supported cord range, mounting orientation, surface list, application instructions, or removal directions are unavailable.
- Skip adhesive routing on dusty, oily, damp, loose, peeling, newly finished, textured, delicate, or otherwise unsupported surfaces.
- Choose a different route when the cable would cross a walkway, aisle, doorway, drawer, rolling-chair path, or cleaning route.
- Do not use either product as a repair, electrical modification, hanging point, strain-relief substitute, or way to suspend an adapter.
Final decision checklist
- The product is assigned to pack-down or in-use routing—not both by assumption
- The sign and power-supply instructions have been reviewed
- The loose bundle or cord diameter has been measured
- Connectors, controls, strain relief, and ventilation remain clear
- The clip maker supports the exact surface and mounting orientation
- The route avoids movement, cleaning, doors, drawers, and foot traffic
- The case closes without crushing the cord, adapter, or sign
- A stop-and-replace plan exists for worn ties, released clips, or damaged equipment
For the broader hardware decision, continue to sign mounting and setup supplies. If the display itself is still being chosen, compare plug-in and battery-powered LED signs before buying cord-management products.