 The Good Sign Company
Plug-In Desk Sign Setup Guide
How to Choose cable management boxes for plug-in desk signs
A cable management box can contain a compatible power strip, a sign's plug-in adapter, and excess cord without turning the desk into a permanent installation. Start with the complete powered setup—every plug, transformer, control, connector, and cable—not the box's outside appearance. If you have not established whether containment is necessary, use the cable management box value test before comparing formats.
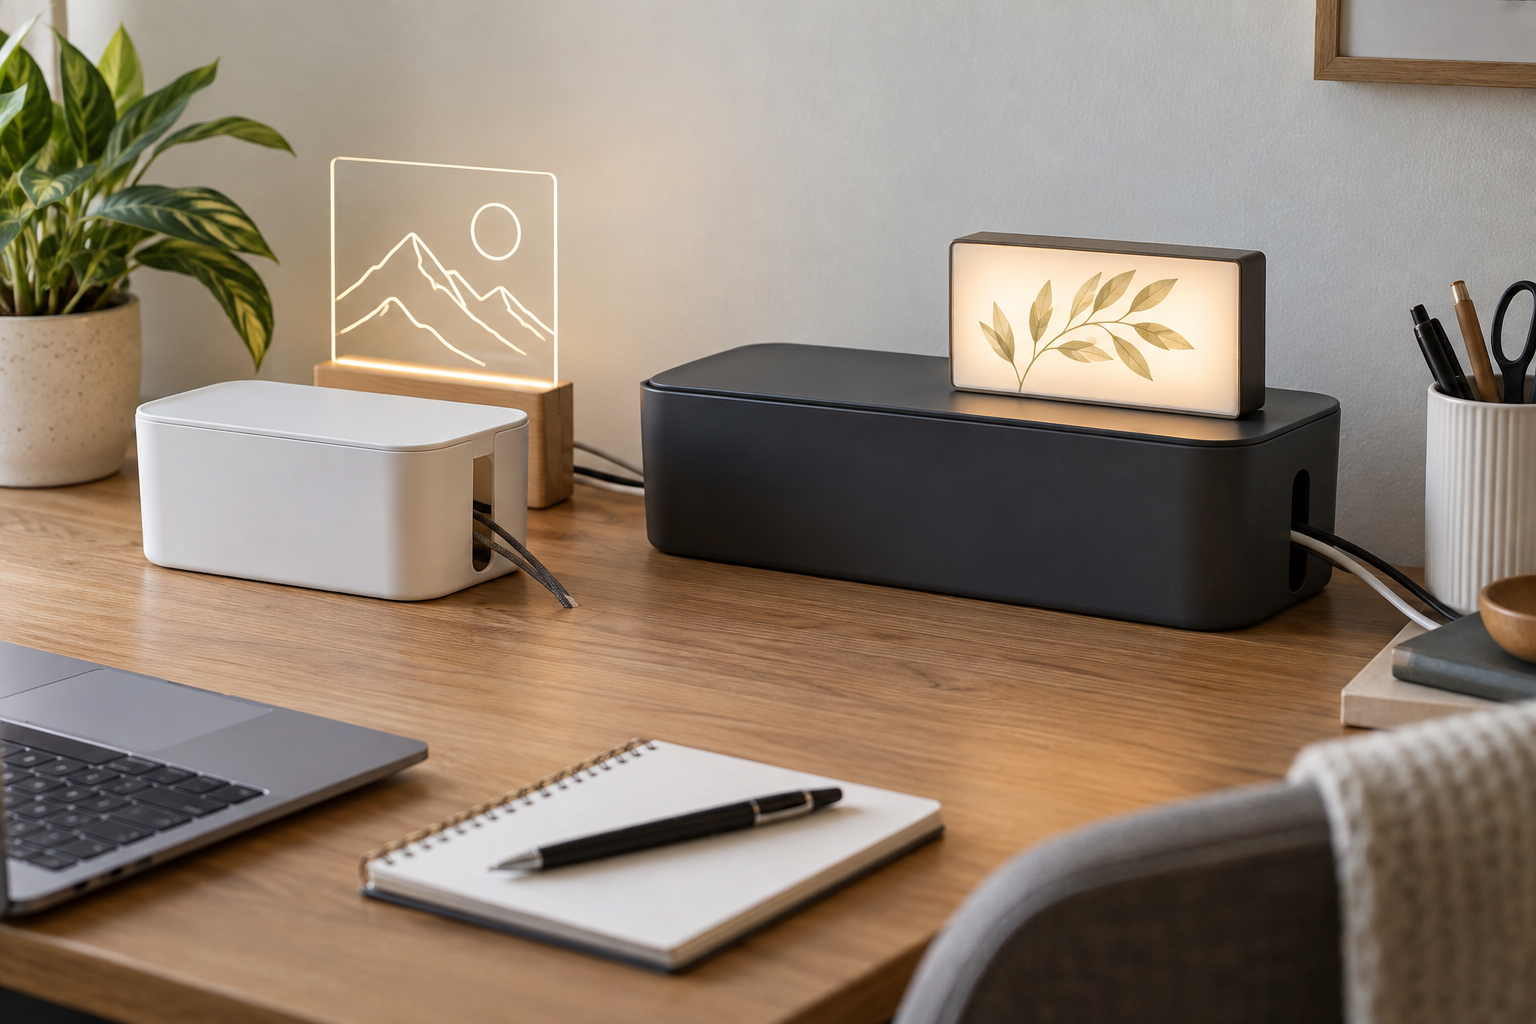
Format comparison
Choose the box around the adapter, exits, and access.
Measure the power strip and every attached plug or transformer as one assembly. Then verify the box's stated internal dimensions, cord openings, lid design, placement instructions, and compatibility with the equipment you intend to contain.
The short answer
- Choose a compact box for one small power strip and low-profile plugs when you have measured the entire assembly and still have usable cord-exit clearance.
- Choose a longer or taller box when the sign uses a bulky adapter, the strip holds more than one device, or cable bends need more room.
- Choose easy lid access when an inline controller, switch, or plug needs occasional attention; do not bury a control that the sign maker expects you to reach.
- Skip the box when the equipment maker prohibits enclosure, ventilation or placement instructions cannot be met, plugs are damaged, or the setup would require tight bends or pinched cords.
These are setup categories, not named winners or hands-on test results. Listing dimensions and designs change, so confirm the current product details and instructions before ordering.
Compare the main box formats
| Box format | Best starting fit | Verify before buying | Main tradeoff |
|---|---|---|---|
| Compact lidded box | One short strip with low-profile sign and lamp plugs | True internal length, plug height, exit location, lid clearance | Bulky adapters can consume the usable space quickly |
| Long cable box | Longer power strips or separated plug-in adapters | Internal span, number and position of exits, desk footprint | Takes more horizontal space and can dominate a small desk |
| Tall cable box | A taller adapter or stacked plug profile allowed by equipment guidance | Usable height under the lid, bend clearance, access | More visible behind a low-profile sign |
| Open-ended organizer | Frequent plug changes and easier cable approach | Opening size, containment, edge shape, stability | Hides less of the strip and adapters |
| Under-desk tray instead | A clear desktop when the desk and equipment support that route | Tray dimensions, desk compatibility, attachment, full load guidance | Different installation and access commitment |
Selection criteria that matter
- Measure the complete assembly: record strip length, width, and height with every intended plug and adapter inserted. Include plug bodies that extend sideways or upward.
- Use internal dimensions: an attractive outside measurement does not reveal usable space under the lid, around molded corners, or beside internal ribs.
- Map every cord exit: trace the wall cord, sign cable, and any controller cable through actual openings. Cords should not be pinched by the lid or forced into sharp bends.
- Keep controls reachable: decide whether the sign is switched at the plug, an inline controller, a remote, or the sign itself. Match the box to that routine.
- Check equipment instructions: follow the sign, adapter, power-strip, and cable-box makers' placement, use, loading, and ventilation guidance. A general organizer does not make incompatible equipment suitable for enclosure.
- Plan the footprint: check monitor stands, notebooks, desk lamps, wall clearance, and the sign's stable base before giving the box permanent desk space.
- Favor inspectable routing: the setup should allow you to unplug power and examine cords, plugs, and adapters without dismantling the desk.
- Keep liquids and cleaning in mind: place powered equipment away from drink and cleaning paths and follow each maker's care instructions. A cable box is not a waterproof enclosure.
A practical fit-check framework
- Unplug the setup and list every component from the wall outlet to the illuminated sign.
- Measure the power strip and the installed plugs or adapters at their widest, longest, and tallest points.
- Add the cable path and minimum bends needed to reach the box exits without pinching or strain.
- Compare those measurements with the maker's stated internal dimensions—not only the overall size.
- Review the instructions for the sign, power supply, strip, and organizer, including placement and ventilation guidance.
- Mock up the box footprint with paper on the desk and check sign stability, control access, cleaning, and normal work space.
- After setup, keep the box accessible for inspection and stop using any component that is damaged, unusually hot, loose, or otherwise contrary to its instructions.
This framework helps with fit and organization. It does not certify an electrical combination, change equipment ratings, or override manufacturer instructions.
Who should skip a cable management box?
- Skip it when the strip, adapter, or sign instructions require an open placement that the box cannot provide.
- Skip any listing that omits usable internal dimensions, cord-opening details, material information, or clear use instructions.
- Skip a too-small box that requires force, stacked pressure, a partly closed lid, or sharply bent cables.
- Skip desktop containment when a compatible rear-desk clip, under-desk tray, or simpler single-cord route fits the workspace better.
- Do not use an organizer to disguise damaged cords, loose plugs, overloaded outlets, improvised connections, or equipment not intended for the location.
- For shared offices, rented spaces, or managed furniture, confirm the allowed setup before attaching trays or altering the desk.
Final buying checklist
- Power strip measured with every intended plug and adapter installed
- Box internal length, width, and lid clearance verified
- Every wall, sign, and controller cable assigned a suitable exit
- Cables can follow a gentle, unpinched route
- Sign switch or inline controls remain usable
- Equipment and organizer placement instructions agree
- Desk footprint and sign-base stability checked with a mockup
- Power can be disconnected and components inspected easily
The best box is not automatically the biggest. It is the smallest format that fits the complete approved setup without crowding plugs, trapping controls, or making the cords harder to inspect. When one portable sign cord only needs a deliberate surface route, compare adhesive cable clips for portable lighted signs. For wall-mounted cable routing, use the separate cord-cover guide; for the broader setup path, continue to sign mounting and setup supplies.