 The Good Sign Company
Counter-Sign Tool Comparison
Paper trimmer vs scissors for counter-sign inserts
Choose a paper trimmer when a team repeatedly cuts compatible sheets to stable dimensions; choose scissors when cuts are occasional, simple, and easy to check against one template. Neither tool fixes an unsettled holder size, poor artwork, or unsupported material.
This comparison assumes an indoor paper or compatible cardstock insert for a reusable holder. Start with the small-business sign planning pillar if the message, holder, or update routine is still changing.
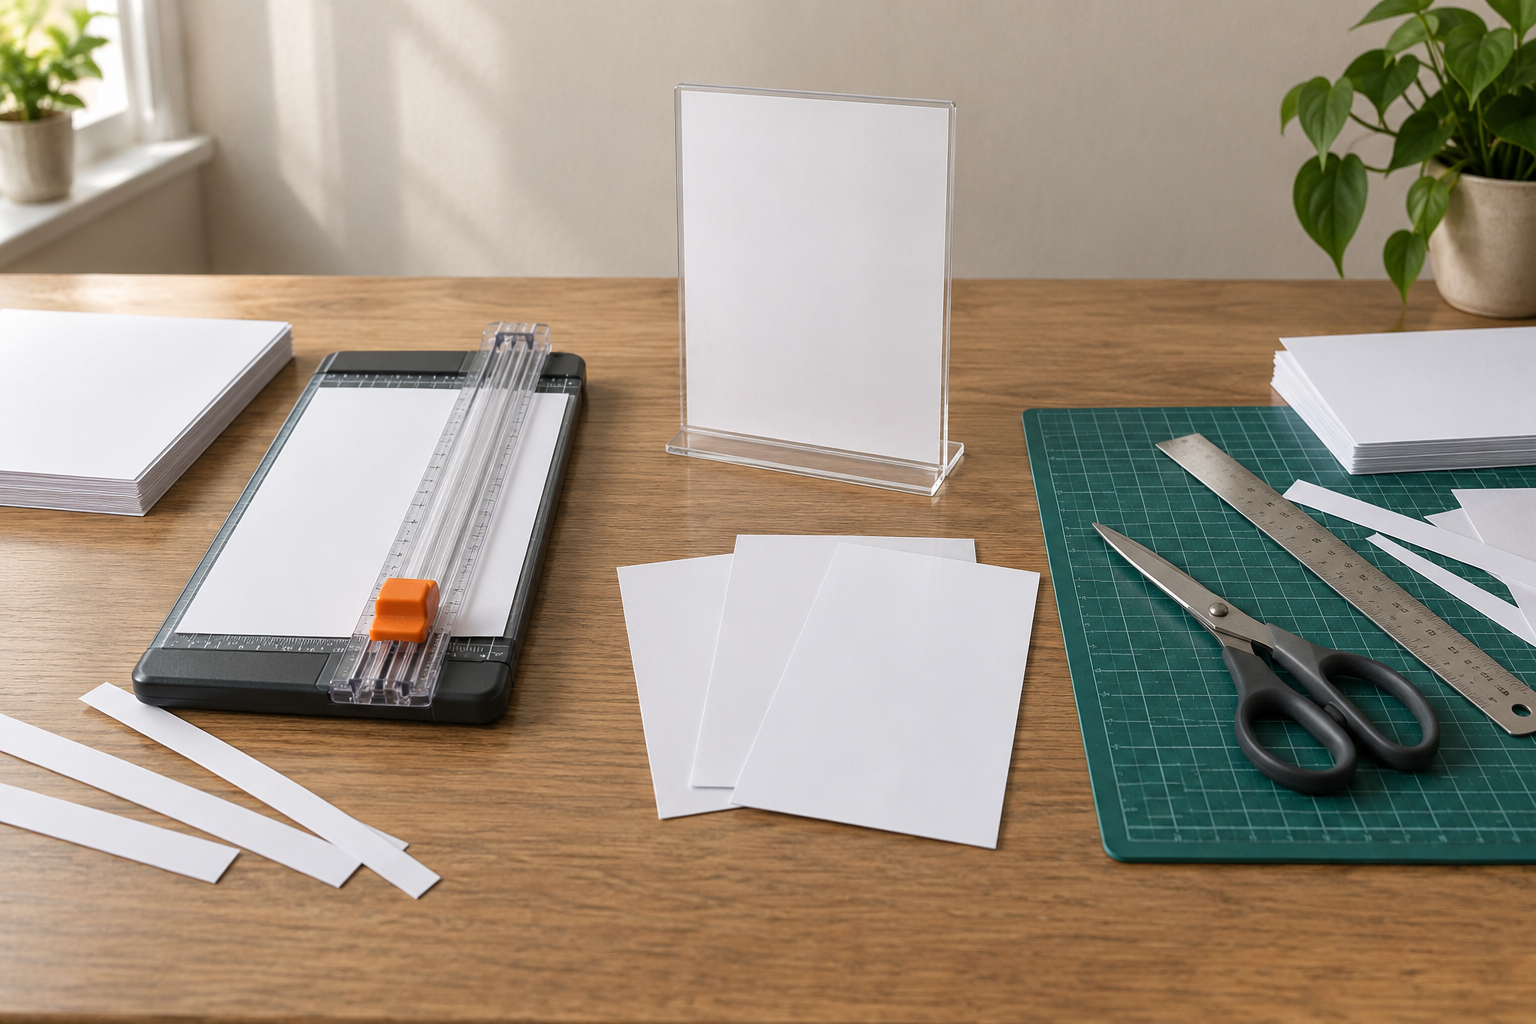
Compare the exact tool only after measuring the insert
Record the source sheet, finished dimensions, material, repeated cuts, and available work area. Check current product instructions for supported media, operating method, storage, and replacement parts.
Quick comparison
| Decision | Paper trimmer | Scissors |
|---|---|---|
| Best fit | Recurring straight cuts in stable finished sizes | Occasional single inserts and simple corrections |
| Setup | Needs a measured guide position and full operating footprint | Needs a marked line, clear work area, and often a ruler or template |
| Volume | Stronger candidate when the same cut repeats across a batch | Stronger candidate when the task is infrequent and small |
| Storage | Requires space for the base and moving or extending parts | Compact, but still needs controlled storage |
| Skip when | Sizes keep changing or the tool does not support the material | The job requires many consistent parallel cuts |
Who each option fits
A paper trimmer fits teams with a repeated system
Consider a guided trimmer when holders use stable dimensions, updates create batches, and a named operator can preserve the template and check the first piece. Use the paper-trimmer buying guide only after that workflow is established.
Scissors fit occasional, low-volume work
Scissors can be sufficient when the team produces one simple insert occasionally, can mark the finished edge clearly, and will inspect it in the actual holder. They are a weak fit when variation between several cuts creates visible alignment or fit problems.
Tradeoffs that matter more than tool preference
- Finished fit: measure the holder opening, loading path, visible area, and corner clearance.
- Cut pattern: both routes are easier to assess for straight paper cuts than curves, notches, thick stacks, or unsupported media.
- Artwork margin: keep essential text, borders, and QR-code clear space away from the trim edge.
- Batch size: repeated identical cuts strengthen the case for a guide; one-off work strengthens the case for the simpler tool already on hand.
- Workspace: include the source sheet, finished stack, offcuts, and the full motion required by the tool.
- Quality check: test the first finished insert in its holder before completing a batch.
Setup and maintenance
Paper trimmer setup
Start with one full-size template, align the source sheet using documented guides, and make one test cut. Follow current operating and storage instructions, keep the work surface clear, and use supported replacement parts. Stop using damaged or misaligning equipment.
Scissors setup
Mark the dimensions from a verified template, support the sheet on a clear work surface, and keep the task away from a live customer area. Keep scissors clean and stored according to their instructions; replace damaged or poorly functioning tools.
When to skip both
- A standard sheet already fits without trimming.
- A print provider can deliver the occasional batch at final size with less staff handling.
- The material is acrylic, metal, rigid plastic, or another medium outside documented support.
- The holder or artwork changes every cycle, so no stable template exists.
- The job needs finishing the team cannot perform and check in a controlled workspace.
- No one owns the first-piece inspection, cleanup, or storage routine.
A practical next step
- Measure the actual holder and create one full-size paper template.
- List how many identical inserts were cut during the last three update cycles.
- Test the simplest supported route on one noncritical sample.
- Inspect the loaded insert from the normal customer viewing position.
- If several repeat cuts remain, decide whether owning a paper trimmer is justified; otherwise keep the occasional workflow or order finished-size inserts.
Then choose cardstock for the measured holder and printer, or compare cardstock with laminated paper inserts when handling and glare are the larger decision.
Bottom line
A paper trimmer is the stronger candidate for stable, repeated straight cuts with a controlled setup. Scissors are the simpler choice for occasional low-volume inserts when a template and final holder check keep the result on track. Skip both when a standard sheet or provider-cut insert solves the job with fewer steps.