 The Good Sign Company
Tabletop sign stand comparison
Fixed-angle vs adjustable-angle sign stand: which fits the sightline?
Choose a fixed-angle stand when one stable counter or table position already faces the reader. Choose an adjustable-angle stand when a measured approach angle changes or a fixed face creates a confirmed readability problem. Adjustment is useful only when the stand supports the planned sign and its joint, base, and controls fit the working surface.
This comparison covers small indoor tabletop displays. It does not establish holding capacity, accessibility, public-placement safety, or suitability for outdoor, overhead, or high-contact locations.
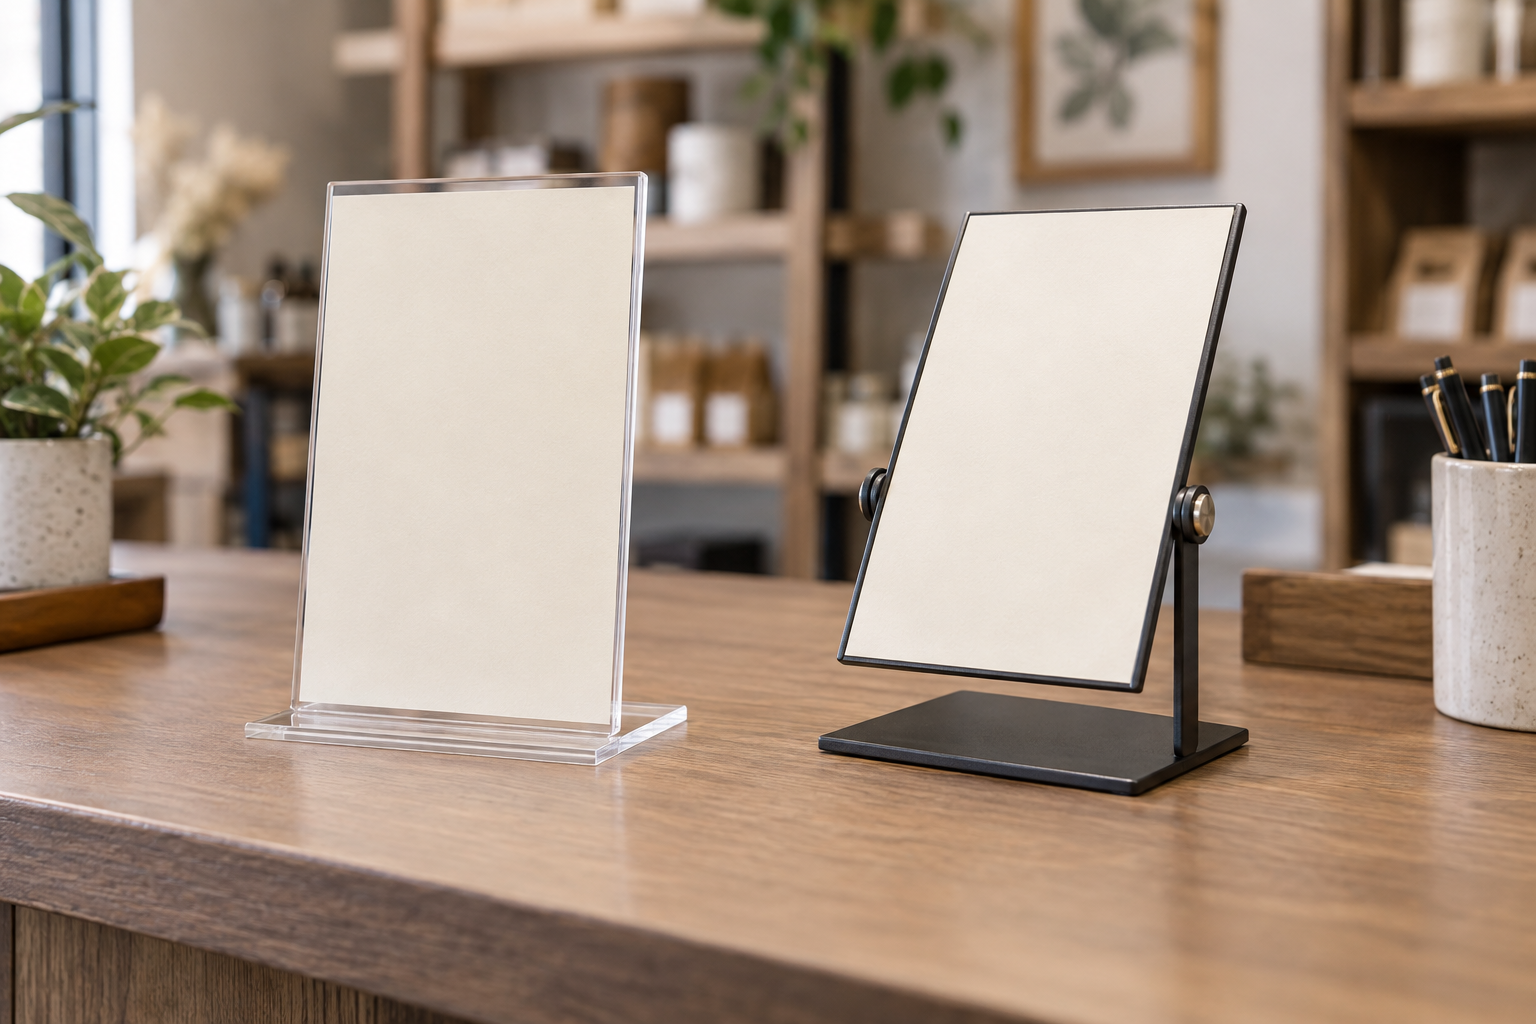
Compare complete stands, not staged angles
Check current listings for full dimensions, base footprint, supported insert or panel size, attachment method, adjustment range and lock, loading access, included parts, and maker instructions. Product photos alone do not prove fit or stability.
Quick comparison
| Decision | Fixed-angle stand | Adjustable-angle stand |
|---|---|---|
| Best fit | One repeatable viewer approach and a stable layout | A confirmed sightline that needs a repeatable tilt |
| Setup | Place, align, and load the sign | Place, load, set the joint, and recheck clearances |
| Hardware | No angle control to set | Hinge, ratchet, friction joint, or locking control varies by product |
| Footprint check | Measure the base and complete face depth | Measure the base plus clearance at every intended angle |
| Skip when | The face misses the normal eye line | No measured viewing problem justifies the extra mechanism |
Who a fixed-angle stand fits
A fixed stand fits reception desks, checkout counters, and vendor tables where the customer normally approaches from one direction and the stand can be placed at a readable height. Its strength is a simpler routine: staff do not need to remember an angle setting, reach a knob, or check whether a joint moved during an insert change.
That simplicity does not prove a fixed holder is more stable or durable. Compare the real base, face, sign dimensions, and maker guidance. If customers approach from opposite sides, the missing feature may be a second face rather than a hinge; use the single-sided vs double-sided counter sign comparison.
Who an adjustable-angle stand fits
An adjustable stand fits a measured problem: a low counter viewed from above, a display that must be aimed across a table, or a repeatable setup used at locations with different table heights. Record the useful angle with a full-size paper mockup, then verify that a current product documents a compatible range, sign fit, and locking method.
Adjustment does not automatically make a message easier to read. A tilt can move glare, hide part of the sign behind merchandise, enlarge the required depth, or make a control hard to reach. If the decision is still whether adjustment is justified at checkout, use the narrower adjustable-angle stand worth-it guide.
Setup test before ordering
- Print the real message. Use the planned size, orientation, paper or panel thickness, and longest routine wording.
- Trace the available footprint. Keep payment, pickup, merchandise, and staff work zones clear.
- Mock up both positions. Test the face at a fixed angle, then at the specific tilt you believe is necessary.
- Walk the customer approach. Check the point where the message first matters, not only the view directly in front of the stand.
- Check light and obstructions. Test normal operating light and the complete counter setup.
- Match the listing. Compare your sign and footprint with current documented dimensions, attachment, range, and instructions.
Maintenance and update tradeoffs
- Insert access: Confirm whether the card loads from the top, side, clips, or frame and whether the chosen position leaves room to open it.
- Angle control: Follow the maker's instructions for the hinge or lock. Do not overtighten, lubricate, or modify a joint unless the current guidance says to.
- Cleaning: Use care guidance for each face, frame, base, and control; acrylic and coated metal may call for different methods.
- Routine checks: For an adjustable stand, note who restores the intended angle after cleaning, moving, or changing the insert.
- Spare parts: Record any removable knobs, clips, or fasteners that must stay with the display.
Packing and repeat setup
A fixed stand may pack as one rigid shape, so measure the storage case rather than assuming it nests. An adjustable stand may fold or tilt for transport only when its instructions allow that motion. Protect faces from hardware, keep loose controls together, and document the intended angle for anyone rebuilding a recurring booth or counter display.
For changing event layouts, compare the complete packed dimensions and setup steps, not just whether a stand appears foldable. The portable sign case guide can help define the storage route after the stand and sign sizes are known.
Who should skip both
- The message needs to be read from farther away than a small tabletop sign permits.
- The planned sign falls outside the holder's documented dimensions, thickness, weight, or attachment method.
- The stand would occupy an active payment, food-service, pickup, or customer-contact area without a suitable placement plan.
- The display needs weather resistance, overhead suspension, floor placement, or another use not covered by the tabletop product instructions.
- The real problem is glare, excess copy, or poor location and remains after changing the face angle.
Bottom line
A fixed-angle stand is the better default when one uncomplicated position serves the normal viewer. An adjustable-angle stand is the better candidate when a mockup proves that a specific tilt solves a real sightline and a compatible product fits the sign, footprint, and update routine. Skip the extra mechanism when no one can name the angle problem it solves.
If the mockup proves that adjustment is useful, compare adjustable-angle tabletop sign stands for counters by finished sign fit, joint design, complete base, height, glare, and update work. Continue with the small-business sign planning pillar, then compare portrait and landscape holders if orientation is the next decision.