 The Good Sign Company
Vendor booth graphic transport guide
Best portable sign cases for vendor booth graphics
Choose the case only after you inventory the complete booth graphic kit in its travel form. A rigid panel, rolled graphic, retractable-banner component, and loose rail need different clearances and separation. The useful case is not simply “large”: its documented interior dimensions, opening, compartments, handles, and load guidance must fit the measured kit and the way you move it.
Disclosure: As an Amazon Associate, we may earn from qualifying purchases and approved partner referrals.
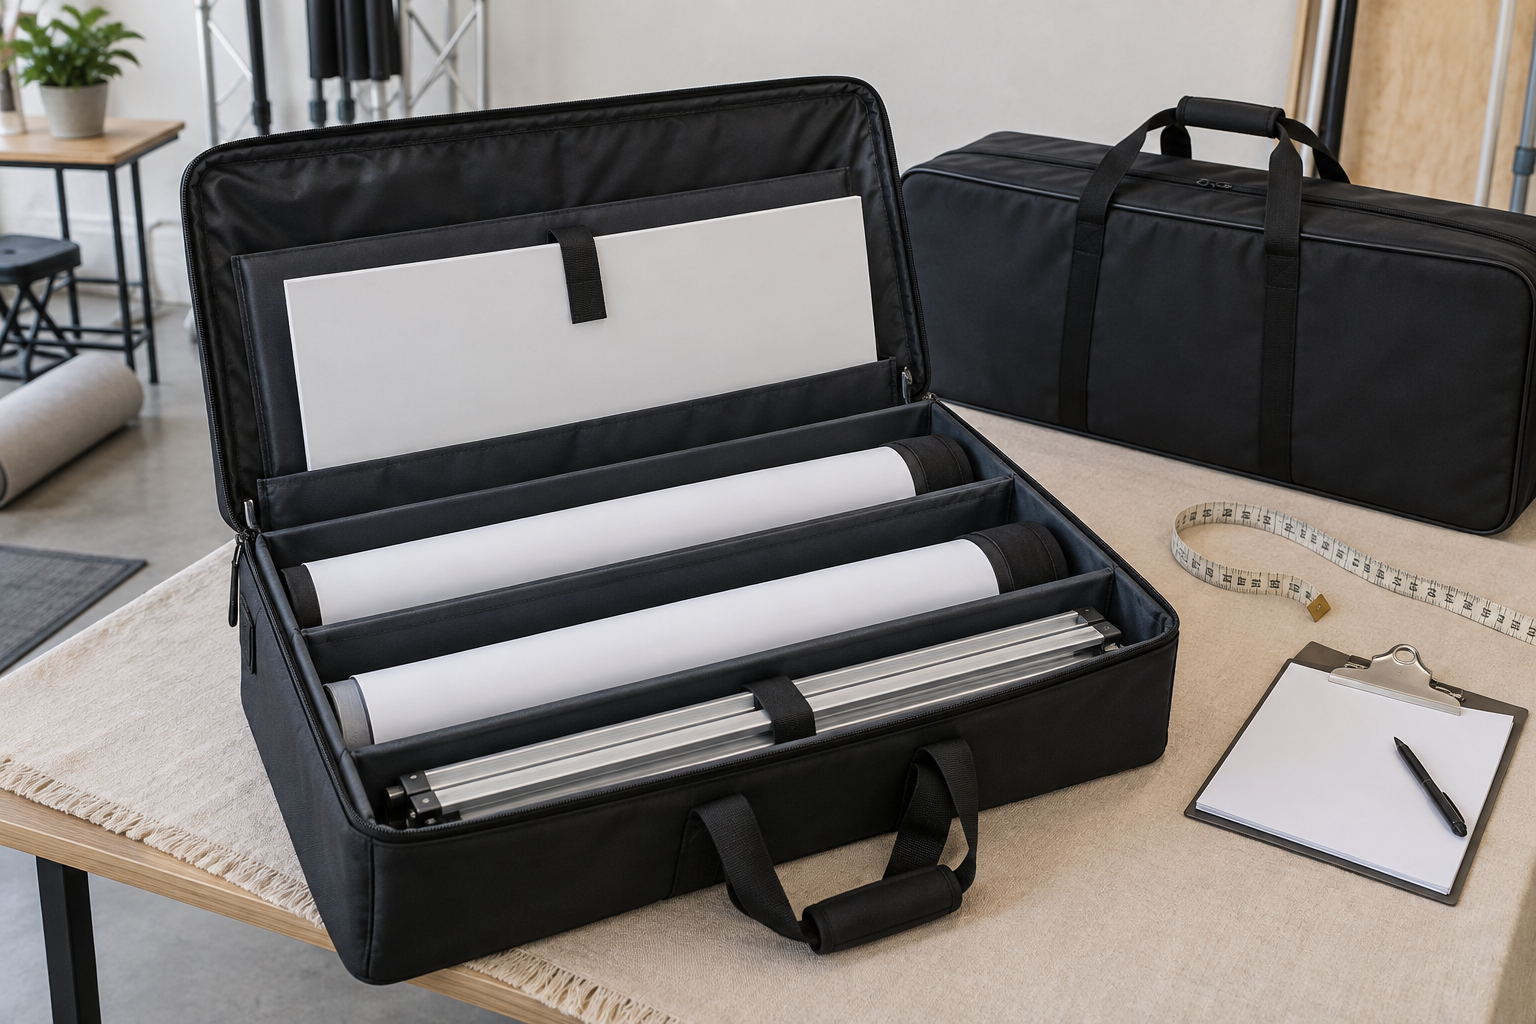
Shop by the shape of the packed graphics
Use current product listings to confirm internal length, width, depth, divider layout, closure access, handles, and stated load guidance. A category photo cannot establish fit or protection for your specific signs.
Best case format by graphic kit
| Packed kit | Best starting format | Verify before buying |
|---|---|---|
| Several small rigid panels | Structured flat case with separate sleeves or dividers | Usable compartment dimensions, edge clearance, opening, and face separation |
| Rolled graphics only | Long tube or roll case sized to the finished roll | Maximum roll diameter, internal length, end closure, handle, and rolling instructions |
| Rigid panels plus rolled graphics | Divided mixed-format case or two measured cases | Whether the compartments prevent hardware and rolls from pressing against finished faces |
| Graphic with rails or stand parts | Separate graphic sleeve and hardware case | Longest component, projecting ends, loose-part containment, and the maker's packing directions |
| One soft banner or backdrop | Simple measured carry bag may be enough | Fold or roll method, packed dimensions, closure, and care instructions |
How we compare portable sign cases
This is a use-based category comparison, not hands-on testing or a list of named winners. Compare every current listing with the same written packing plan:
- Usable interior fit: record the maximum packed length, width, and depth of each item, including frames, rails, knobs, end caps, sleeves, and edge protection required by its maker.
- Graphic format: keep flat panels flat and roll only media whose supplier permits rolling. A roomy case does not make an unsuitable packing method appropriate.
- Separation: check the number, position, attachment, and usable size of sleeves or dividers. Padding shown in a photo does not prove that finished faces cannot contact one another.
- Opening and closure: rehearse the loading direction. The widest piece must pass through the real opening without being forced, bowed, or dragged across hardware.
- Handles and movement: compare handle locations, carrying orientation, wheels if present, and published load guidance with the full packed weight. Plan how the case moves from storage to vehicle to booth.
- Storage routine: follow the graphic and case makers' care directions, remove event debris as directed, and store the kit under conditions appropriate for every component.
Start with a packing inventory, not a case label
Lay out the display exactly as it returns from an event. Include graphic panels, rolled media, frames, rails, feet, clamps, cords, fasteners, tools, and replacement inserts. Mark which surfaces must not rub, which pieces can project into a neighboring compartment, and which items should travel in their own small pouch.
Measure each item in its approved packed form. Then sketch the proposed case compartments to scale. If the layout works only when a panel bends, a roll is tightened further, or hardware presses into a finished face, the case is not a verified fit.
One divided case or several simpler cases?
A divided case can keep one booth kit together and make the return-trip inventory easier. It also concentrates weight and can create a complicated loading sequence. Two smaller cases often make more sense when rigid graphics and metal stand parts need different shapes, when separate people carry different parts, or when only part of the display travels to some events.
Use labels that identify contents or booth zone without exposing information you would rather keep private. A simple checklist inside the lid can help confirm that clamps, rails, and inserts came back, but it does not replace inspection of the signs and case before the next setup.
Do a complete local transport rehearsal
- Pack each graphic and component according to its current instructions.
- Close the case without compressing, bending, or forcing any item.
- Lift or roll it only within the case maker's documented guidance.
- Move it through the real storage doorway, vehicle opening, elevator, and booth aisle.
- Unpack in setup order and check whether any item must be placed on the floor or leaned insecurely while another is removed.
- Revise the compartment map and contents checklist before the first event trip.
This rehearsal addresses routine local handling. It does not establish suitability for parcel shipping, airline baggage, unattended freight, venue storage, or any carrier's requirements.
When to skip a general portable case
- The listing omits internal dimensions, opening dimensions, load guidance, or enough compartment detail to verify fit.
- Acrylic, glass, lighted, framed, or especially finish-sensitive signs have packing instructions that call for a different method.
- Sharp, heavy, or projecting hardware would share space with a graphic face.
- The packed case is too large or heavy for the people, vehicle, doorway, or setup route involved.
- The display is shipped or checked as baggage. Confirm the current requirements and an appropriate purpose-specified packing solution instead of assuming a local carry case qualifies.
- Your whole kit is one soft banner or one folded compact easel; the broader event-sign storage bag guide may be the simpler route.
- You carry only one or two compatible measured flat boards; a fitted soft board sleeve may avoid the bulk of a mixed-format case.
- The real problem is individual access to several rigid boards in one permanent indoor storeroom; use the sign storage rack worth-it test instead of buying another travel case.
Bottom line
The best portable vendor sign case is the one that fits a documented compartment plan for your actual rigid panels, rolls, hardware, and setup sequence. Verify usable interior measurements and loading access, separate incompatible shapes, respect the makers' packing directions, and rehearse the entire local route. If one mixed case makes the kit heavier or creates contact points, split the load into measured cases rather than buying by capacity alone.
Plan the display itself with the custom vendor booth sign worth-it guide, compare tabletop signs for vendor booths, or use the small-business sign planning pillar to keep message, sightline, setup, and transport in one brief.