 The Good Sign Company
Counter-sign finishing comparison
Desktop Laminator vs Self-Sealing Laminating Sheets for Counter Signs
A desktop laminator makes more sense when the same team finishes compatible signs repeatedly and can support an equipment routine. Self-sealing sheets favor occasional work, limited storage, and no-machine setup—but careful alignment becomes the job. Start with the printed sign, holder, and update cadence rather than assuming either finish fits.
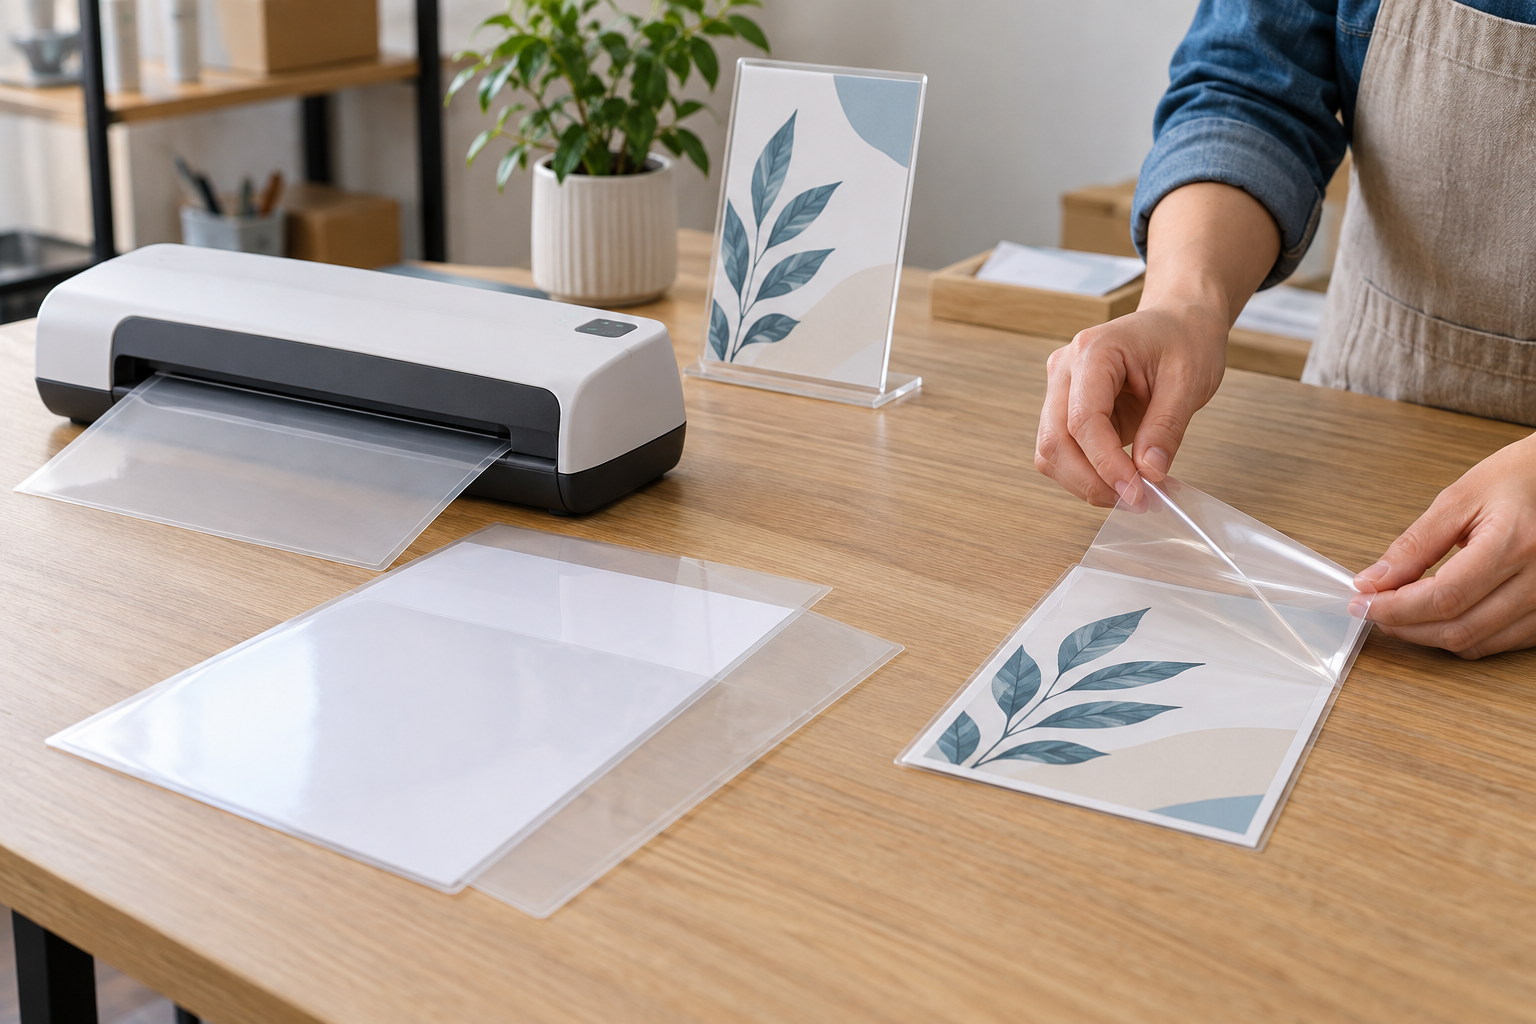
Compare the two supply routes
Confirm the print dimensions, finished holder opening, and the product maker’s instructions before buying.
The short decision
| Decision factor | Desktop laminator | Self-sealing sheets |
|---|---|---|
| Best fit | Repeat batches in supported sheet and pouch sizes | Occasional, small runs without dedicated equipment |
| Main setup | Machine, outlet, compatible pouch, operating space | Clean flat surface, careful alignment, hand pressure |
| Main error risk | Using unsupported supplies or feeding them incorrectly | Trapped debris, skew, bubbles, or premature contact |
| Storage | Machine plus pouches | Flat sheet inventory |
| Better alternative when messages change often | A reusable sleeve or rigid insert holder | |
Choose by volume and ownership
Count how many stable printed signs the team actually finishes in a typical month. A machine can reduce repeated hand alignment, but it also needs an operator, a place to run, supported supplies, and storage between batches. One or two occasional counter cards may not justify that workflow.
Self-sealing sheets remove the machine from the process. They do not remove preparation: the operator still needs a clean surface, a reliable way to square the print, and enough patience to apply the layers without repositioning beyond the product’s instructions.
Measure the complete finished piece
Do not stop at “letter size.” Record the print width and height, the pouch or sheet’s supported document size, any edge margin required by the maker, and the resulting thickness. Then measure the holder’s loading slot, visible window, and insertion clearance. A neatly finished insert is still the wrong choice if it bows, catches, or will not load into the existing fixture.
If the holder accepts only a narrow range of media, compare an unlaminated cardstock insert with a laminated paper insert before choosing the finishing method.
Account for glare and message life
Clear finishes can reflect overhead lighting. Test a sample in the real counter position from the customer’s approach, not just flat on the worktable. Repositioning the holder, changing the sign angle, or using a different insert system may solve the readability problem more directly.
Lamination also adds work every time the message changes. If hours, prices, staff names, or instructions change often, a clear sleeve or rigid acrylic holder may preserve the replaceable-paper workflow.
Buy the desktop laminator route when
- The team produces recurring batches of stable signs.
- The largest sign, pouch thickness, and feed width are supported by the selected machine.
- There is a practical operating surface, outlet, cooldown routine, and storage location.
- One person or role owns supply compatibility and follows the manufacturer’s operating and clearing instructions.
Buy the self-sealing route when
- The work is occasional and the signs fit available sheets.
- Equipment storage or outlet access is the real constraint.
- The operator can align a sample successfully on a clean, flat surface.
- The finished sheet fits the intended holder after edge margins and thickness are included.
Skip both when
- The message changes frequently enough that a reusable holder is simpler.
- The display position creates unacceptable reflections.
- The print or finished piece falls outside documented product compatibility.
- The team needs a finish or performance claim the chosen product does not document.
- The volume is too low for the setup work; a local print or finishing service may be the cleaner route.
A practical pre-purchase worksheet
- List the signs, quantities, finished dimensions, and expected replacement dates.
- Measure every holder’s opening, visible area, loading direction, and clearance.
- For the machine route, verify supported pouch sizes and thicknesses in current manufacturer instructions.
- For self-sealing sheets, verify supported document size, alignment method, edge guidance, and trimming instructions.
- Finish one sample and inspect fit and glare in the actual counter location.
- Assign who will store supplies and reproduce the sign later.
For the broader ownership threshold, use the guide to decide whether a desktop laminator is worth it. For the full counter-display decision, return to small-business sign planning.