 The Good Sign Company
Indoor vendor-display buying guide
How to Choose table clamps for small vendor signs
The right table clamp starts with the actual table edge—not the sign-holder photo. Measure the edge thickness, apron or lip, available clamping depth, and the complete sign before comparing pole height or appearance. A clamp can free useful tabletop space, but only when the fixture, sign attachment, shopper sightline, and venue setup all work together.
This guide is for recurring indoor markets, pop-ups, and craft booths using modest signs. It explains product categories and compatibility checks rather than naming an unverified winner or promising a load capacity.
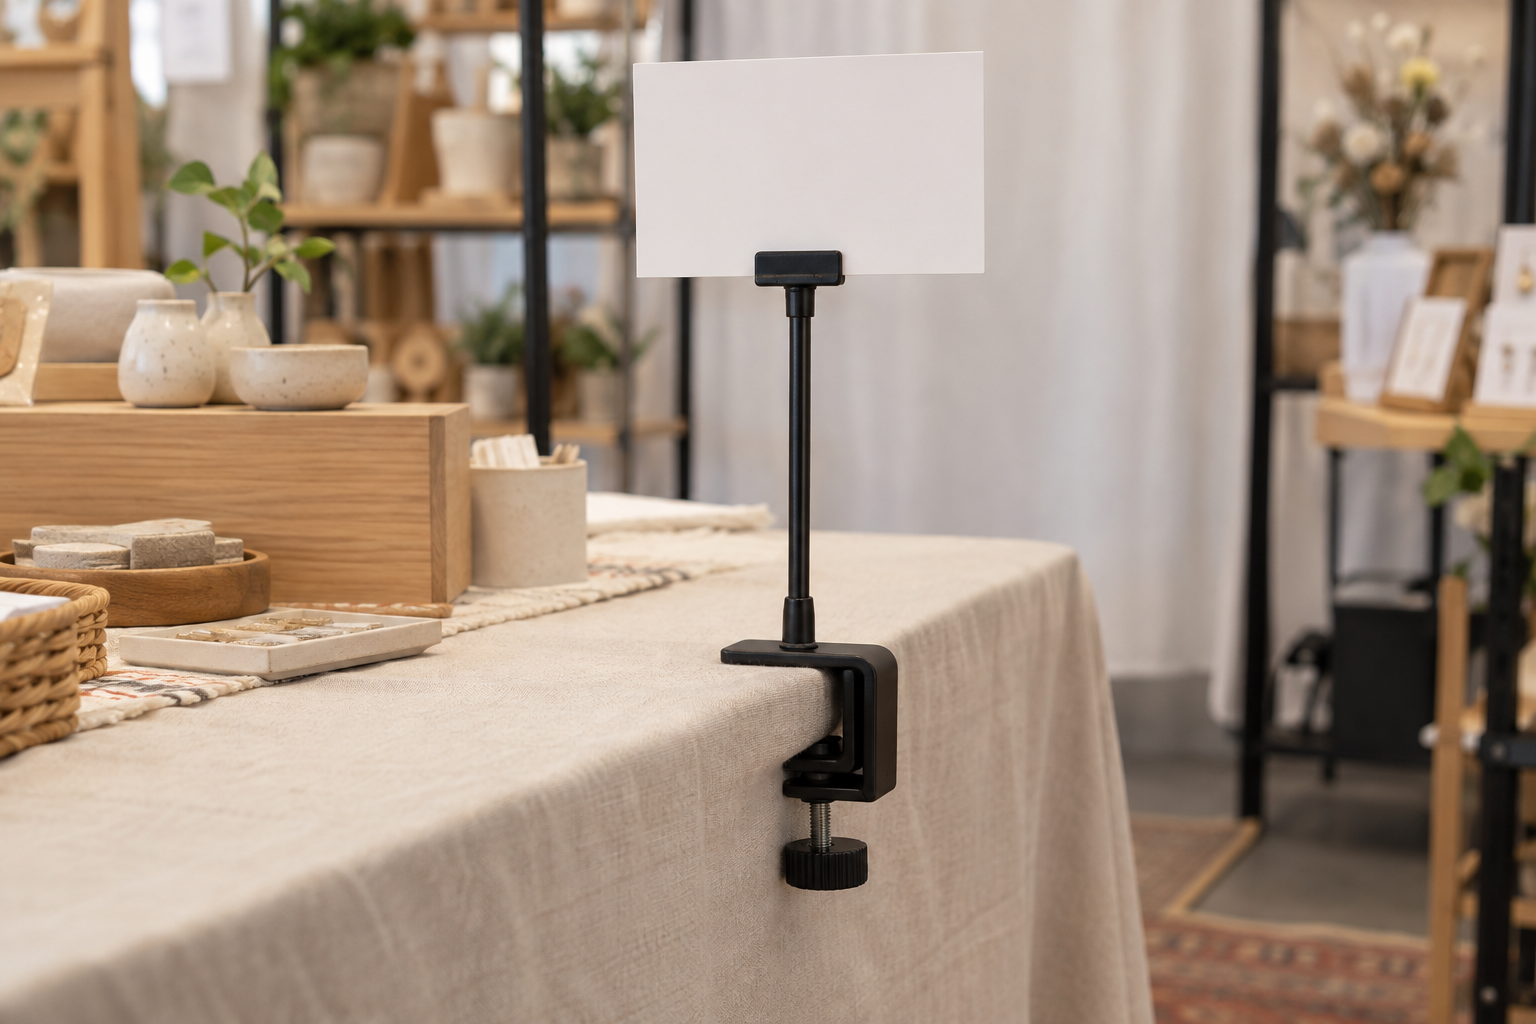
Compare table-edge sign clamps by measured fit
Check each current listing for clamp opening, usable jaw depth, pad location, pole dimensions, adjustment method, sign attachment, compatible sign size and weight, included parts, and the maker's setup instructions. Product photos alone cannot confirm fit.
Quick verdict
Choose a table clamp when the known table edge accepts the complete clamp, the sign can attach using the product's documented method, tabletop space is scarce, and repeat events justify another fixture.
Choose a freestanding tabletop holder when tables change often, the edge is inaccessible, venue furniture cannot be clamped, or fast placement matters more than reclaiming a small patch of table.
Choose a vendor-owned frame or backdrop support when the main identity sign needs a longer aisle sightline and the complete support system is approved for the setup. Do not treat a small table clamp as a substitute for unspecified overhead support.
Measure the table edge before shopping
A listed maximum opening is only one dimension. Record the top thickness, then look underneath for an apron, rolled edge, folding mechanism, cable, or brace that shortens the flat area available to the lower jaw. Measure how far the clamp must reach inward to find a firm, unobstructed contact point. A tablecloth adds another layer: decide whether the clamp goes over it, around it, or on a bare section according to the product and venue instructions.
Photograph the edge from the side and below. Keep the dimensions with the booth plan so a substitute table does not silently become the weak point. If the event supplies tables and cannot confirm their construction, bring a freestanding alternative instead of assuming the clamp will fit.
Compare four clamp-holder formats
| Format | Useful when | Verify before buying | Skip when |
|---|---|---|---|
| Short fixed pole | A compact price or category sign only needs to clear nearby products | Finished height, fixed orientation, attachment fit, and shopper approach | The display height changes or products still block the message |
| Telescoping pole | One measured setup needs limited height adjustment | Adjustment range, locking method, complete dimensions, and maker-supported sign fit | Extra joints add work without solving a real sightline |
| Clip-top holder | A lightweight card changes frequently | Jaw opening, card thickness, grip location, face angle, and marking risk | The sign needs broad, even support or cannot tolerate clip pressure |
| Bracket or rail attachment | The sign has a matching edge, slot, holes, or supplied connection | Exact connection geometry, included hardware, orientation, and assembly sequence | The sign and holder require improvised adapters |
These are selection categories, not universal designs. Two holders that look alike may have different jaw geometry, included hardware, or intended sign formats. Use the current manufacturer listing and instructions for the exact item.
Size the sign as a complete assembly
Write down sign width, height, thickness, and complete weight, including frames, clips, sleeves, brackets, or double-sided faces. Then compare those details with the holder's documented compatible range. Avoid reasoning from the panel alone: a thick frame or added attachment can change how the top fitting engages and where the center of the finished sign sits.
Keep the message short enough for the real viewing distance. A small raised sign works well for a category, checkout cue, social handle, or brief offer. Dense policies and long menus belong closer to the customer in a larger holder or printed handout. If the message cannot be read at the intended approach, adding pole height does not repair the copy.
Check padding and table-surface instructions
Pads can separate metal hardware from the table, but they do not justify a damage-free claim. Confirm where padding is supplied, whether it remains seated during adjustment, and what the maker says about compatible surfaces. Ask the venue or table owner before clamping to supplied furniture. Painted, veneered, rounded, glass, hollow, folding, or unusually soft surfaces may call for a different display route.
Do not add improvised shims unless the product instructions permit them. A shim can change jaw alignment and the amount of thread engagement. If the clamp only seems compatible after a workaround, a freestanding base is the clearer choice.
Plan the shopper and staff sightlines
Mock up the finished height with cardboard before ordering. Stand where shoppers first notice the booth, then move to the browsing and payment positions. The sign should not hide the seller's face, block a payment device, project into an aisle, or create an awkward reach during restocking. Staff also need access to the tightening knob and sign attachment without dismantling the product display.
For a booth approached from two directions, decide whether the sign needs two readable faces. Confirm that the selected attachment is intended for that complete format; do not add a second panel based only on appearance. When the message is the booth's primary identity, compare a hanging and tabletop booth sign before assuming a clamp-mounted card will carry the job.
Run a repeatable setup check
- Inventory the parts. Keep the clamp, pole sections, top fitting, supplied fasteners, and product instructions together.
- Inspect before assembly. Look for missing pieces, damaged threads, displaced pads, or a connection that no longer matches the instructions.
- Install in the documented order. Do not substitute hardware or exceed the stated adjustment range.
- Attach the finished sign. Use the complete sign that will travel to the event, not an easier test card.
- Check the real paths. Confirm customer, seller, payment, packing, and neighboring-booth clearance with the organizer's requirements in mind.
- Record the fit. A photo and edge measurements make the next setup faster and reveal when a venue table has changed.
Skip the clamp when flexibility matters more
A clamp is a compatibility-dependent fixture. Skip it when every event provides different furniture, when the only edge is occupied by an apron or tablecloth treatment, when staff need to reposition the message repeatedly, or when the sign needs a broader support than the listed attachment supplies. A compact weighted or slotted tabletop holder may consume more surface area but move between tables with fewer assumptions.
If merchandise blocks the tabletop message, first see whether rearranging the product hierarchy solves it. A display riser for an already supported sign may be more direct. For a portable sign that must either grip a display edge or stand independently, use the clip-on holder vs weighted-base comparison.
What to record before checkout
- Exact table-edge thickness, usable jaw depth, underside obstructions, and surface finish
- Complete sign width, height, thickness, weight, orientation, and attachment point
- Desired finished height and the measured shopper approach
- Clamp opening, jaw depth, pad arrangement, pole range, top fitting, and included hardware
- Venue or table-owner restrictions and a freestanding backup route
- Setup owner, packing location, inspection routine, and replacement-parts plan
Related vendor-sign guides
- First decide whether a table-clamp holder is worth adding to a recurring booth kit; return here when the edge and repeat-use threshold are confirmed.
- Start with small-business sign planning when the message job, viewing distance, or stakeholder approvals are still open.
- Compare tabletop signs for vendor booths when the holder format itself is undecided.
- Use the custom vendor-booth sign worth-it test when repeat use and stable branding may justify custom production.
- Compare portable sign cases when the complete display also needs a measured transport plan.