 The Good Sign Company
Indoor Event-Sign Storage Guide
How to Choose sign storage racks for flat indoor event boards
A stationary rack can make several reusable rigid signs easier to identify and retrieve between events. The right format is the one whose documented slots, support points, complete footprint, and use instructions fit your measured boards and storage workflow—not simply the rack with the largest advertised item count.
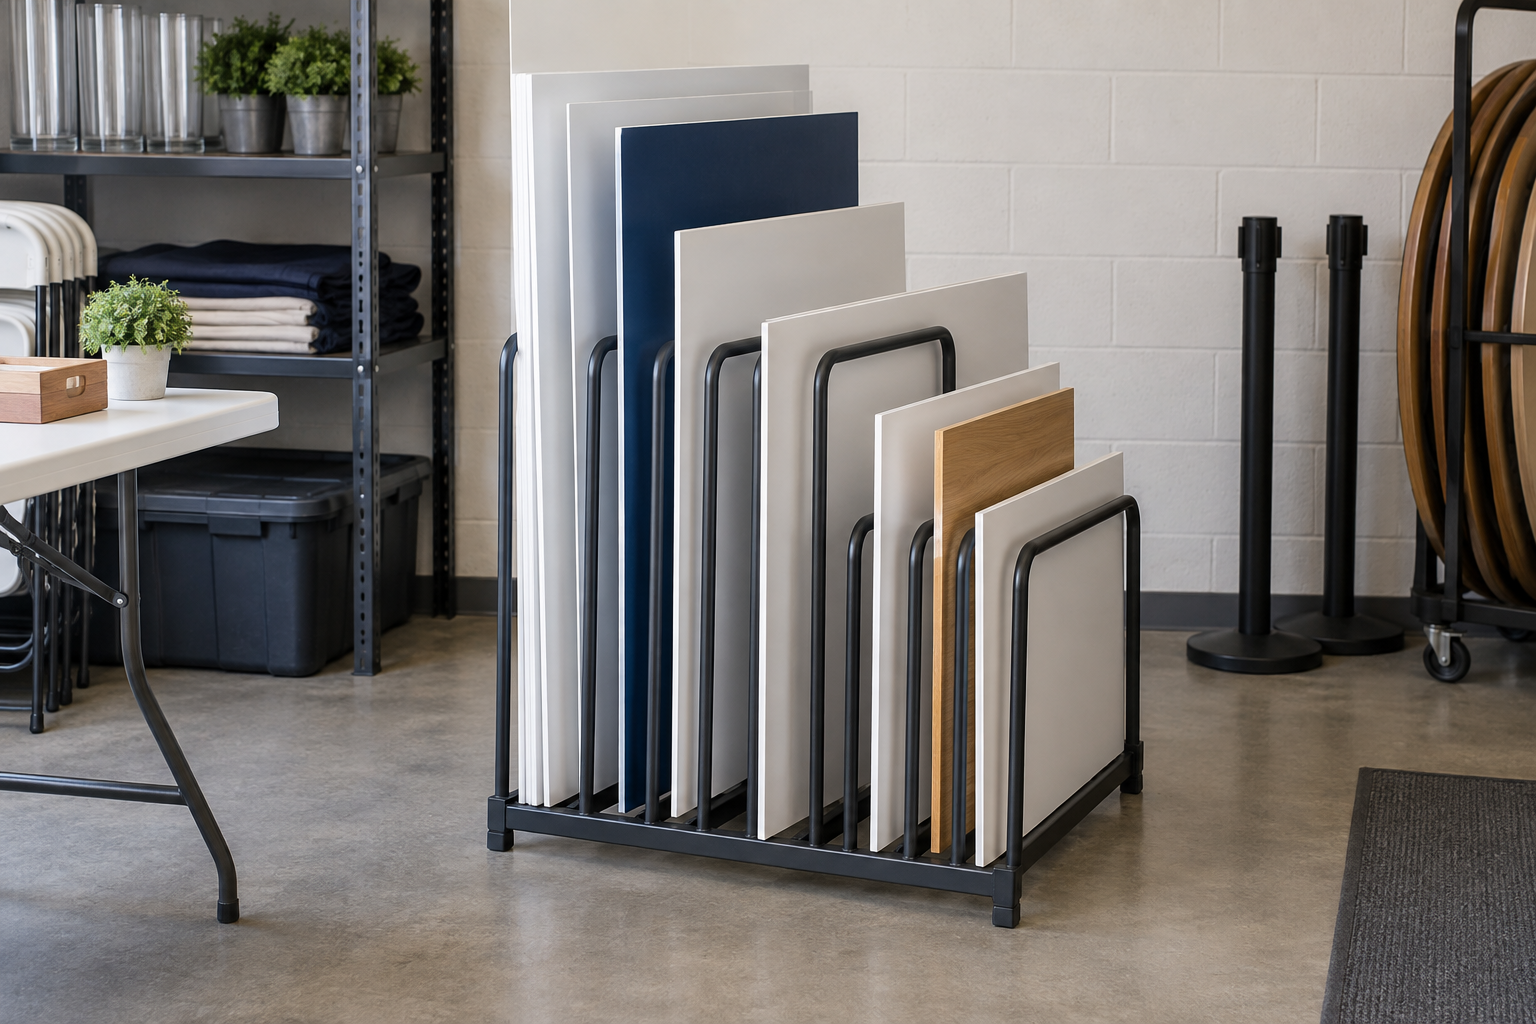
Format comparison
Measure the board inventory before comparing racks.
Record each board's finished width, height, thickness, weight, frame or edge details, and handling guidance. Then verify usable slot openings, support depth, outside footprint, placement and assembly instructions, and documented limits in the current listing.
The short answer
- Choose a fixed-slot floor rack when several compatible rigid boards need assigned positions and individual access in one indoor storage area.
- Choose an adjustable-divider rack when board thicknesses vary and the current instructions allow the divider spacing you need.
- Choose a low rolling rack only when mobility is part of the indoor workflow and the manufacturer documents suitable boards, loading, floor conditions, movement, and locking or parking procedures.
- Choose flat shelving or fitted cases instead when orientation guidance, vulnerable finishes, projecting hardware, irregular shapes, or travel requirements make vertical open-slot storage a poor fit.
These are use-based formats, not named winners or hands-on rankings. Product designs and instructions vary; verify the current listing and manufacturer documentation before buying or loading a rack.
Compare rack formats by the storage job
| Rack format | Useful starting scenario | Verify before buying | Main tradeoff |
|---|---|---|---|
| Fixed-slot floor rack | A stable inventory of similarly thick rigid boards | Usable slot opening, support depth, outside dimensions, board and total limits | Fixed spacing can waste slots or reject framed edges |
| Adjustable-divider rack | Several board depths that still suit the documented system | Divider positions, attachment method, minimum spacing, support contact | More setup decisions and parts to inspect |
| Low rolling panel rack | Boards move between nearby indoor storage and preparation zones | Documented load, wheel and brake guidance, floor suitability, turning footprint | Mobility adds clearance, movement, and parking considerations |
| Wall-adjacent vertical organizer | Compact boards in an approved indoor location | Placement or attachment instructions, usable depth, access direction, wall clearance | The room and installation conditions become part of product fit |
Seven selection criteria that matter
- Usable slot opening: compare the thickest finished edge—including approved sleeves, trim, or frames—with the documented clear opening. Do not infer clearance from a photo or center-to-center spacing.
- Board support: check where the rack contacts each board and whether the board or sign maker permits that storage orientation. A deep-looking base does not prove full or suitable support.
- Board dimensions and weight: verify individual-board and total limits when the manufacturer supplies them. A slot count alone says nothing about compatible size, weight, or material.
- Complete footprint: include feet, handles, wheels, divider projections, wall clearance, and the access area required to lift or slide out the deepest board.
- Retrieval direction: make sure the assigned person can identify and remove one sign without moving other boards into a walkway or dragging finished faces together.
- Assembly and placement: follow current instructions for assembly, anchoring if specified, loading order, indoor placement, inspection, and maintenance. Do not invent an installation method when documentation is incomplete.
- Inventory ownership: use labels or a slot map and assign responsibility for inspection and return. Even a well-fitted rack fails as a system if signs are filed inconsistently.
How to measure the whole setup
- List every rigid board intended for the rack and separate rolled graphics, fabrics, stands, lighted pieces, and loose hardware.
- Measure maximum finished height, width, thickness, and weight for each board. Include only protective layers or sleeves approved for that board.
- Mark the candidate rack's published outside footprint on the floor with removable tape.
- Add the manufacturer-required clearance plus the real loading and retrieval aisle. Test nearby doors, drawers, tables, and normal circulation.
- Draw or mock up the documented slot openings. Reject a rack that requires squeezing, bowing, scraping, or guessed clearances.
- Plan a slot for every compatible board and a separate home for stands, clips, fasteners, cords, and tools.
- Recheck the current instructions and limits before ordering and again before first use.
This process checks fit and workflow; it does not certify protection, storage conditions, structural capacity, or suitability for a particular sign. Ask the product manufacturer and sign maker when documentation leaves a material, finish, orientation, or loading question unresolved.
Rack vs shelf vs sleeve vs case
- Use a vertical rack when several compatible boards need assigned, individually accessible positions in a permanent indoor storage zone.
- Use flat shelving with appropriate separators when the boards' current handling guidance favors horizontal support and every item remains accessible.
- Use a fitted carry sleeve for one or two measured compatible boards when local transport is the main problem.
- Use a divided portable case when unlike display pieces travel as one organized kit.
- Use a measured event-sign storage bag when boards and compact supports are documented to pack together and portability matters more than instant individual access.
Who should skip a sign storage rack?
- Skip a dedicated rack when one or two boards already have an accessible, maker-approved storage method.
- Skip open vertical slots when the sign or material guidance calls for another orientation, full-face support, a fitted enclosure, or specific environmental conditions.
- Skip listings that omit the dimensions, instructions, or limits needed to establish fit for your inventory.
- Skip a rack that blocks work areas, doors, equipment, exits, or the retrieval route once its full footprint and access space are marked.
- Skip mixed catch-all storage for rolled graphics, loose hardware, projecting parts, acrylic, glass, or lighted signs unless current documentation expressly supports the arrangement.
- Skip rolling formats when the floor, route, loading routine, or manufacturer guidance does not support controlled indoor movement.
- Skip the purchase if a labeled shelf, existing fitted cases, or fewer signs solve the actual access problem more simply.
Final buying checklist
- Every intended board measured at its maximum finished dimensions and weight
- Board materials, finishes, frames, and handling guidance recorded
- Usable slot openings and support points verified from current documentation
- Individual and total limits checked where supplied
- Complete rack footprint and retrieval aisle taped out in the room
- Assembly, placement, loading, inspection, and maintenance instructions reviewed
- One-board retrieval rehearsed without temporary leaning or face contact
- Separate storage planned for incompatible signs, stands, hardware, and cords
- Flat shelf, sleeve, bag, and fitted-case alternatives considered
- A person assigned to labeling, inspection, and return
The best rack is not the one that appears to hold the most panels. It is the one with documented slots, support, limits, and outside dimensions that match a known board inventory and a repeatable indoor retrieval routine.