 The Good Sign Company
Desk-nameplate insert buying guide
How to Choose replacement inserts for changeable desk nameplates
The best replacement insert starts with the holder you already own. Measure the loading opening, paper cavity, and visible window separately; then screen stock by printer compatibility, opacity, finish, trimming work, and how often the name or role changes.
This guide is for indoor offices, studios, reception desks, and shared workspaces replacing paper in an existing holder. If the hardware is still undecided, first compare an engraved desk plate with a changeable-insert nameplate.
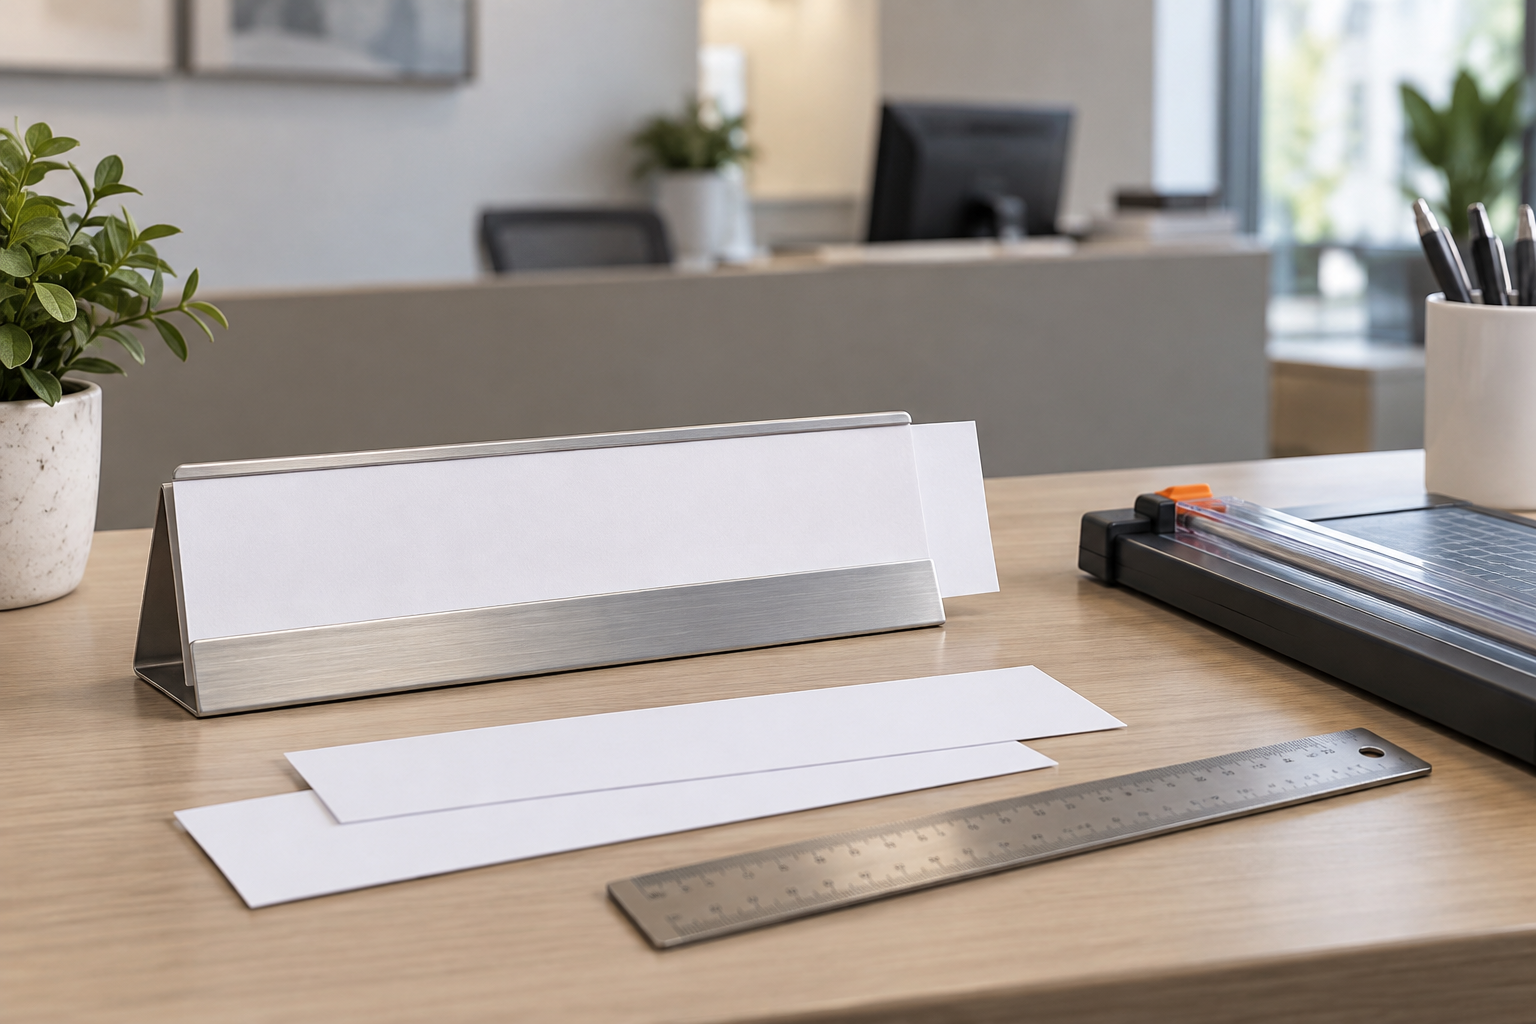
Compare insert stock against the real holder
Use current product details to verify finished width and height, paper weight or thickness, finish, color, printing method, sheet layout, and whether a template is supplied. Category search results are a shortlist, not proof that an insert fits your holder or printer.
How to Choose insert route by starting point
These are useful categories, not named-product winners or hands-on rankings.
- Original-maker replacement sheets: best when the holder model is known. Match the exact model or documented insert dimensions, not the brand name alone.
- Pre-cut blank cards: best when one listed size matches every measured dimension. Confirm both the card size and the printer's supported media range.
- Perforated printable sheets: best for repeat office updates. Check the finished size after separation, template requirements, edge appearance, and whether the sheet format suits the printer.
- Full sheets trimmed to size: best for unusual holders or small batches. Allow for setup, test cuts, and a repeatable cutting guide.
- Local print-service output: best when exact sizing or consistent batches matter more than in-house convenience. Give the printer finished dimensions, visible area, stock constraints, and a proof at actual size.
Measure three different dimensions
Remove the old insert without forcing the holder. Measure its finished width and height if it fits correctly, but also measure the holder's paper cavity and the opening through which a new insert must travel. End caps, bends, lips, and clear covers can make the loading route smaller than the internal space.
Then measure the visible window. Keep names, roles, and essential marks inside that area, with breathing room around the edges. A card can fit the holder while its wording disappears behind a border.
Check the holder source before shopping broadly
Look for a model number, maker instructions, an old template, or the original purchasing record. A documented replacement format reduces guesswork. If none survives, make a plain-paper test strip from your measurements and load it gently before ordering a pack.
Do not assume that labels such as “desk nameplate insert” or a familiar nominal size prove compatibility. Sellers may report sheet size, card size, or visible area, and those are not interchangeable.
Match the stock to the printer
Review the printer maker's current guidance for supported paper sizes, weights, finishes, feed paths, and custom-size printing. Some printers handle a full perforated sheet more predictably than a narrow pre-cut card; others may not support the chosen stock at all.
Print one actual name at full size. Check type size, contrast, alignment, smearing, curl, and whether the insert loads after printing. If a template is supplied, verify its finished output with a ruler rather than assuming the software preserved scale.
Choose finish and opacity for the desk
White or light matte stock usually keeps ordinary office text straightforward, but the right choice depends on the holder face and room light. Test reflections through any clear cover and check whether the old message, backing, or holder color shows through the new insert.
Colored, textured, glossy, translucent, or metallic-looking papers need product-specific printer and holder checks. Do not infer print compatibility or clean removal from appearance.
Plan a repeatable trimming workflow
When full sheets need cutting, create one approved master file with trim marks outside the visible area. Use a cutting tool according to its maker's instructions, verify the first finished card, and keep a spare as a physical reference. A repeatable guide matters more than shaving tiny amounts from each update by eye.
Record finished dimensions, font, type size, margins, stock name, printer settings, and file location. Assign an update owner so new inserts do not drift in size or style across desks.
Who should skip replacement insert stock?
- The holder is damaged, sharp, distorted, or missing parts: replace or review the hardware rather than forcing paper into it.
- No dimensions can be verified: make a plain-paper fit test before buying a pack.
- The message changes several times a day: a compatible dry-erase, sliding-status, or digital format may fit the workflow better.
- The printer does not support the stock or custom size: use a compatible sheet layout or a local print service.
- The name must be permanent or tamper-resistant: a changeable paper insert may be the wrong format.
- The sign has accessibility, security, or regulated identification requirements: use the applicable organizational standard and qualified guidance; this buying guide does not establish compliance.
Bottom line
Choose in this order: documented holder fit, loading path, visible area, printer compatibility, readable finish, then trimming and update convenience. Test one real name from print file to installed insert before standardizing a batch.
If the holder itself may change, compare magnetic nameplate holders for changeable office labels. For a writable shared-room format, use the dry-erase nameplate worth-it guide. For the wider viewer, message, placement, and ownership decision, return to the small-business sign planning pillar.