 The Good Sign Company
Office label comparison
Magnetic Nameplate Holder vs Adhesive Nameplate Holder
Choose the mounting method only after you identify the actual surface and how often the label location will move. A magnetic holder is the flexible choice on a confirmed magnet-responsive surface; an adhesive holder reaches more smooth surfaces but asks for a more deliberate placement and removal plan.
Disclosure: As an Amazon Associate, we may earn from qualifying purchases and approved partner referrals.
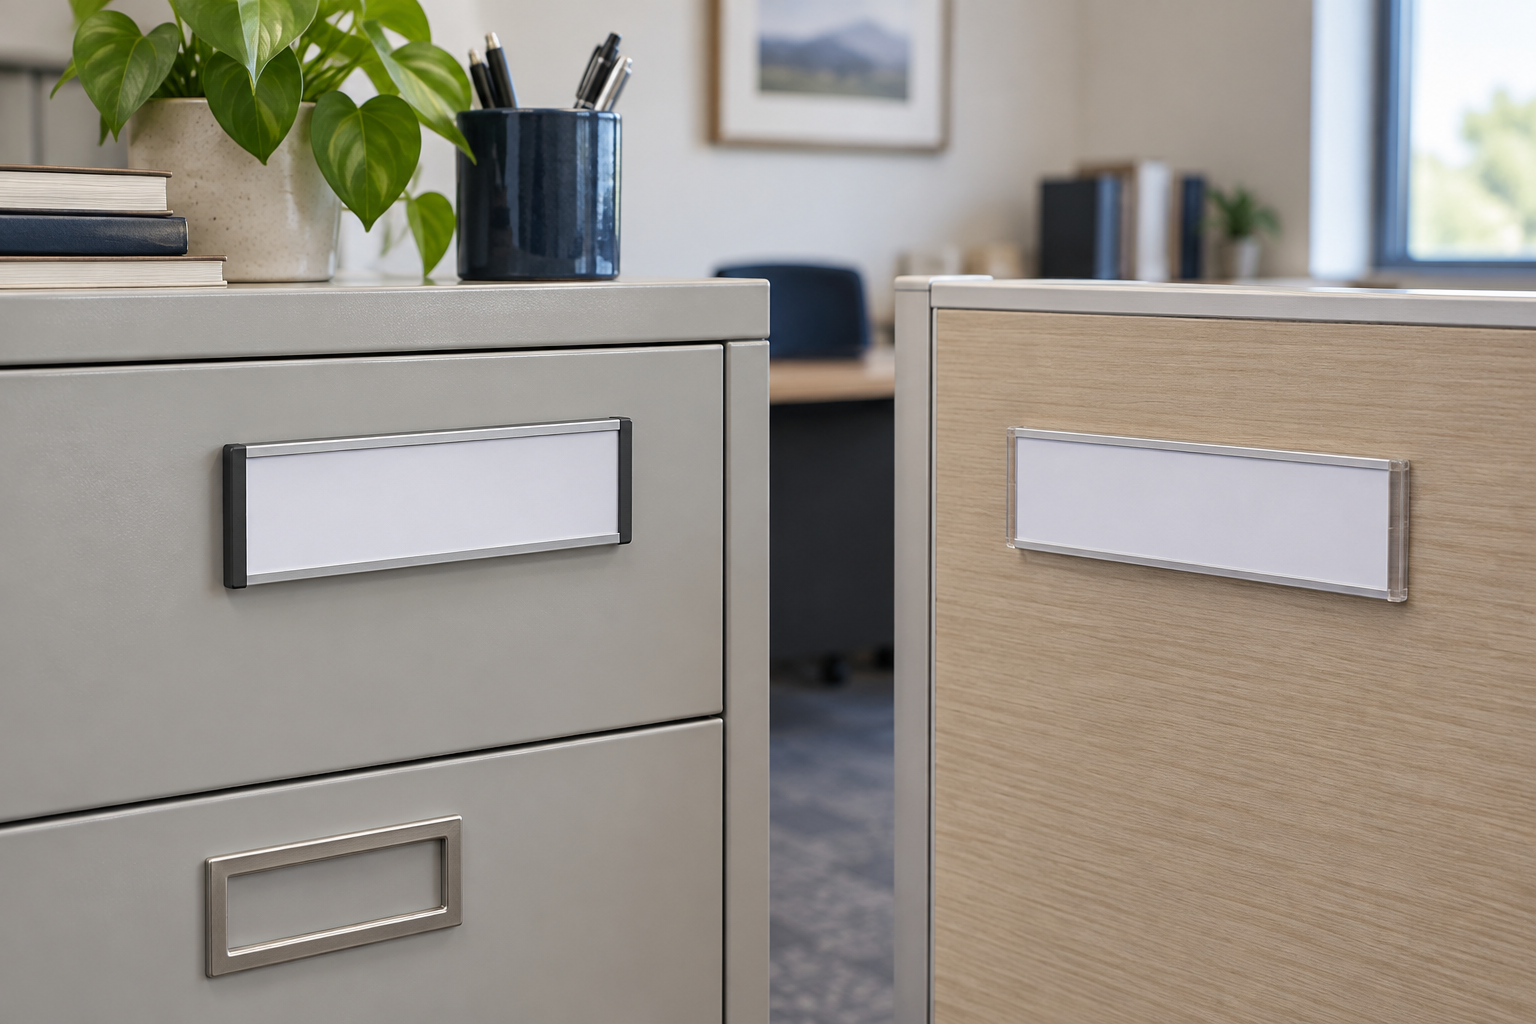
Compare the two holder routes
Start with holders that publish the insert dimensions, complete outside dimensions, loading method, orientation, and mounting instructions. Match the holder to a measured label and the exact mounting surface.
The short answer
Pick magnetic when a magnet test succeeds on the intended spot and desks, cabinets, shelves, or room assignments change often. The whole holder can move without applying a new mounting strip.
Pick adhesive when the exact surface is smooth, compatible with the maker's instructions, and the holder can stay in one carefully chosen location. It is often the practical route for laminate, glass, or another nonmagnetic surface, but removal results depend on the adhesive, surface finish, preparation, time in place, and removal method.
Pick neither when the surface is unknown, freshly finished, textured, fragile, frequently cleaned with strong products, or not yours to alter. A tabletop holder, clip-on label, or printed-insert door sign can avoid committing to the surface.
Decision table
| Decision | Magnetic holder | Adhesive holder |
|---|---|---|
| Surface gate | Requires a confirmed magnet-responsive location | Requires a clean, compatible surface named in the instructions |
| Moving the whole holder | Usually the simpler workflow | May require new adhesive and surface cleanup |
| Changing the paper insert | Depends on the holder's loading design | Depends on the holder's loading design |
| Positioning | Can be trial-positioned on a suitable surface | Should be measured and aligned before firm application |
| Profile | Magnet and holder depth can add projection | Backing can sit close to a smooth surface |
| Removal question | Check for surface contact, trapped grit, or finish sensitivity | Follow the maker's removal instructions; do not assume residue-free removal |
1. Verify the substrate, not its appearance
A cabinet that looks metallic is not automatically a useful magnetic surface. Some metals are not strongly magnet-responsive, while coatings, trim, curves, and double-wall construction can change how the holder sits. Test the exact placement with an ordinary magnet before shopping, including the door or drawer face rather than a different part of the cabinet.
For adhesive mounting, record the actual finish: painted metal, powder-coated metal, laminate, glass, sealed wood, or another surface. Then compare that description with the holder manufacturer's surface preparation and application instructions. Treat vague “sticks anywhere” language as insufficient.
2. Separate relocation from insert changes
Both formats can hold replaceable paper inserts. That feature answers “how do we change the name?” It does not answer “how do we move the holder?” A magnetic backing makes the entire assembly easier to relocate among compatible surfaces. An adhesive backing is better treated as a fixed station whose insert changes while the holder remains put.
Map the real workflow. A supply cabinet label may remain stable for years even though its insert changes occasionally. A hot-desk nameplate may move every day. Those are different jobs even when both use the same strip of paper.
3. Measure the insert and the complete holder
Do not shop from a familiar paper description alone. Record the finished insert width and height, the visible window, the loading opening, and the holder's complete outer dimensions. The face may extend beyond the printed label, and end caps or side-loading clearance may collide with drawer pulls, cabinet seams, shelf lips, or neighboring labels.
Also check orientation. Some holders accept a strip from one end, some flex open, and some use a clear cover. Make sure the holder can still be loaded after it is mounted in the proposed spot.
4. Plan readable placement before attachment
View the location from where a visitor or coworker will actually approach. A label on a low drawer may be readable only from close range; a protruding holder near a cabinet pull may catch sleeves or block access. Print a paper rectangle at the proposed outside dimensions and temporarily position it to check height, alignment, nearby hardware, and the length of the name or message.
For adhesive holders, mark a level reference lightly and follow the product's surface-preparation, pressure, and waiting instructions. For magnetic holders, check that the full backing contacts a flat area rather than bridging a seam or curve.
5. Choose by reassignment frequency
Magnetic holders earn their flexibility when the office reassigns spaces, reorganizes stock, or reuses cabinets. Keep the insert template standardized so the label and holder can move together. If moves are rare, magnetic backing has less practical value unless it also avoids adhesive on an appropriate surface.
Adhesive holders make sense for a stable room, station, or shelf where the name changes but the holder location does not. Keep a record of the insert size and source file so future labels align without rebuilding the layout.
When to skip both
- The mounting surface has not been identified or tested.
- The holder would interfere with a handle, drawer, door swing, or cleaning routine.
- The message changes size or format often enough that one insert window will be restrictive.
- You cannot follow the surface owner's rules or the product's application and removal instructions.
- A tabletop, freestanding, clip-on, or pocket format would serve the same sightline without attaching to the surface.
A practical buying checklist
- Exact mounting material and finish
- Magnet test result at the intended spot
- Manufacturer-listed compatible surfaces and preparation steps
- Visible insert size and complete holder dimensions
- Insert loading direction and clearance
- Expected frequency of insert changes and whole-holder moves
- Projection near handles, aisles, or work surfaces
- Removal instructions and a fallback display format
Continue the decision
If the exact spot passes the magnet test, compare magnetic nameplate-holder formats by insert window, loading direction, backing contact, profile, and update routine. Use the small-business sign planning guide to connect label wording, sightline, update ownership, and installation. If the choice is broader than a replaceable office nameplate, compare a magnetic sign with an adhesive sign. Shared rooms with frequent occupant changes may be better served by the dry-erase door nameplate decision guide.