 The Good Sign Company
Reusable paper-notice clip comparison
Magnetic clip vs suction-cup clip for indoor paper notices
Choose a magnetic clip when the exact indoor host responds to a magnet and a compact paper notice needs quick changes. Choose a suction-cup clip when the intended smooth glass is supported by the product instructions and the notice belongs on the pane. The host surface decides which route is viable before clip color, style, or pack size matters.
This guide covers ordinary lightweight indoor notices in offices, studios, counters, and stock areas. It does not establish suitability for doors in motion, overhead placement, emergency messages, accessibility signs, regulated notices, or any application where a dropped sign could cause harm.
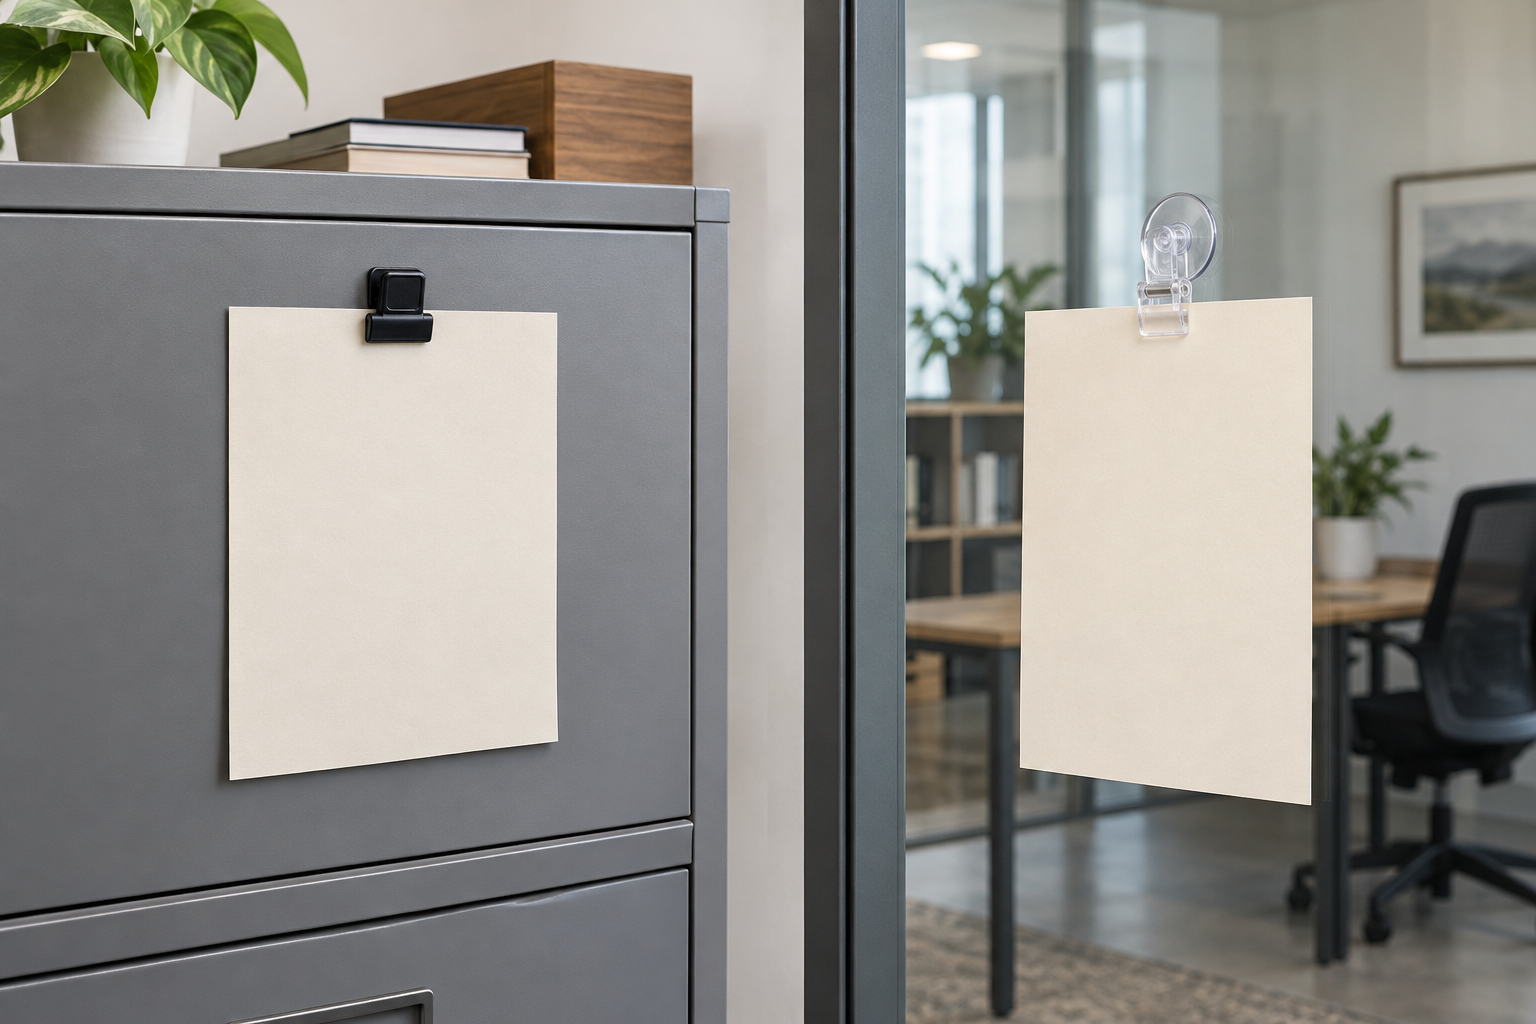
Compare clips only after confirming the host
Check current listings and instructions for compatible surfaces, cup or magnet dimensions, clip opening, supported paper or card guidance, orientation, application, cleaning, inspection, and removal.
The short answer
- Magnetic clip: best when the precise location passes a magnet test, the notice changes often, and moving the clip among compatible steel surfaces is useful.
- Suction-cup clip: best when the product instructions support the exact smooth interior glass and a pane-facing message is more useful than a cabinet notice.
- Skip both: when the host is unknown, the notice is too large or heavy for documented product guidance, the location moves or vibrates, or a pocket, frame, stand, or existing notice board provides a more controlled display.
Side-by-side tradeoffs
| Decision | Magnetic clip | Suction-cup clip |
|---|---|---|
| Required host | Exact indoor spot that responds to a magnet and matches current product guidance | Smooth interior glass or another surface explicitly supported by current instructions |
| Setup | Test the location, clean as directed, place the clip, and insert the paper | Clean and prepare the cup and pane as directed, apply it fully, then attach the paper |
| Repositioning | Usually simple among verified compatible spots | Requires release and reapplication according to the product directions |
| Visual footprint | Clip and magnet remain visible against the host | Clear hardware may be less visually prominent, but the cup outline remains visible |
| Routine check | Inspect the magnet face, clip, host finish, alignment, and paper grip | Inspect cup contact, edge seal, clip, glass condition, alignment, and paper grip |
| Natural location | Steel cabinet, board, shelving panel, or other verified magnetic host | Interior glass partition, window, or smooth pane supported by the maker |
Who each option fits
Choose magnetic for a confirmed metal notice point
A magnetic clip fits a frequently updated schedule, bin note, temporary instruction, or small price card when the exact host passes a magnet test. Appearance is not proof: stainless-looking, painted, or composite panels can respond differently. Test each intended position, including cabinet doors and adjacent panels, before buying a multi-pack.
The format is especially useful when staff move a notice between known compatible zones or need to remove the hardware without leaving a fixed mount. It is less useful when precise permanent alignment matters more than mobility.
Choose suction for a message that belongs on glass
A suction-cup clip fits a small temporary notice on supported interior glass when the message should be seen at that pane. Confirm which side people approach, whether the paper faces the correct direction, and whether the glass has film, texture, coating, seams, decals, or other conditions excluded by the instructions.
The cup needs enough clear area for full contact, while the clip needs room to open without striking trim. Keep the complete notice clear of handles, door travel, blinds, cleaning tools, and busy reach zones.
Setup before the first notice goes up
- Finish the message. Print the real paper size and keep essential content away from the clip area.
- Choose the exact position. View it from the normal approach and confirm the message is readable without blocking handles or sightlines.
- Verify the host. Test the precise magnetic spot or compare the precise glass condition with the suction-cup maker's instructions.
- Measure the complete assembly. Include the magnet or cup, clip body, paper, and the space needed to operate the jaw.
- Prepare only as directed. Follow current cleaning, application, waiting, and removal instructions for the selected product.
- Test the routine in a low-consequence location. Insert and remove the real notice and observe the assembly before using it in normal service.
Updates and maintenance
Assign someone to own the source file, replacement schedule, and removal of expired notices. During each update, inspect the clip hinge and contact surfaces, then confirm that the paper remains flat enough to read from the normal approach.
For a magnetic clip, remove trapped dust or grit using methods supported for both the product and host finish; do not slide debris across the surface. For a suction cup, release and reapply it only as instructed, and inspect the cup for distortion, contamination, or loss of contact. Product-specific cleaning guidance controls—one cleaner should not be assumed safe for the clip, cup, coating, paper, glass, and cabinet finish.
Who should skip the magnetic clip
- The exact spot fails a magnet test, has a weak or inconsistent response, or conflicts with seams, vents, doors, or handles.
- The listing does not document the product dimensions, orientation, compatible use, or paper guidance needed for the setup.
- The notice needs a finished border, cover, or stable fixed alignment rather than an exposed clipped sheet.
- The host finish is delicate or uncertain and the maker provides no suitable contact or care guidance.
Who should skip the suction-cup clip
- The pane is textured, filmed, coated, damaged, dirty, curved, or otherwise outside the product's documented surface guidance.
- The notice would interfere with a moving door, blind, handle, customer path, or routine glass cleaning.
- The product lacks clear application, inspection, cleaning, and removal directions.
- A release could drop the notice into a sensitive work area or create a meaningful consequence.
When another display is better
Use a sign pocket when the paper needs more edge support or a consistent loading opening. Use a magnetic document frame or mounted snap frame for a standard-size notice that benefits from a defined border. On glass, compare suction-cup hardware with static cling when a separate paper sheet may not be the right format. Choose a tabletop holder when the message belongs at a staffed counter rather than on a vertical host.
Next steps
If steel is confirmed, use the magnetic clip guide to compare jaw fit, footprint, paper stack, and update access. If glass is confirmed, use the suction-cup holder guide to compare clip, hook, and pocket formats. Return to the sign mounting and setup pillar when the host surface or display method remains unsettled.
Bottom line
Magnetic and suction-cup clips can hold the same kind of small paper notice, but they are not interchangeable hardware. Choose magnetic only after the exact steel location responds as needed; choose suction only after the exact smooth interior glass matches the current instructions. The safer buying sequence is host, notice, dimensions, placement, update routine, then product.