 The Good Sign Company
Indoor Tabletop Sign Decision Guide
Is a non-slip pad worth it under a tabletop sign base?
A non-slip pad is worth considering when a level, intact tabletop sign repeatedly slides during ordinary use on a clean, stable surface—and a product-specific pad fits fully beneath the base. It is not the right fix for rocking, tipping, a damaged holder, a sloped surface, or a sign placed where people and cables keep striking it.
Start by observing the complete sign in its real counter or table position. The cause matters more than the accessory: dust, an uneven base, a top-heavy insert, direct contact, and a genuinely slick surface call for different fixes.
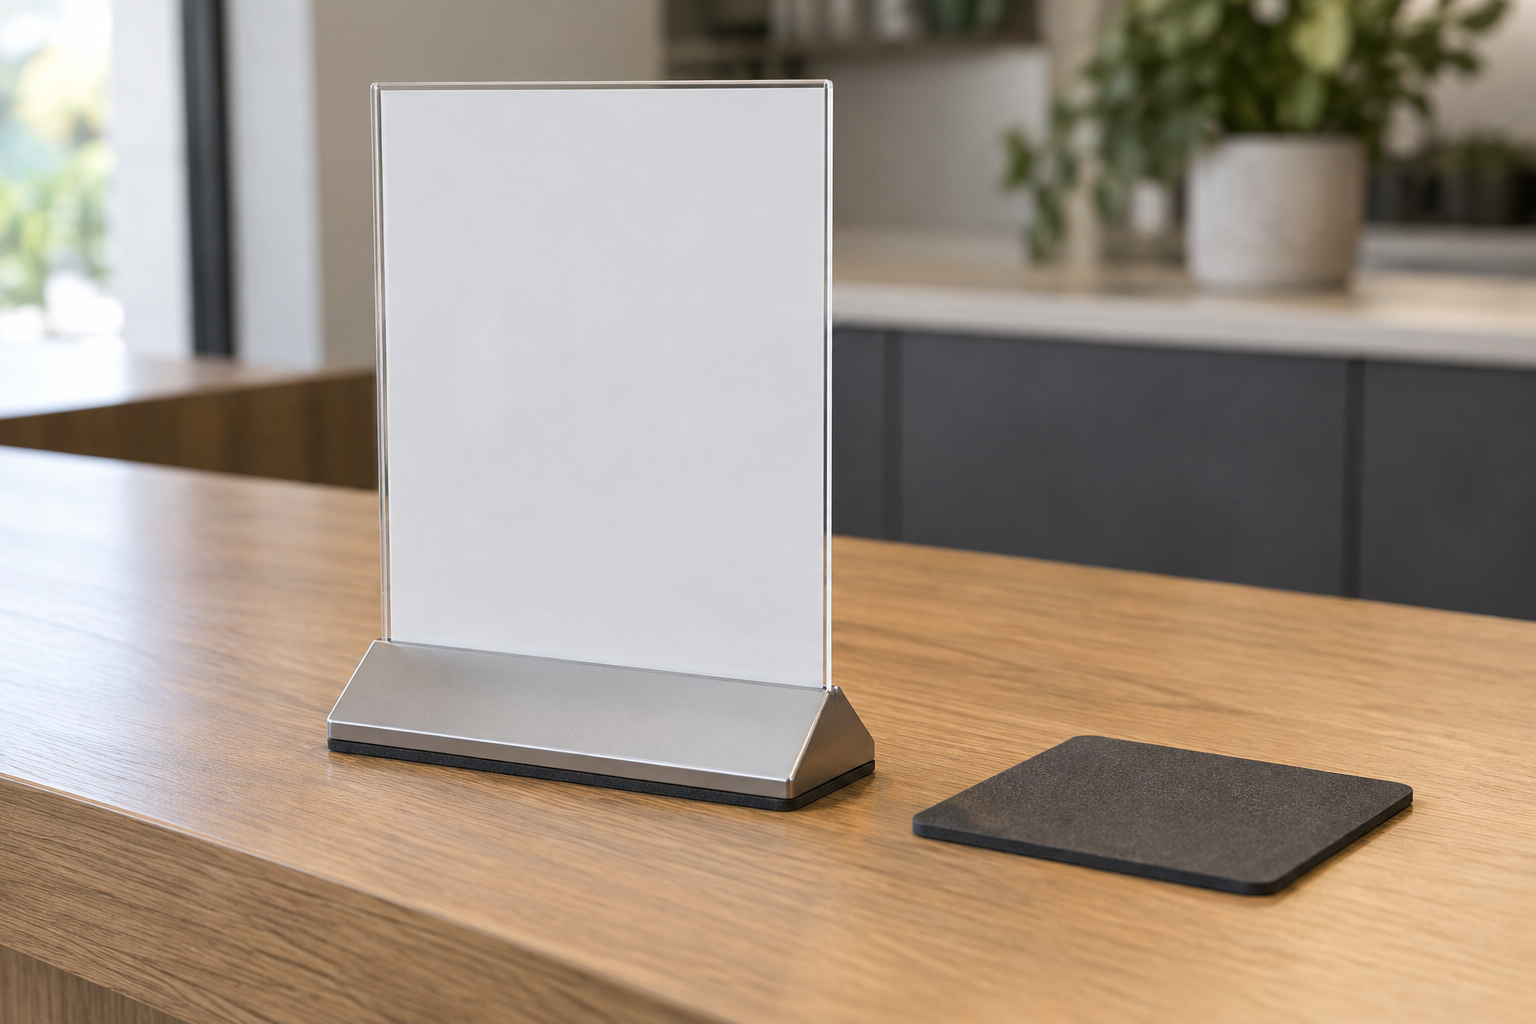
Measure before comparing formats
Compare fit, thickness, and surface instructions
Record the usable underside dimensions and identify the base and tabletop finishes. Check current product instructions for compatible surfaces, placement, cleaning, residue, and removal before choosing adhesive pads, point bumpers, grip sheet, or a removable mat.
Quick verdict
Buy a pad when the holder is sound and level, movement is mild and repeatable, the actual surface is compatible, and a thin pad can fit without changing the viewing angle or creating uneven contact. Skip it when the display rocks, tips, overhangs the surface, has a missing factory foot, or sits in a collision path. In those cases, clean, relocate, repair, or replace the holder instead.
Diagnose the movement before buying
- Watch what starts the movement. Note whether the sign shifts during insert changes, counter wiping, cable movement, routine customer contact, or without being touched.
- Clean within both makers' guidance. Dust and residue can change how the base meets the surface. Let the area dry, replace the sign, and observe it again.
- Check for rocking. Press gently at each corner. Movement between opposite corners points to an uneven base or surface, not simply a lack of grip.
- Test the complete display. Use the real insert and accessories. A taller, heavier, or off-center insert can change the holder's behavior.
- Map the work zone. If hands, bags, cleaning tools, stock, or cords repeatedly contact the sign, moving it may be more useful than adding friction underneath.
Measure the base-to-pad fit
Turn the empty holder over on a protected surface and identify the portions designed to touch the tabletop. Record the flat contact width and depth, plus any recessed areas, screws, molded ribs, existing feet, or openings. A full sheet needs an uninterrupted landing area; small equal-height pads need matching contact points.
Thickness deserves its own check. Mock up equal spacing under every intended contact point, then return the complete sign to its normal position. Confirm that it remains level, does not wobble, and keeps the intended viewing angle. Do not stack unmatched layers to compensate for a damaged or uneven base.
When a non-slip pad is likely worth it
- The intact holder slides slightly on a stable indoor desk, counter, shelf, or event table during normal use.
- The base has clear, measurable contact areas and enough clearance to conceal a suitable pad.
- The pad maker's current instructions address the relevant base and tabletop surfaces.
- Cleaning and removal requirements are acceptable for the business, venue, or property stakeholder.
- One assembled test sign stays level and behaves better through real insert changes and routine cleaning.
When to skip the pad
- The holder rocks or is damaged. Check assembly, factory feet, warping, cracks, and loose parts; repair or replace the holder as appropriate.
- The sign tips rather than slides. Reconsider its height, insert fit, base footprint, location, or holder type. Added grip does not make a top-heavy display stable.
- The surface guidance is unclear. Avoid experimenting where adhesive, plasticizer transfer, discoloration, residue, or cleaning restrictions would be unacceptable.
- The sign is in a contact path. Relocate it, reduce its footprint, or choose a holder suited to the work zone.
- The placement is wet, heated, outdoors, food-contact, electrical, accessibility-sensitive, or otherwise regulated. General accessory guidance is not enough; follow the responsible requirements and qualified guidance.
Better alternatives for other problems
Clean or reposition the existing holder when contamination or workflow is the cause. Choose a wider or weighted base when the complete sign needs a more suitable support, while still following the holder maker's limits. Use a clamp-on holder only when the counter edge, clearances, sign fit, and product instructions support it. Replace a damaged or incomplete holder rather than hiding the defect beneath an add-on layer.
If the accessory route still fits, the non-slip pad comparison explains point bumpers, thin pads, grip sheets, and removable mats. Compare a clip-on holder with a weighted sign base when attachment and footprint are the real decision.
A one-sign trial before standardizing
- Record the base and surface materials, contact dimensions, and observed cause of movement.
- Choose a product whose current instructions fit those conditions; do not rely on the words “non-slip” alone.
- Install or place it exactly as directed and load the real sign insert.
- Observe the sign during normal updates, cleaning, customer approach, and staff work.
- Remove or inspect the pad on the recommended schedule, then decide whether the result is worth repeating across other signs or locations.
The practical bottom line
A non-slip pad can be a sensible small fix for a measured sliding problem. It should fit the contact area, preserve a level stance, suit both surfaces, and remain manageable through cleaning and removal. If the sign rocks, tips, is damaged, or keeps getting struck, solve that larger problem instead. Continue with the sign mounting and display supplies guide when the support method itself is still undecided, or use small-business sign planning to reassess message, sightline, and work-zone placement.