 The Good Sign Company
Counter display comparison
Brochure holder with header sign vs separate brochure and sign holders
Choose an integrated holder when one stable headline belongs with the brochures and the combined fixture fits the counter. Choose separate holders when the sign needs its own angle, size, position, or update schedule. The real choice is alignment versus flexibility—not simply which arrangement looks tidier in a listing photo.
This comparison is for indoor reception desks, service counters, and booths where printed literature remains part of both setups. If the unresolved question is whether a header is useful at all, start with the brochure-header worth-it guide. For the wider message and customer-path decision, use the small-business sign planning pillar.
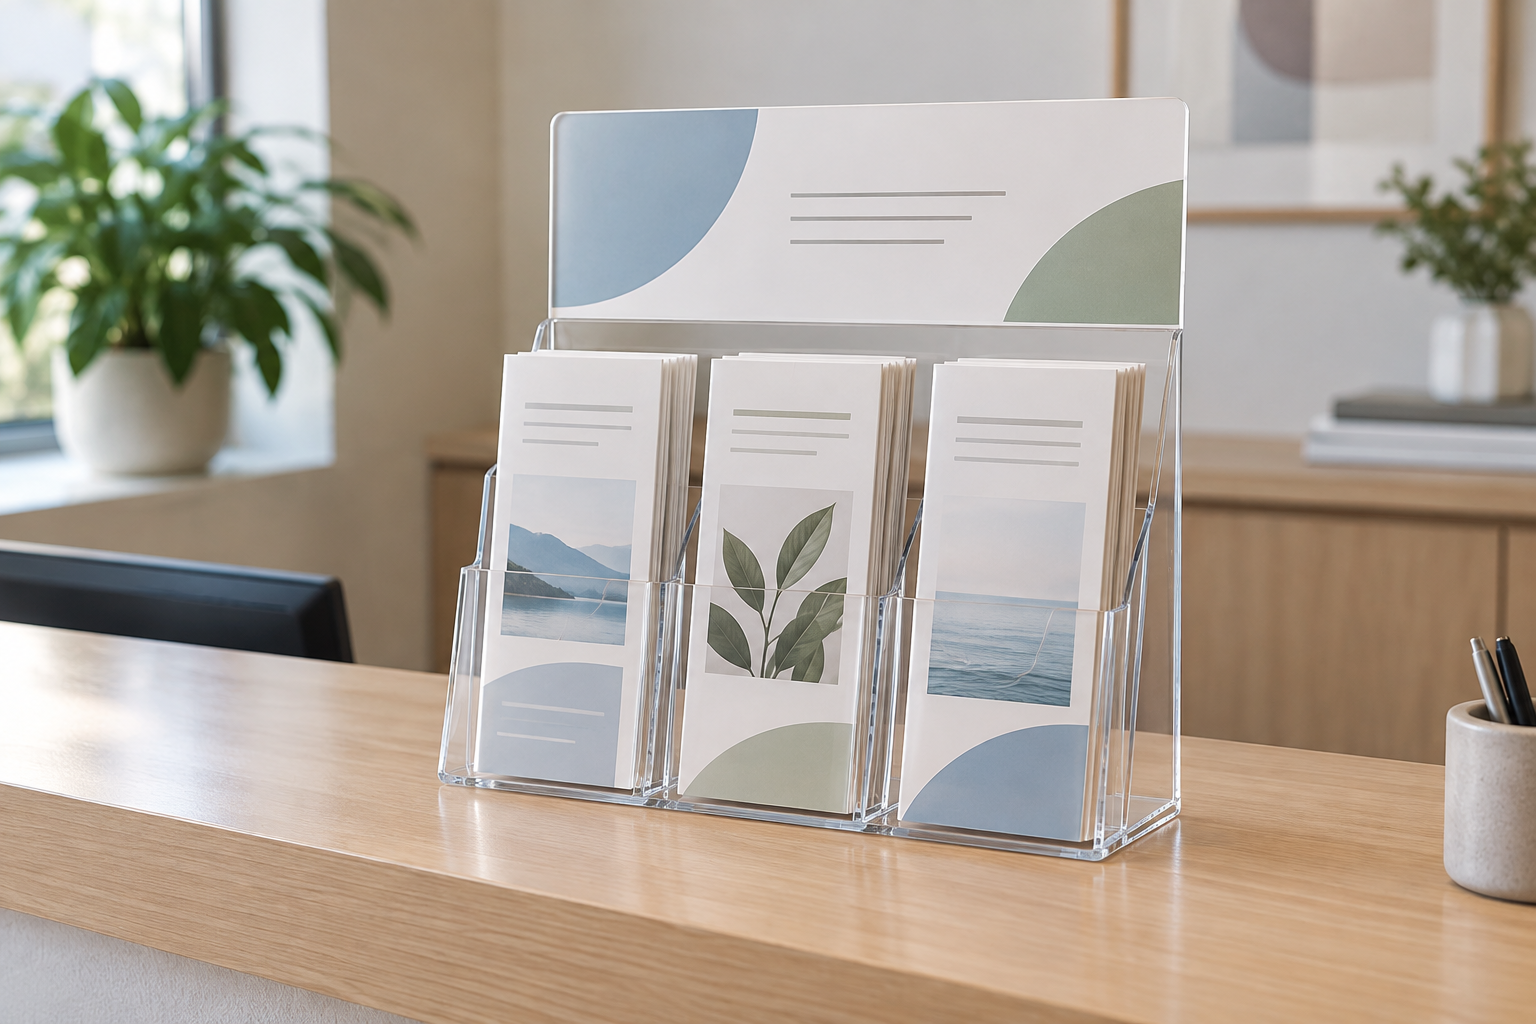
Compare both display routes by complete dimensions
For either route, verify the brochure size, visible sign area, overall width, depth and height, loading access, orientation, product weight, included parts, and current care guidance. Separate pieces also need a measured gap and a plan for keeping the message beside the correct handouts.
Integrated brochure holder with header
One fixture maintains the relationship between the headline and handouts. Check whether its fixed insert sizes, height, and loading path fit the actual counter.
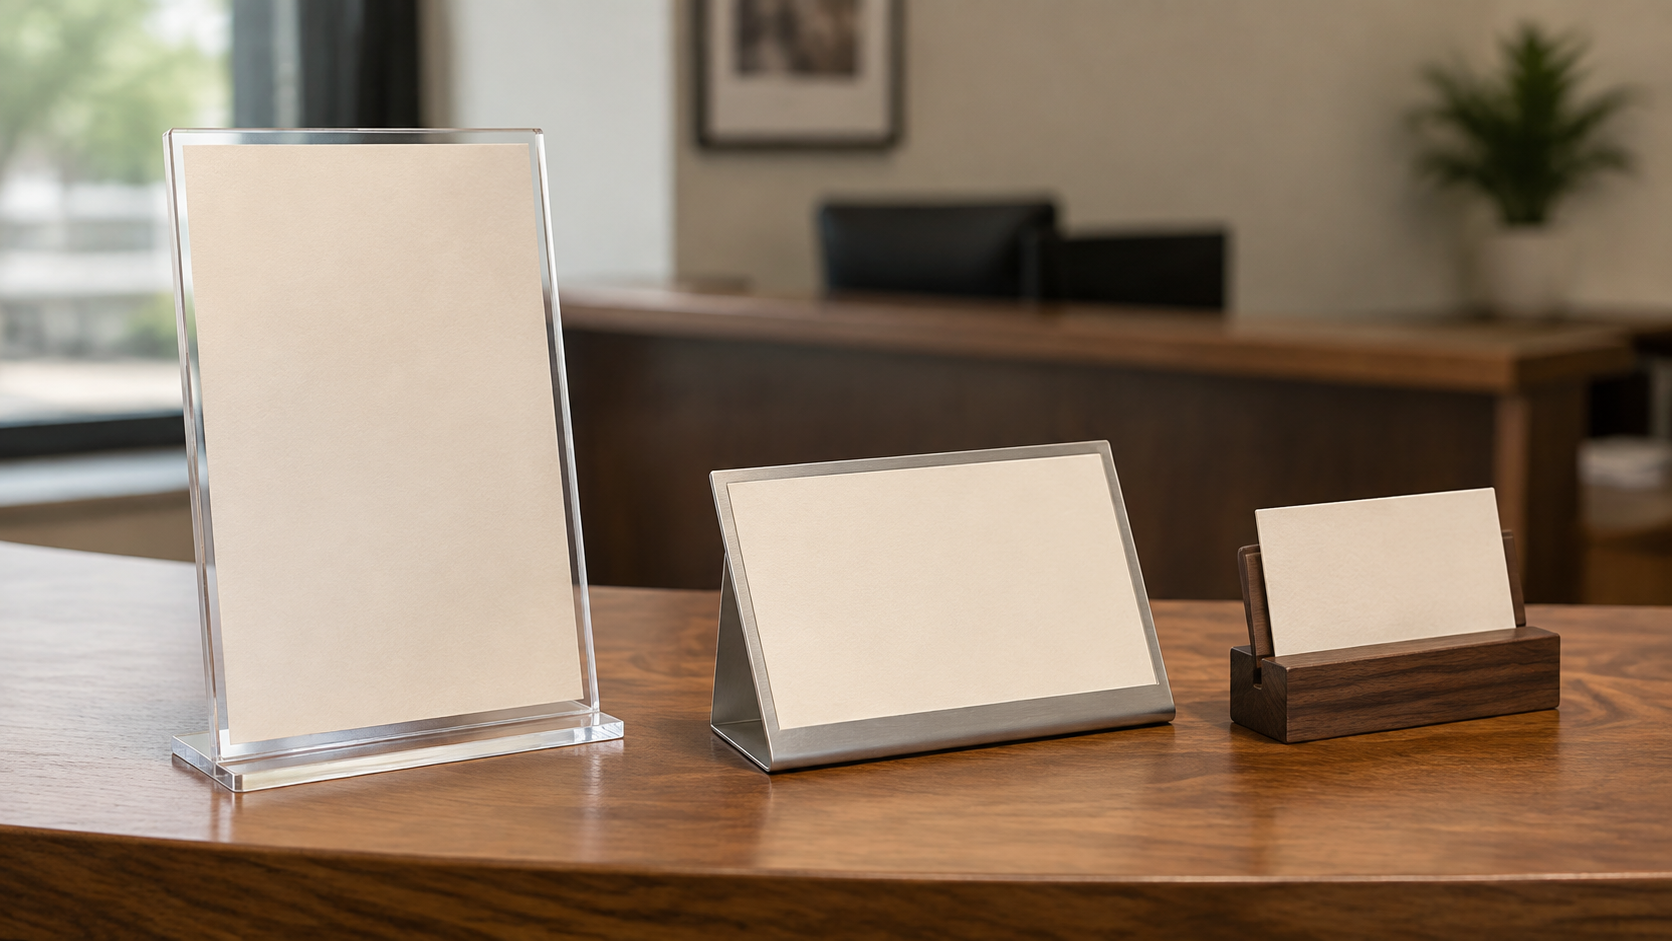
Separate brochure and sign holders
Two fixtures let the sign use a different height, angle, orientation, or update cycle. Measure their combined footprint and the space between them.
The short answer
- Choose the integrated holder when every brochure supports one call to action, the heading will remain stable, and the all-in-one footprint leaves clear room for visitors and staff.
- Choose separate holders when the sign must face a different approach, change more often, stay visible while brochures are restocked, or move independently.
- Skip both when the literature has no clear owner, the counter is already crowded, the handouts are self-explanatory, or the listing omits dimensions needed to confirm fit.
Who each setup fits
Integrated: one message, one station
An integrated header fits a check-in point, information desk, or booth where one short label accurately describes every handout below it. Keeping the pieces together can simplify placement and pack-down because the sign cannot drift to an unrelated stack. It also makes the visual hierarchy predictable: brief heading first, literature second.
The tradeoff is fixed geometry. The sign panel, brochure pockets, and base come with a set relationship. If the header sits too low behind a monitor, too high across a staff sightline, or at the wrong angle for the approach, the combined holder gives you few ways to correct only that part.
Separate: one coordinated system, two movable parts
Separate holders fit counters where the sign needs more prominence than the handouts, where visitors approach from an angle, or where staff replace one message without touching the brochure display. The sign can use a landscape insert while the brochures remain portrait, and a damaged or unsuitable component can be replaced independently.
The tradeoff is counter discipline. Two bases consume space and can migrate apart during cleaning, restocking, or event setup. Someone must define their order, spacing, orientation, and storage so the call to action continues to point to the right literature.
Compare the tradeoffs before buying
Message hierarchy
Write the shortest useful header, place it at the proposed visible size, and view it from the actual approach. An integrated unit makes the relationship obvious when one heading covers every pocket. Separate holders are stronger when the sign needs a larger instruction, a different viewing angle, or a message that extends beyond “what these brochures are.”
Footprint and sightline
Use complete outside dimensions, not only brochure or paper size. For the modular route, add both bases plus the intentional gap between them. Test whether the display interferes with payment hardware, forms, pens, screens, handoffs, seated visitors, or staff eye contact. A paper-and-cardboard mockup is more useful than guessing from a product photo.
Insert fit and updates
Confirm visible opening, supported paper size, orientation, loading edge, and hand clearance for every insert. An integrated holder can make synchronized changes straightforward, but it may force staff to move brochures to reach the header. Separate holders make independent updates easier but create two templates and two checks.
Restocking and cleaning
Load real brochures into a mock footprint and rehearse taking the last copy from each pocket. Check whether the sign blocks the refill path or whether separate bases slide into the working area. Follow each product maker's cleaning instructions; do not assume every clear holder accepts the same cleaner or handling method.
Transport and storage
For a recurring indoor booth, compare the complete packed dimensions and protect the edges, bases, and insert openings according to current product guidance. One fixture reduces the piece count, while two holders may nest or pack more efficiently depending on their shape. Keep the sign insert with the matching literature and record the setup order.
Setup and maintenance checklist
- Define the visitor action: take a brochure, choose among handouts, scan a separate message, or ask staff.
- Measure the available counter width and depth after permanent equipment and working space are accounted for.
- Record each brochure's finished width, height, fold, and stack thickness.
- Print a full-size header and test type size, contrast, reflection, and angle from the real approach.
- Mock up the complete height and base footprint of both arrangements.
- Assign responsibility for message updates, brochure restocking, cleaning, and removing outdated material.
- Before ordering multiples, test one complete setup with the current manufacturer instructions and return terms.
Skip criteria
- Skip an integrated unit when unrelated brochures need different headings, the sign changes more often than the literature, or its fixed height and angle miss the sightline.
- Skip separate holders when there is not enough measured counter depth, the pieces will routinely be moved apart, or staff cannot maintain two inserts and positions.
- Skip a header entirely when the brochure covers already state the choice clearly and another nearby sign would only repeat them.
- Move the message elsewhere when visitors need to see it before reaching the counter; use the broader planning pillar to map the approach path first.
- Do not buy from incomplete listings when brochure fit, visible sign area, base dimensions, loading access, or included components cannot be confirmed.
Choose the next guide
If both setups still feel too large, compare a single-pocket holder with a multi-pocket literature display. If the sign position is the uncertain part, use the reception desk sign-holder guide to compare angle, insert access, glare, and footprint. For a one-way printed notice without takeaways, compare a table tent with an acrylic sign holder.
Bottom line
An integrated brochure holder is the cleaner fit when one stable headline and one group of brochures should always travel together. Separate brochure and sign holders are the more adaptable fit when placement, size, orientation, updates, or replacement differ. Mock up both complete arrangements on the real counter, then choose the one staff can keep accurate—not merely the one with fewer pieces.