 The Good Sign Company
Small tabletop sign guide
Best mini easels for place cards and small signs
Choose the smallest easel that supports the finished card without hiding important copy or spreading beyond its assigned table space. A wood easel gives a familiar framed look, a wire stand keeps the support visually light, and a clear easel recedes behind the card. Exact card thickness, ledge depth, stance, and viewing angle matter more than the material label.
Disclosure: As an Amazon Associate, we may earn from qualifying purchases and approved partner referrals.
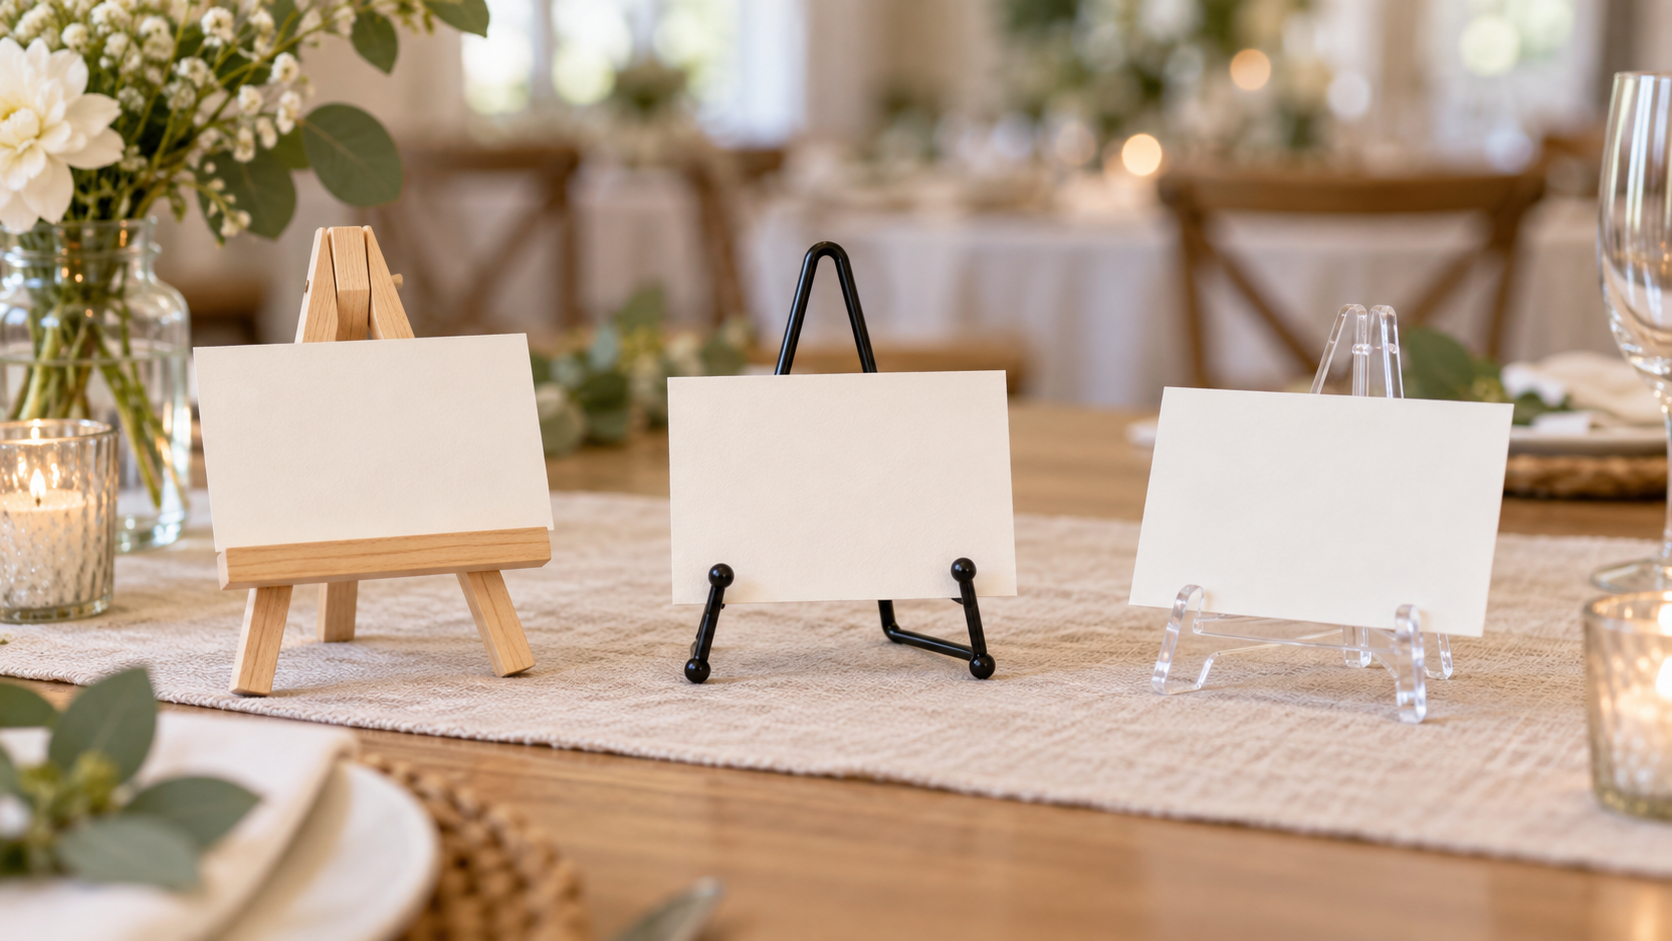
Shop by support style
Measure the finished card first, including thickness and any layered decoration. Then compare listing dimensions, ledge geometry, rear support, and packed quantity rather than relying on “mini” or “small.”
Best starting style by job
| Display job | Useful starting style | Check first |
|---|---|---|
| Place card or short label | Low-profile wire or clear easel | Card stiffness, contact points, viewing angle, and table footprint |
| Small decorative sign | Wood easel with a defined ledge | Sign thickness, ledge depth, front-lip height, and rear clearance |
| Many matching tables | Consistent multi-pack sized from one tested sample | Usable quantity, dimensional variation, packing, and replacement plan |
| Frequently changed paper messages | Often a card holder instead | Insert-change speed, edge support, spills, and cleaning |
How to compare mini easels
This is a category buying framework, not hands-on testing or a ranking of named products. Use the same checks on each current listing:
- Finished card fit: record width, height, thickness, and weight after printing, lamination, backing, clips, or decoration. A nominal paper size does not describe the finished piece.
- Ledge and front lip: the ledge must be deep enough for the card, while the lip must not cover the bottom line, border, QR code, or decorative detail.
- Stance: check the full open depth and width, not only folded dimensions. Rear legs can collide with place settings, flowers, merchandise, or the table edge.
- Angle and sightline: make a paper mockup and view it from the normal seated or standing approach. A steep lean can reduce readability or reflect overhead lights.
- Quantity: count every location plus setup spares. Confirm what the package includes instead of inferring quantity from the product photo.
- Packing and reuse: rehearse folding or nesting the stands, separating finished cards, and labeling sets. Follow current seller care and use instructions for the specific material.
Wood, wire, and clear easels solve different presentation problems
Wood becomes part of the visual composition, so finish and grain should work with the card rather than compete with it. Check for a front lip and ledge that suit the actual card thickness. A tiny art-style easel may look right in a photo but still cover too much copy or require more rear depth than expected.
Wire easels expose most of the card and often create fewer solid visual edges. That also means the contact points and card stiffness do more work. Confirm where the arms touch and whether the finished card can sit at the shown angle without bending.
Clear supports can disappear against a light tabletop, but edges and reflections may become more noticeable under windows, candles, or ceiling fixtures. Inspect the complete setup from the guest approach and follow the maker’s cleaning instructions; do not assume every clear plastic tolerates the same cleaner.
Test one place setting before ordering the full quantity
- Print the longest real message at final size.
- Add the actual backing, lamination, or decoration.
- Mark the easel’s complete open footprint on the table.
- Place nearby plates, glasses, flowers, products, or checkout equipment.
- Check readability from the real approach and under the room’s normal light.
- Pack the card and stand once, then scale that volume to the full event.
When to skip a mini easel
- The card is flexible paper and needs edge-to-edge support; use a sleeve, frame, or acrylic holder.
- The message changes repeatedly during service; a top-loading holder may make updates easier.
- The tabletop is crowded or bumped often. A mini easel is not automatically stable because it is compact.
- The sign must be seen over centerpieces, products, or people; use a taller holder or move the message.
- The setup is outdoors or exposed to moving air. Do not treat a small indoor easel as a wind-rated support.
Bottom line
The best mini easel is the one that fits the completed card, leaves important content visible, occupies a measured patch of table, and packs cleanly in the quantity you need. Choose wood when the support should contribute to the look, wire when minimal contact suits a stiff card, and clear acrylic when a quieter support works with the lighting.
Compare mini easels with an acrylic card holder or wire card stand, choose table-number holders for a small event, or use the tabletop sign-stand guide when the sign is larger or needs more height.