 The Good Sign Company
Storage-bin label-maker buying guide
How to Choose Label Makers for Changeable Storage-Bin Signs
The best label maker is the one whose tape and printed type fit the holder you already use. Measure the holder first, test the longest real bin name at actual size, and then compare editing speed, power, replacement supplies, and who will maintain the system.
This guide starts after you have chosen label-maker tape instead of printable paper inserts. If that workflow is still undecided, compare label-maker tape with printable paper inserts before shopping for a device.
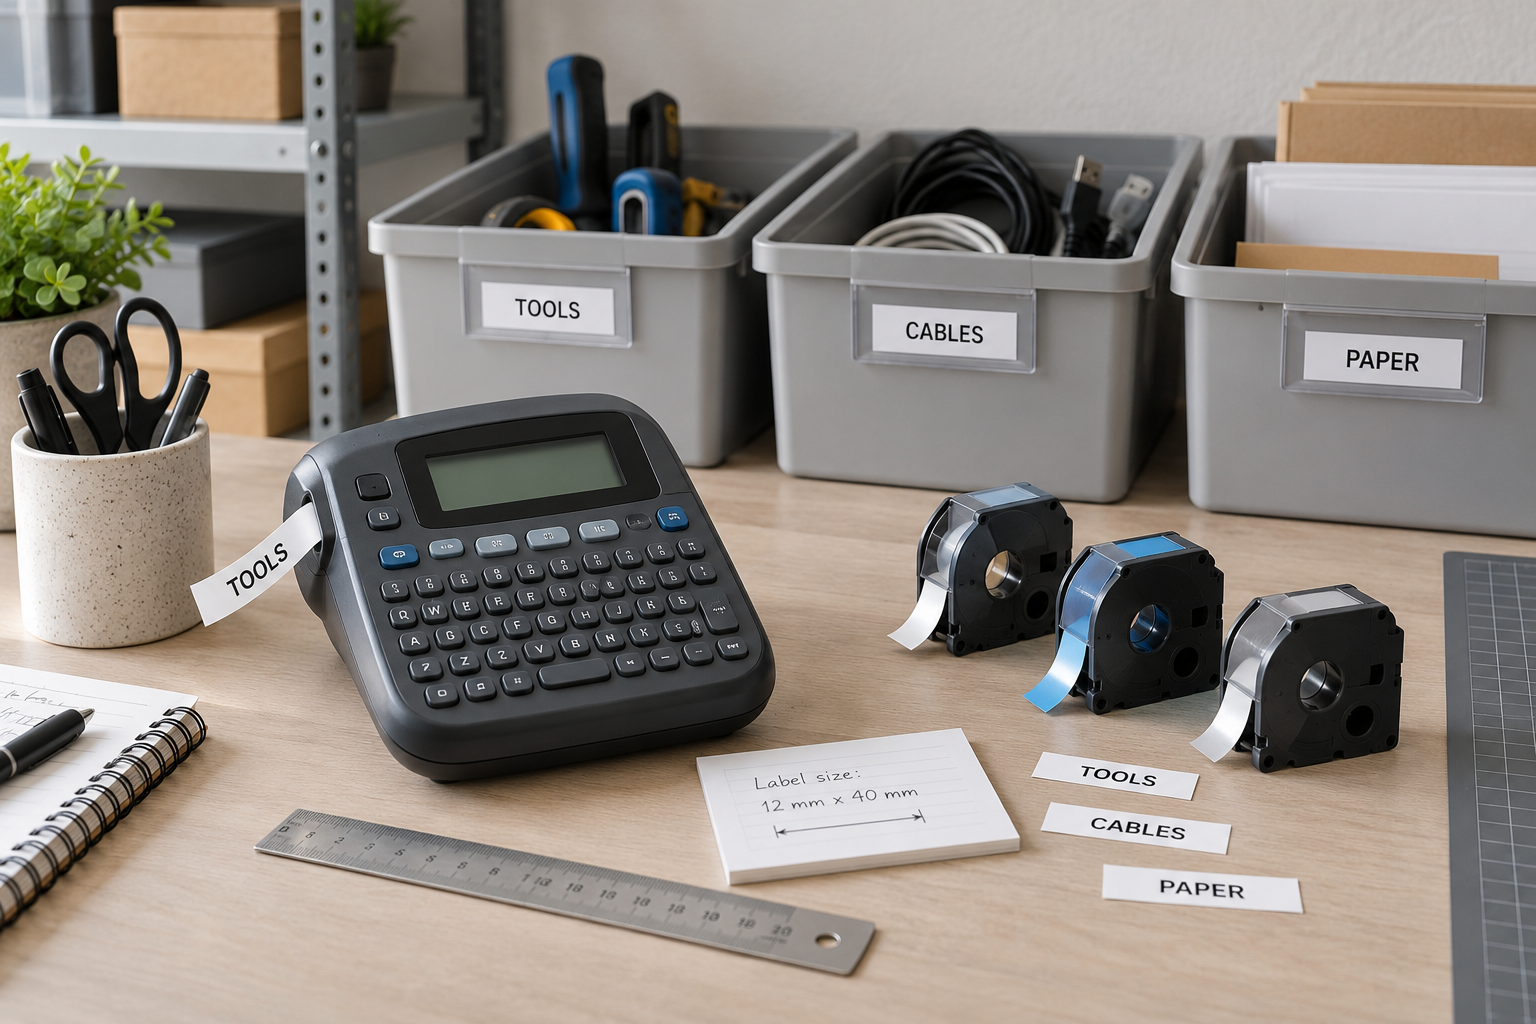
Compare label-maker systems for measured bin holders
Use current listings and maker documentation to verify supported tape families and widths, printed margins, text controls, power method, complete device size, and included supplies. A category result is a shortlist, not proof that a machine fits your holder or workflow.
How to Choose label-maker route by workflow
These are device categories and buying routes, not named-product winners or hands-on rankings.
- Standalone keyboard label maker: best for quick changes near the bins. Compare the physical keyboard, preview screen, supported tape widths, text controls, and whether the longest label is comfortable to edit on the device.
- Computer-connected label maker: best for repeat lists and centrally maintained layouts. Check current operating-system support, software requirements, import or template workflow, and whether the machine can also handle an urgent one-off change.
- Phone-connected label maker: best for a small team already comfortable with an app workflow. Review the current app, device compatibility, account requirements, connection method, and how another operator will take over.
- Portable battery-capable label maker: best when labeling happens across several indoor storage areas. Verify the documented power options, complete size, tape storage plan, and where the device will live between updates.
- Print-service or paper-insert route: best when the holder needs larger type or longer wording than compatible tape can provide. Do not force a label-maker solution when the visible window and message require another format.
1. Measure the holder before comparing machines
Measure the clear visible window, the opening used to load an insert, and the removable backing card if tape will be applied to a card rather than directly to the bin. Keep the tape and important letters inside the visible area, with enough room to load and remove the card without forcing it.
Do not assume the holder's marketed size equals its visible area. If the holder is not yet selected, use the storage-bin label-holder guide first.
2. Test tape width and real printed type
A wider supported tape does not automatically produce a larger or more readable label. Printed margins, font choices, line count, symbols, and the device's layout rules all affect the usable text. Review the current maker instructions, then print the longest real category name and place it in the holder.
Judge the sample from the normal aisle or work position. If a useful name only fits through obscure abbreviations or cramped type, move to a larger holder or a printable paper insert rather than treating the label maker as fixed.
3. Choose controls for the update pattern
A physical keyboard can suit isolated changes made beside the storage area. Software or an app may make coordinated lists and repeat layouts easier, but it adds device support, file access, connection, and ownership questions. Map the complete job: find the current label, edit it, preview it, print it, trim or peel it, install it, and save any source record.
Use the actual team workflow as the comparison framework. Feature count matters less than whether the assigned operator can reproduce the approved format next month.
4. Verify the tape family and replacement route
Confirm the exact cartridge family and widths supported by the shortlisted machine. Then check whether the needed text and background combinations are currently offered through a practical replacement route. Similar-looking cartridges are not evidence of compatibility.
Record the device model, compatible supply family, chosen width, layout settings, and reorder owner. Avoid claims about adhesion, residue, temperature, moisture, chemicals, or specialized surfaces unless the exact tape maker documents that use. For a reusable holder, applying tape to a replaceable card can keep the device decision separate from the bin surface.
5. Compare power, footprint, and storage
Check the documented power options and what is included with the exact listing. For a stationary workbench, confirm outlet and cable placement. For a portable routine, confirm the supported battery or rechargeable setup rather than assuming one from the product category.
Measure the complete device where it will be used and stored, including room to open covers and replace cartridges. Keep spare tape, backing cards, and the approved naming guide with the machine so a quick update does not become a scavenger hunt.
Decision checklist
| Check | Question to answer | Evidence to keep |
|---|---|---|
| Holder fit | What are the loading and visible dimensions? | Measured holder and one installed sample |
| Readability | Does the longest real name fit at the viewing distance? | Actual-size print test |
| Supply system | Which exact cartridge family and widths are supported? | Current maker documentation |
| Editing | Can the assigned operator reproduce the layout? | Saved settings or short work instruction |
| Power and space | Does the documented power setup fit the work area? | Measured operating and storage location |
| Upkeep | Who owns naming, stock, and future replacements? | Named owner and reorder reference |
Who should skip a label maker?
- Your message needs larger type, several lines, or an icon: a printable insert may use the holder area more effectively.
- The holder dimensions are unknown: choose or measure the holder before committing to a tape system.
- No supported tape produces a readable sample: change the holder or message format rather than shrinking the type.
- The team cannot maintain the app, software, template, or cartridge family: use a simpler locally supportable route.
- The label must support barcode, safety, chemical, temperature, moisture, or regulated identification requirements: use the relevant operational standard and product-specific qualified guidance; this general buying guide does not establish suitability.
Bottom line
Choose in this order: holder dimensions, readable real-world sample, supported tape system, editing workflow, power and footprint, then replacement ownership. Buy only after one label has traveled from entry to print to installed holder without guesswork.
For the wider naming and update decision, return to the small-business sign planning pillar. If paper may work better, use the tape-vs-insert comparison; if the machine and tape workflow are already chosen, use the replacement label-tape cartridge guide to match the documented family, width, holder fit, and reorder record.