 The Good Sign Company
Counter-sign finishing guide
How to Choose corner rounders for laminated counter signs
The best corner rounder is the simplest format that explicitly supports your complete finished insert, makes the required radius repeatable, and fits your real batch size. Compare the tool with a sealed production sample—not loose paper—and verify that the rounded insert still clears its holder.
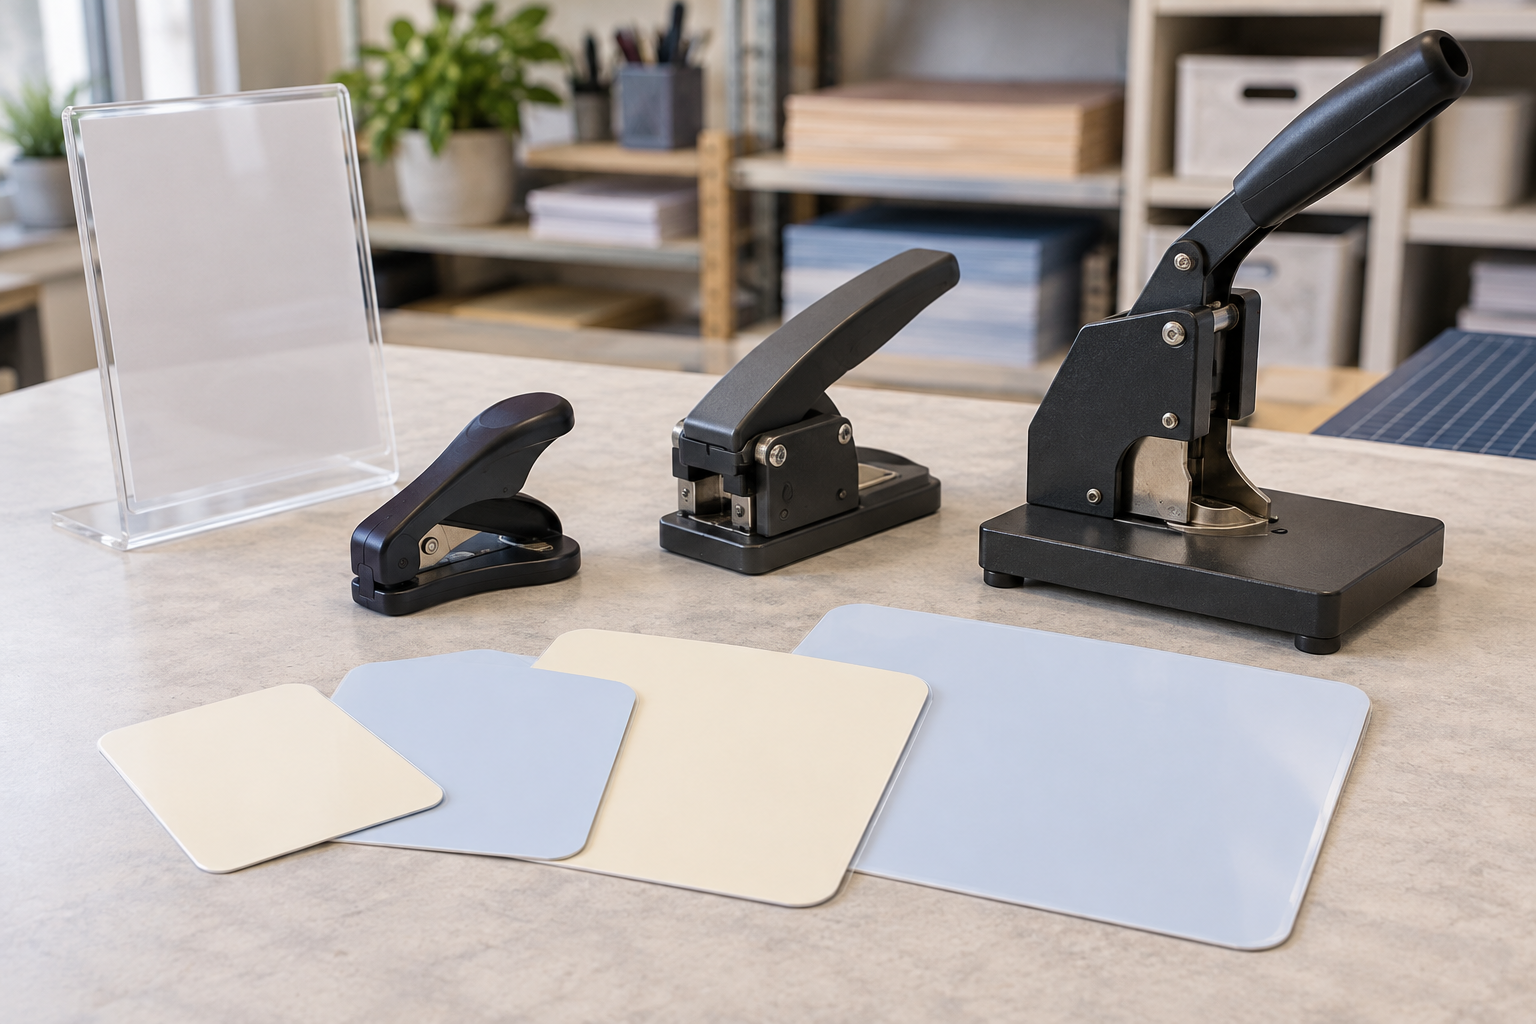
Compare the tool format that matches the job
Current listings change, so use manufacturer-supported materials, thickness, radius, operating instructions, and complete dimensions as the filters. A category photo or generic capacity claim does not establish fit for a sealed laminated insert.
Quick comparison by tool format
| Format | May fit when | Verify before buying |
|---|---|---|
| Compact handheld punch | Batches are small, storage is tight, and one supported radius covers the inserts. | Finished-material support, opening depth, alignment marks, grip routine, and offcut clearing. |
| Lever-style desktop punch | Recurring batches justify a bench tool and the lever supports a repeatable setup. | Supported construction, radius selection, registration guides, base footprint, operating clearance, and storage. |
| Tabletop production-style rounder | Volume is higher and a dedicated finishing station is realistic. | Exact material guidance, dies or cutting units, setup procedure, complete footprint, maintenance, and parts route. |
| Print-service finishing | Jobs are occasional, radii vary, or the in-house material is outside documented limits. | Finished dimensions, radius, sample process, quantity, and who checks holder fit. |
1. Match the complete laminated construction
Build one insert using the actual paper, printing method, pouch or self-sealing sheet, sealed margin, and trimming sequence. Record the final thickness and construction using the terminology provided by those products. Then compare that complete sample with the corner rounder's current material and capacity guidance.
Do not translate a paper-sheet count into laminate compatibility on your own. A listing that describes ordinary paper, card, photos, or another material does not automatically cover your finished insert. If the maker's guidance is unclear, ask before buying or keep the corners square.
2. Choose the radius from the holder backward
The correct radius is the one that preserves the laminate seal, clears the holder, and leaves enough space around borders, text, and any QR code. Trace proposed radii on scrap, place the sample in the exact holder, and inspect both the visible face and loading path.
A multi-radius tool can help when the supported settings match several established formats, but unused settings add little value. A fixed-radius tool may be the cleaner choice when one documented insert specification repeats across every location.
3. Compare alignment and cut access
Look for clear registration edges, guides, or marks that suit the insert size. Check how far the sheet must enter, whether a raised edge blocks a large sign, and whether the operator can see or feel that both sides are seated consistently. The artwork template should keep important content away from the proposed cut.
Test scrap from every corner orientation. If the tool requires bending a stiff insert, guessing at placement, or forcing the material through an opening, it does not fit the workflow even if the stated capacity sounds sufficient.
4. Size the tool for a real batch
Count corners, not signs: a run of 25 rectangular inserts can mean 100 repeated cuts. Note the number of batches per month, the time available at the finishing station, and the person responsible for the work. Small-volume jobs may favor a compact tool; repeated larger runs may justify a stable desktop format if its supported materials and setup fit.
Do not infer comfort, effort, or output speed from a product photo. Follow the operating instructions and make a representative sample before standardizing. If the work becomes inconsistent or requires an undocumented technique, pause and use a print provider.
5. Measure footprint, clearance, and storage
Record the base width and depth, handle height through its full movement, space needed to insert the largest sign, and the storage orientation. A lever tool that technically fits a shelf may still need a dedicated clear work surface whenever it is used.
Plan a place for scrap, finished inserts, rejected samples, and the tool's instructions. Keep the finishing station separate from the customer-facing counter so offcuts and half-finished signs do not become part of the display.
6. Check cleanup, upkeep, and replacement parts
Compare how offcuts are collected and cleared, what routine inspection or maintenance the maker specifies, and whether replaceable cutting parts are identified. A removable scrap tray can simplify cleanup, but it should not outweigh material compatibility or reliable alignment.
Stop using a damaged or misaligning tool. Do not sharpen, lubricate, modify, or dismantle it unless the current manufacturer instructions explicitly describe that procedure. For a production-style machine, confirm the service and replacement-parts path before building the workflow around it.
A practical buying checklist
- Make the full insert: use the actual paper, print, laminate, sealed margin, and final trim.
- Measure the display: record the holder opening, internal clearance, visible area, and corner shape.
- Choose the radius: protect content and sealed edges, then test the shape in the holder.
- Read current guidance: verify supported materials, capacity terminology, radius, instructions, and maintenance.
- Map the station: measure the base, moving handle, sheet access, offcut area, and storage space.
- Trial scrap: round every orientation, load the finished sample, and record the approved specification.
Who should skip a corner rounder
- Square corners already fit: there is no need to add a finishing step just because rounded corners look familiar.
- The laminate is unsupported: use a compatible process or ask a print service rather than forcing the tool.
- Every sign uses a different holder: stabilize the insert system before buying a dedicated-radius tool.
- Volume is occasional: outsourced finishing or a pre-cut insert may use less space and staff attention.
- The goal is a safety claim: this guide does not establish that a rounded insert is safe, child-safe, food-safe, or compliant.
- The material is rigid plastic, metal, or another panel: use a process and provider intended for that exact construction.
Bottom line
Start with the sealed insert and holder, then choose among compact, lever-style, tabletop, or outsourced finishing. Documented material fit and a workable radius matter more than the number of settings. Alignment, clear operating space, easy cleanup, and a repeatable batch justify the final choice.
Compare current corner-rounder categories, then verify the exact tool against the finished sample and current maker instructions. For the full in-house workflow, use the small-business sign planning guide and the laminating-pouch guide.