 The Good Sign Company
Indoor market label-holder buying guide
How to Choose Card Spike Holders for Indoor Market Displays
The best card spike holder is one whose documented intended use matches a suitable display material, whose stem places a small card at the needed height, and whose card grip fits the finished label. Choose the host first; do not treat the point as a universal attachment.
If you have not established that the workflow warrants this hardware, first decide whether a card spike holder is worth owning for the indoor market display. This guide covers lightweight name, variety, and price cards in attended indoor displays. It does not establish food-contact suitability, holding capacity, or safe use in customer aisles, overhead positions, outdoors, or any material the maker does not identify as suitable.
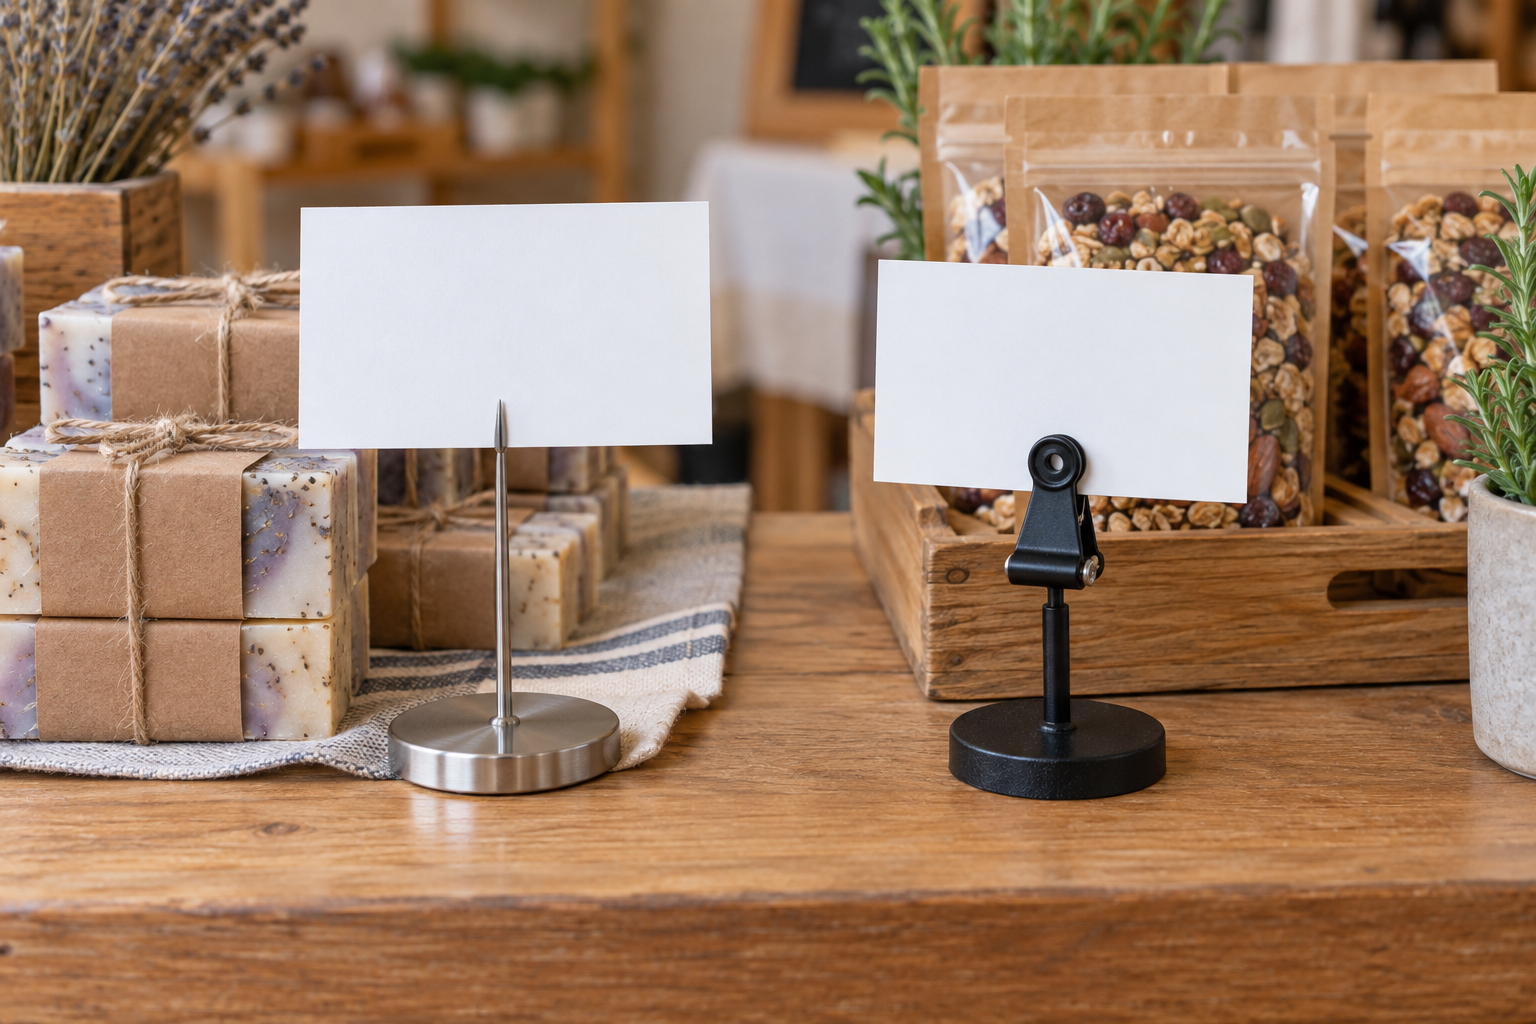
Compare card spike holders for a defined indoor display
Use current listings and manufacturer guidance to verify intended uses, stem and overall dimensions, card capacity, adjustment points, finish, included parts, and storage instructions. Category results are a shortlist, not proof that a spike suits your merchandise or display.
How to Choose card spike route by display need
These are hardware categories and comparison routes, not named-product winners or hands-on rankings.
- Short fixed spike with a compact card grip: best for a low label beside a shallow display. Verify the intended host, stem length, complete height, and exact card thickness.
- Taller stem: best when the label must clear a measured display edge. Check the complete assembled height and sightline; extra height is not evidence of stability.
- Angled or adjustable card head: best when a horizontal or sloped viewing path is known. Confirm the documented adjustment method, range, and whether it stays set during routine card changes.
- Double-card or wider grip format: best when two small related messages must remain together. Verify each card's supported dimensions and make sure hardware does not cover critical text.
- Clip or freestanding holder: best when no clearly suitable insertion point exists. Do not improvise a host merely to avoid a small base or fixture attachment.
1. Start with the permitted host material
Write down exactly where the spike would enter and what that material is. Then look for current maker guidance that describes an appropriate use. Similar appearance is not enough: do not insert generic spikes into merchandise, packaging, food, finished fixtures, furniture, cables, plants, or another improvised material.
If the host is uncertain, pause the spike search. The card spike vs clip holder comparison can help identify a different attachment route, while a freestanding card holder avoids penetration entirely.
2. Map the stem and finished label height
Record the stem length, any base or collar, the card-grip height, and the complete assembled height. Compare that geometry with the actual display. The label should clear the product arrangement without floating so high that it blocks merchandise, catches sleeves, or becomes visually detached from the item it describes.
Use an actual-size paper mockup at the proposed height. View it from the normal customer approach, not only from directly above the table. A longer spike is useful only when the added height solves a measured sightline problem.
3. Match the grip to the finished card
Check the holder's stated card capacity against the final card width, height, thickness, orientation, and finish. Print the longest routine message at actual size. Make sure the grip does not cover the price, product name, or other critical type, and confirm that staff can replace the card without bending it or loosening small parts.
A large or heavy card can create leverage that a small spike was not documented to handle. If the message needs broad support, weather protection, several lines, or a QR code presented at a larger size, move to a supported card stand or sign holder.
4. Compare head angle and adjustment
A fixed upright head reduces setup decisions when customers view the card close to eye level. An angled head can help on a low table, but only if the angle matches the approach. Adjustable joints add flexibility and another part to set, inspect, and pack.
Review the current instructions for how an adjustable head is positioned. Do not force a joint or infer a locking mechanism from a listing photo. Assemble one sample and include the real card before deciding whether the viewing angle works.
5. Plan setup, teardown, and storage
Count every separate component, including caps, collars, clips, or bases supplied with the exact holder. During a trial setup, record how the point is handled, where loose pieces go, and whether cards can remain installed during transport. Store pointed hardware separately from printed cards, textiles, cables, and finished display surfaces.
Protective caps can help only when they are included or explicitly compatible and used as directed; do not assume every listing supplies them. A simple labeled rigid container and a consistent piece count may matter more than finish color for a recurring market kit.
Comparison checklist
| Check | Question to answer | Evidence to keep |
|---|---|---|
| Host fit | Does the maker describe the intended material or use? | Current product guidance and a photo of the planned insertion point |
| Geometry | Where do stem and card head place the finished label? | Dimensions and an actual-size mockup |
| Card fit | Does the grip accept the final stock without covering text? | One complete sample card |
| Viewing angle | Is the message readable from the customer approach? | In-position sightline check |
| Handling | How are points and loose parts controlled? | Setup and packing routine |
| Alternative | Would a clip or freestanding base avoid an uncertain host? | Measured fixture edge and available table footprint |
Who should skip card spike holders?
- No documented, suitable insertion point exists: choose a compatible clip, fixture-mounted holder, or freestanding base.
- The label must contact food or enter a food display: use product- and operation-specific guidance; this general sign guide does not establish food-contact suitability.
- The sign is heavy, powered, tall, valuable, or frequently touched: use a support system documented for the complete load and placement.
- The display is outdoors, overhead, or in an active aisle: generic indoor card spikes do not establish suitability for those conditions.
- The merchandise, package, or finished fixture would be pierced or marked: use a non-penetrating route.
- Staff cannot safely count, cap, and store the pointed parts: simplify the display hardware.
Bottom line
Choose in this order: approved host, stem geometry, finished card fit, customer sightline, then setup and storage. Shortlist products only after the display and label are measured, and assemble one complete unit before buying for every market table.
For the broader message and placement brief, use the small-business sign planning pillar. If a card spike remains the right route, the farmers-market product sign guide helps connect the holder to a useful label hierarchy.