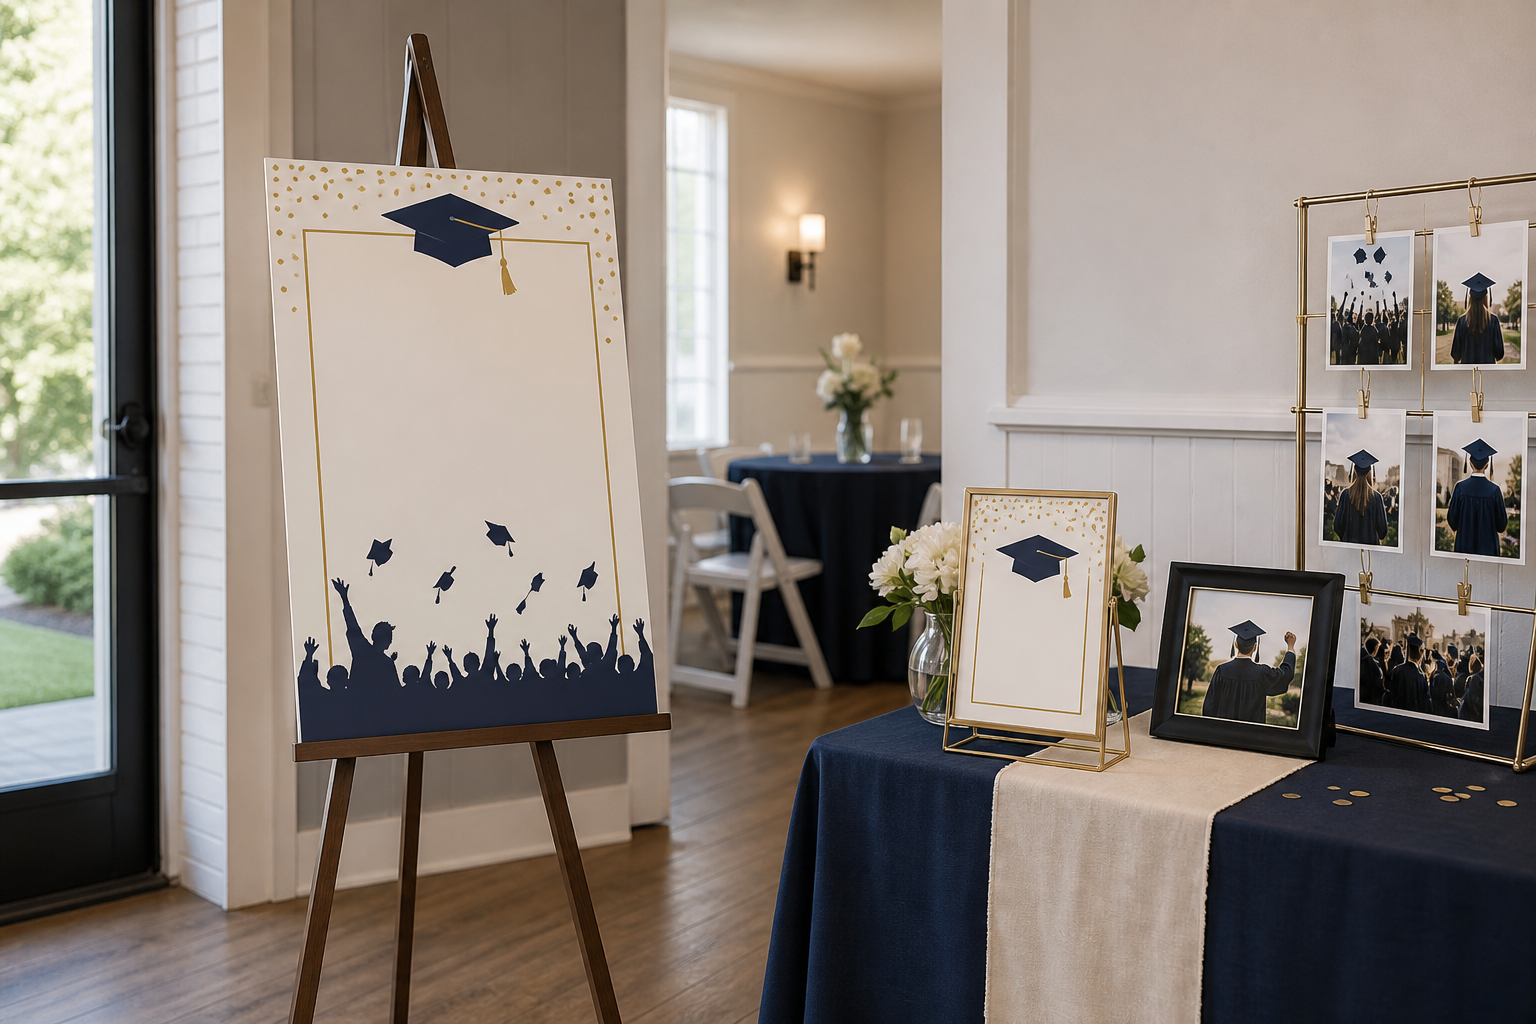
Rigid panel on an easel: good fit for the entrance
A medium panel gives a short welcome room to breathe. Confirm the panel thickness, easel lip, assembled footprint, viewing height, and whether the support is included.
 The Good Sign Company
Independent publisher disclosure: We may earn compensation from DaNite Sign Company referrals.
Talk to DaNiteGraduation Party Sign Guide
A graduation party often needs two different sign jobs: one clear marker that welcomes guests and one smaller label that supports a photo or memory display. The best setup does not repeat the same oversized design twice. It gives each sign a short message, an appropriate reading distance, stable support, and enough clear space to work with the rest of the party.
Best overall starting route
Use the larger sign to confirm the celebration from the guest approach. Let the smaller sign label the photo display without covering pictures or consuming the table. Compare outer dimensions, writing area, stand footprint, material, personalization terms, and included support before ordering.
This is a category comparison and buying framework, not hands-on testing or a ranking of current named products. Compare candidates in this order:
A medium panel gives a short welcome room to breathe. Confirm the panel thickness, easel lip, assembled footprint, viewing height, and whether the support is included.
A replaceable print in a compact frame is easy to size around photos. Check the frame's outer dimensions, orientation, glazing reflections, and rear support depth.
Choose this when the same display piece will handle another message after the party. Lay out the complete wording first and keep spare characters organized.
Photograph the entry from the driveway, sidewalk, hallway, or room approach where guests first need confirmation. Tape a paper rectangle in the proposed position and walk the route. The graduate's name and a short welcome should remain visually dominant; detailed instructions belong on a separate directional sign.
Include the full easel footprint in the plan. Keep legs out of the door swing and normal walking line, and assign one person to place, move, and pack the display. For smaller printed messages, compare reusable frames for printable party signs. If guests must make route decisions, use the separate small-event directional sign guide.
Arrange the photographs, albums, cards, flowers, and keepsakes before buying a sign. Measure the open tabletop area that remains, then include the frame's back support or base depth. The sign should label or introduce the display; it should not hide faces, cast a shadow across an album, or force frames to the table edge.
A short line such as the graduate's name, class year, or an invitation to view the photos is usually enough. Do not copy school marks or branded artwork unless you have permission to use them. A neutral color palette or the graduate's own photographs can make the display personal without relying on protected graphics.
Do not assume indoor decor products are suitable for rain, wind, or prolonged outdoor exposure. For a backyard setup, confirm the maker's use guidance, ask the host or venue about placement constraints, and keep an indoor backup location ready.
For most graduation parties, use a simple rigid welcome panel on a known easel and a much smaller framed sign at the photo table. Give each sign one job, test it at the real distance, count the support footprint, and assign transport and setup. For the same entrance decision in a tighter home or private-room setting, use the baby shower welcome sign guide. Browse the sign guide library for related event and display decisions, or compare graduation party sign categories.