 The Good Sign Company
Indoor Vendor-Booth Lighting Guide
Best clip-on lights for indoor vendor booth signs: fit the clamp before comparing brightness.
A clip-on light can help a booth sign stand apart from dim ambient lighting without taking up more table space. The useful choice begins with a real attachment point, a controlled beam, and a power route that stays within the fixture maker's instructions and the venue's rules. This is a category framework, not a list of named winners or a claim that one light fits every booth.
Disclosure: As an Amazon Associate, we may earn from qualifying purchases and approved partner referrals.
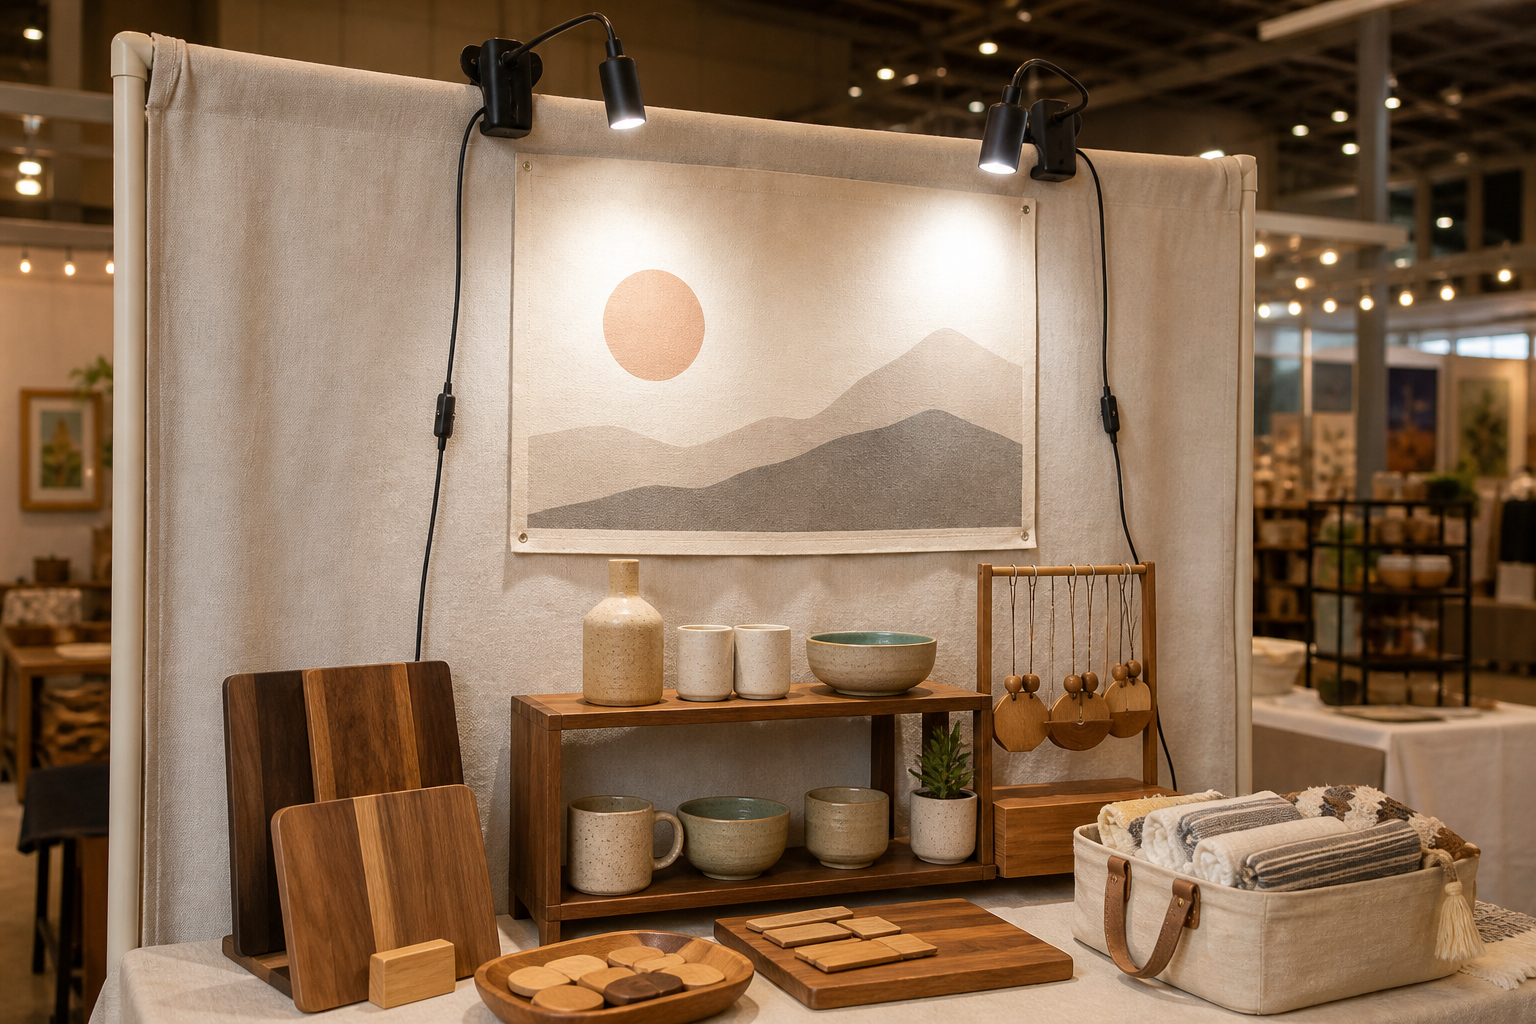
Category comparison
Compare lights against your booth rail and sign.
Measure the available clamp surface and distance to the sign, then verify each current listing's indoor-use guidance, clamp opening, compatible surface details, controls, power requirements, cord length, and included parts. Do not infer fit or electrical suitability from a product photo.
Best Light Categories by Booth Setup
These categories describe useful starting points, not tested rankings.
- Compact gooseneck light: best for a nearby sign that needs precise aiming. Compare the stated neck reach and adjustment range with the real clamp-to-sign distance, and check whether the head stays outside the customer's sightline.
- Wide-head clip light: best for a broad, shallow sign area. A wider source may spread light across more of the panel, but you still need to check edge falloff, reflections, and spill onto neighboring booths.
- Dimmable clip light: best when the venue's ambient light changes. Verify the control type and listed brightness settings. Dimming is useful for visual balance; it does not establish venue approval or compatibility with a power source.
- USB-powered clip light: best when the booth plan already includes a compatible listed power route. Confirm the light's stated input requirements and the power source maker's instructions. A USB plug does not by itself prove that a battery pack, adapter, or extension setup is appropriate.
- Dual-head clip light: best for a sign plus one adjacent display zone. Two heads add aiming flexibility but also add weight, cables, and visual clutter at one attachment point.
Selection Criteria That Matter
- Manufacturer-listed setting: keep this comparison to products whose current instructions support the actual indoor use you have planned.
- Clamp opening and surface: measure the rail, shelf, or panel thickness and shape. Verify compatible surfaces and any padding or tightening instructions instead of assuming every clamp suits pipe, fabric frames, or finished wood.
- Fixture position: map the distance from clamp to sign, the adjustment range, and the space the lamp head occupies above or in front of the display.
- Beam control and glare: test the complete sign from the aisle and from common approach angles. Glossy laminates, acrylic covers, and pale prints can reflect a small bright source.
- Power route: verify the stated input, supplied cable, adapter details, and cord length. Plan access and cable management under product instructions and venue requirements.
- Heat and clearance guidance: follow current placement, ventilation, clearance, and operating instructions. Do not let fabric, packaging, or merchandise crowd the fixture.
- Transport: account for the clamp, neck, head, adapter, and cable when packing. Protect the sign face from hardware and recheck adjustments after transport.
A Practical Comparison Framework
- Photograph the booth from the customer aisle and identify the one sign that needs more visual priority.
- Choose a stable attachment point, then record its material, shape, thickness, clearance, and distance from the sign.
- Remove options whose current indoor-use, clamp, input, or mounting information does not cover that setup.
- Compare the remaining reach, head size, aiming range, controls, cord length, weight, and included components.
- Mock up the sign, clamp, light, products, and cable route before the event. View it from the aisle, side angles, and normal customer height.
- Confirm the complete setup with the venue and follow all current product, power-source, and venue instructions.
Lighting cannot rescue a crowded message. Use the market-booth hanging sign guide to set height and reading distance, the tabletop sign guide when a clamp point is unavailable, and the small-business sign planning pillar to simplify the message. If the display itself needs a lighted custom treatment, compare that separate route in the custom light-box guide.
Who Should Skip a Clip-On Light
- Skip it when the listing does not clearly document indoor use, clamp fit, power requirements, or placement guidance for your setup.
- Skip a clamp on a fabric edge, delicate finish, unstable divider, or unknown booth structure unless the product and structure instructions support it.
- Skip supplemental light when the real problem is small type, a long message, weak contrast, or a sign hidden behind merchandise.
- Skip a corded setup when you cannot create a route that follows product instructions and venue requirements.
- Skip a bright point source when glare or spill makes the sign harder to read or distracts neighboring booths.
- Do not use this guide as electrical, fire, venue, accessibility, insurance, or code-compliance advice.
The Practical Bottom Line
Start with the attachment point, not a brightness claim. A useful indoor booth light has documented fit for the measured clamp surface, enough adjustment to cover the sign without glare, and a power route that works under current product and venue instructions. If any of those facts are missing, improve the sign's contrast or placement first and keep comparing.