Indoor Window Display Hardware
Best cable display kits for acrylic window signs: match the whole system.
The best starting format for a multi-panel indoor window display is a complete tensioned cable system whose documented panel attachment, cable length, mounting arrangement, adjustment method, and load guidance all fit one measured layout. Buy the panel and hardware as a system: similar-looking clamps may require different holes, panel thicknesses, cable diameters, or mounting conditions.
Disclosure: As an Amazon Associate, we may earn from qualifying purchases and approved partner referrals.
Category route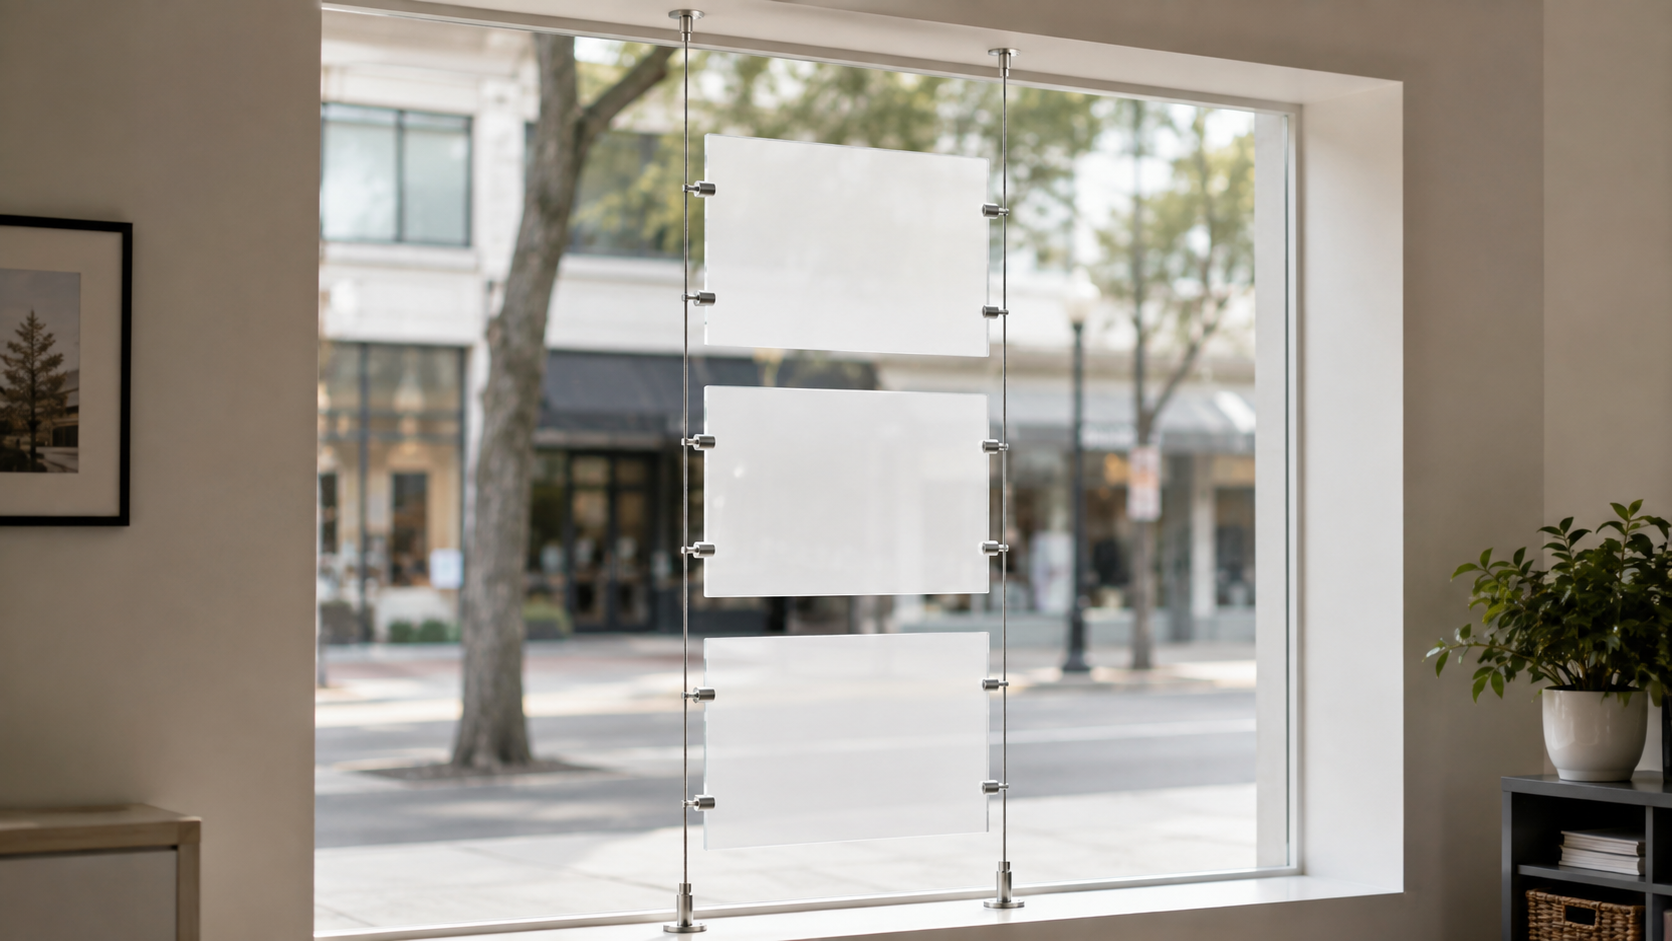
Best overall starting format
Start with a complete two-cable kit for a measured panel column.
A complete kit makes it easier to compare compatible cables, tensioners, mounting ends, and panel clamps together. Before buying, match every published dimension and instruction to the panels, the available top and bottom mounting points, and the intended number of panels.
Plan the setting: use the small-business sign planning guide to define the message, viewing direction, window sightline, and update routine before choosing hardware.
How to compare cable display kits
This is a category buying framework, not hands-on testing or a ranking of current named products. Record the same facts for each candidate:
- Panel compatibility: panel width, height, thickness, weight, hole size and position, plus any edge-clearance requirement.
- Cable system: cable diameter and usable length, top and bottom terminations, tensioning method, and adjustment range.
- Clamp format: through-panel or edge-grip attachment, required quantity, orientation, and the maker's assembly instructions.
- Mounting conditions: the exact structural surfaces above and below the display and the specified fasteners—not simply the window trim visible nearby.
- Complete load: every panel, clamp, cable component, and accessory, checked against guidance for the complete installed arrangement.
- Service access: room to tension, level, clean, remove, and replace panels without obstructing an exit or customer route.
Best cable-display route by setup
Category routeComplete two-cable kit: best first shortlist
Use this route when one measured vertical panel column is the goal. Verify that the included ends, tensioners, clamps, and cable lengths form a compatible system for the documented mounting surfaces.
Browse category: Compare complete two-cable kits
Category routeEdge-grip clamps: best when compatible panels lack holes
Only shortlist edge-grip hardware when its stated panel-thickness range, grip geometry, orientation, cable fit, and retention instructions match. A no-hole panel does not establish compatibility by itself.
Browse category: Compare cable-display panel clamps
Category routeMulti-panel layout: best for repeated listings or services
Mock up every panel at finished size. Check vertical gaps, sightlines from both sides of the glass, total assembly load, cleaning access, and how one panel can be changed without disturbing the rest.
Browse category: Compare multi-panel cable systems
Measure one complete window bay
Draw the usable width and height, then mark the actual mounting points above and below the display. Add the finished dimensions and weight of every panel, the intended gaps, clamp positions, cable path, and adjustment access. Check the display from the sidewalk and from inside; transparent acrylic can lose contrast against reflections or a busy background.
The cable system is not a substitute for readable panel design. Test the largest and smallest message as full-size paper mockups in the real window during the viewing conditions that matter.
Separate the panel decision from the building attachment
A product listing may describe the cable and clamps without establishing that the supplied building fasteners suit the ceiling, header, sill, floor, or other mounting surface. Identify those surfaces and follow the current instructions for every component. Do not attach into glass, uncertain trim, suspended-ceiling parts, or another unverified surface merely because the layout appears aligned.
Pause for an appropriate installer or property review when the structure is uncertain, drilling is restricted, hidden utilities may be present, the display is overhead or along a busy route, or local requirements apply. This indoor product guide does not provide structural, lease, permit, or code approval.
Through-panel clamps vs edge-grip clamps
- Through-panel clamps require holes that match the hardware. Use the panel drawing and system instructions; do not casually drill or enlarge finished acrylic.
- Edge-grip clamps avoid through-holes but still depend on an approved panel-thickness range, correct orientation, engagement, and retention method.
- Preassembled panel-and-hardware systems reduce mix-and-match uncertainty when the seller documents the complete configuration, but the building attachment still needs its own review.
For a single acrylic panel fixed to a wall instead of suspended in a window, compare standoff mounts for acrylic signs.
Who should skip a cable display?
- Skip it when secure top and bottom mounting points cannot be identified.
- Skip mix-and-match parts when cable diameter, threads, clamp fit, or load guidance is undocumented.
- Skip clear acrylic when the real window background makes the message difficult to read; an opaque insert, framed poster, or window-applied format may work better.
- Skip a multi-panel column when one large message would be easier to scan or update.
- Skip do-it-yourself installation when the display is heavy, overhead, difficult to access, or close to a busy customer route.
- Use the temporary window-sign guide when the message is short-lived and a tensioned system would add unnecessary installation work.
The practical bottom line
Start with a complete two-cable system, but keep it only if the documented panel, clamp, cable, termination, adjustment, mounting, and total-load details match one measured indoor layout. Treat building attachment and message readability as separate checks. If any interface is unclear, ask the system supplier or an appropriate installer before ordering parts.
Continue with the sign mounting supplies guide, or Browse category: browse acrylic window cable display kits on Amazon.
 The Good Sign Company