 The Good Sign Company
Printed Menu Holder Guide
Best acrylic sign holders for printed menus: match the insert and counter before choosing a shape.
A clear holder can turn an ordinary printed sheet into a tidy, changeable menu, but only when the paper size, viewing angle, loading method, and counter footprint fit the service setup. This guide compares holder categories rather than naming unverified winners or claiming that one format suits every cafe, pop-up, or event table.
Disclosure: As an Amazon Associate, we may earn from qualifying purchases and approved partner referrals.
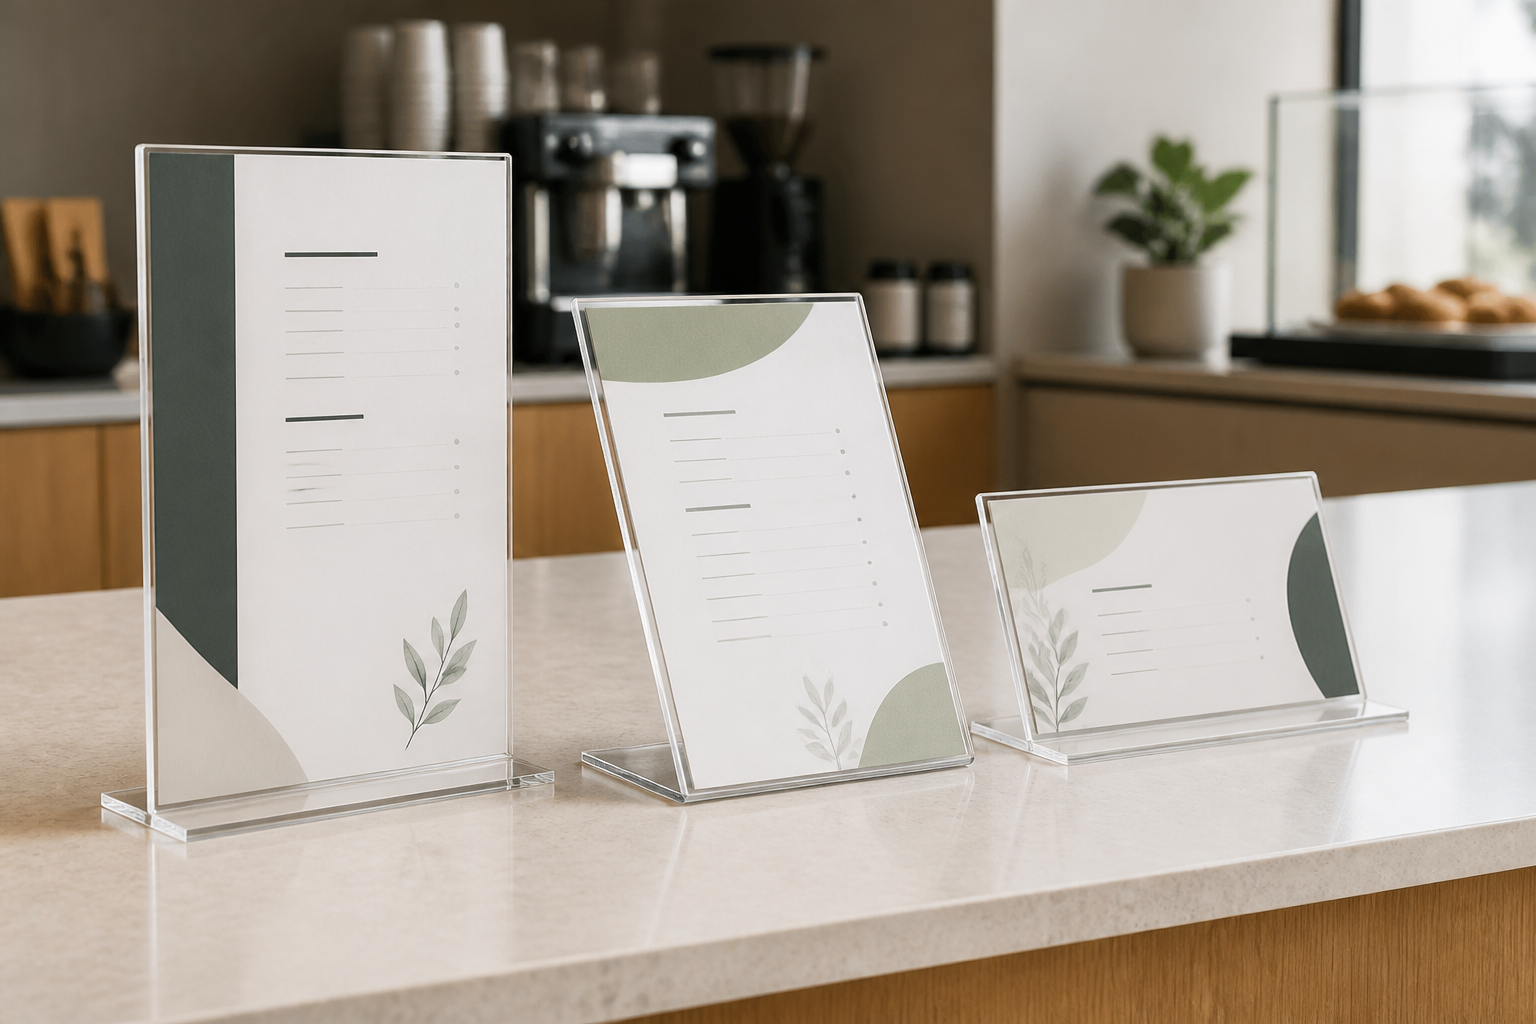
Category comparison
Shop by the printed insert and customer sightline.
Measure the finished sheet, available counter space, and typical viewing position. Then verify each current listing's supported insert dimensions, orientation, loading method, base measurements, and care instructions before buying.
Best Holder Categories by Menu Setup
These are fit-based starting points, not hands-on rankings.
- Double-sided T-style holder: best for a menu viewed from two directions. Confirm that both panels support the finished paper size and that the base fits without narrowing a customer or staff work zone.
- Slanted single-panel holder: best for a menu read from directly in front of a counter. The angle can suit a nearby viewer, but test reflections and legibility from the real standing position.
- Upright portrait holder: best for a narrow menu with a longer vertical list. Compare height with the sightline and nearby equipment so the holder does not hide staff, products, or another priority sign.
- Landscape holder: best for short menu groups or a wide visual layout. Check its full base width and confirm that type remains large enough after the content is spread across the sheet.
- Multi-pocket holder: best for intentionally separated menus or service steps. Extra pockets can organize categories, but they also create more seams, reflections, and pieces to update. Use them only when the information hierarchy is genuinely clearer.
Selection Criteria That Matter
- Finished insert size: measure the actual trimmed or laminated sheet rather than relying only on a familiar paper-size label. Verify the current holder listing against those dimensions.
- Orientation and reading distance: choose portrait or landscape around the menu hierarchy and available type size, then print a full-scale draft and view it where customers stand.
- Loading method: side-, top-, and bottom-loading designs behave differently near shelves, walls, and equipment. Leave enough clearance to replace the sheet without moving the whole counter setup.
- Base footprint and stability: compare the stated base dimensions with the available surface. Keep the holder outside payment, pickup, door, and spill-prone work zones.
- Viewing angle and glare: inspect the proposed location under the lighting used during service. Clear acrylic can reflect windows and overhead fixtures even when the insert itself has strong contrast.
- Edges and placement: inspect the holder for damage and position it where customers and staff will not brush exposed corners during normal movement.
- Cleaning guidance: follow the manufacturer's current care instructions for the holder. Do not assume a general-purpose cleaner or abrasive cloth is suitable for acrylic.
A Practical Comparison Framework
- Reduce the menu to the information a customer needs at this exact decision point.
- Print the proposed insert at full size and confirm readable type, contrast, and hierarchy from the customer position.
- Record the finished insert dimensions, portrait or landscape orientation, and whether one or two viewing sides are needed.
- Measure the available counter footprint and the clearance needed to load a replacement sheet.
- Remove options whose current insert, base, orientation, or loading details do not match those measurements.
- Mock up the remaining format under real lighting and check glare, reach, movement, and conflicts with payment or pickup tasks.
- Verify the seller's current included parts, use guidance, and cleaning instructions before ordering.
If the display format is still undecided, compare an acrylic holder with a wooden slot stand. If the message changes by hand throughout the day, compare menu-board formats for small cafes. If the insert needs a decorative border for an event rather than frequent counter updates, use the printable party-sign frame guide. The small-business sign planning pillar can help simplify the message and sightline first.
Who Should Skip an Acrylic Menu Holder
- Skip a clear holder when reflections repeatedly obscure the menu in the only workable location.
- Skip a tabletop format when the counter has no stable footprint outside active service, payment, or pickup zones.
- Skip a fixed paper holder when prices or items change so often that a writable or digital format would be easier to maintain accurately.
- Skip a two-sided holder when customers approach from only one direction and the second panel adds bulk without helping navigation.
- Skip any option whose current listing does not clearly document the supported insert dimensions, orientation, base, and loading method.
- Do not use this guide as food-service, accessibility, cleaning, fire, venue, or code-compliance advice.
The Practical Bottom Line
Start with the finished sheet and the customer's viewing position. A useful acrylic menu holder supports the measured insert, leaves room for easy updates, stays within a safe counter footprint, and remains readable under real lighting. If those facts are missing from a current listing, keep comparing rather than guessing from the product photo.